Do you have a storage shed, garden shed, or other type of shed you need to move from one spot to another? If so, you probably already know that moving a shed can be challenging and time-consuming.
Whether you’re revamping the landscape around it, repositioning the shed out of sun exposure, or doing anything else that requires moving it, its size, weight, and condition all play important roles. Fortunately, with the right tools and planning, you can learn how to move a shed safely and efficiently without damaging it.
In this helpful guide, we’ll walk you through the different methods for relocating a shed, including DIY options that can save you time and money.
1. Gather Tools and Materials
Before moving any type of large structure or item, you’ll need a few tools and equipment to safely lift and transport it without damage. For storage sheds, we recommend the following:
| Tools | Materials |
| Pry bar/ Crowbar | Protective gear (gloves, safety glasses) |
| Floor jacks | Moving supplies (dollies, straps) |
| Screwdrivers | Utility knife (if needed for disconnection) |
| Wrenches | Trash bags (for hardware and debris) |
| Hammer | Tape (for labeling parts if disassembling) |
2. Consider Potential Challenges
Similar to the process of buying a new shed, you’ll want to consider any challenges you may face while moving it from its current location to installing it in its new location.
You’ll first want to consider the type of shed you’re moving—whether it’s a particularly heavy shed that you use for housing bigger equipment or a smaller, lightweight shed you use for gardening tools or yard supplies. Most sheds are on the heavier side, so you may need to find at least a couple of people to help you.
Regardless of the type of shed you want to move, careful planning is the key to success. Here are a few factors to consider before you attempt to move a shed:
- Current condition: Not all sheds are sturdy enough to be moved. Hiring a professional shed removal service may be better if your shed is too old, damaged, and perhaps dangerous to relocate. For example, older plastic sheds that have already started breaking down may fall into this category.
- Rules/regulations: Check with your HOA or local building codes first about spacing rules if you have to move your shed due to property line concerns, such as placement too close to a neighbor’s fence.
- Size and weight: Analyze how large or heavy your shed is to move on your own. This will give you an idea of how many people or what type of machine assistance you’ll need. For example, a large shed or one that weighs over 500 lbs. will require at least two people and a machine lift.
3. Choose a Moving Method
From machine rental to common household items, there are a few practical ways to move a shed efficiently. Tools, equipment, and materials will vary by moving method, but you’ll most likely need floor jacks to lift the shed as well as tie-down straps for support.
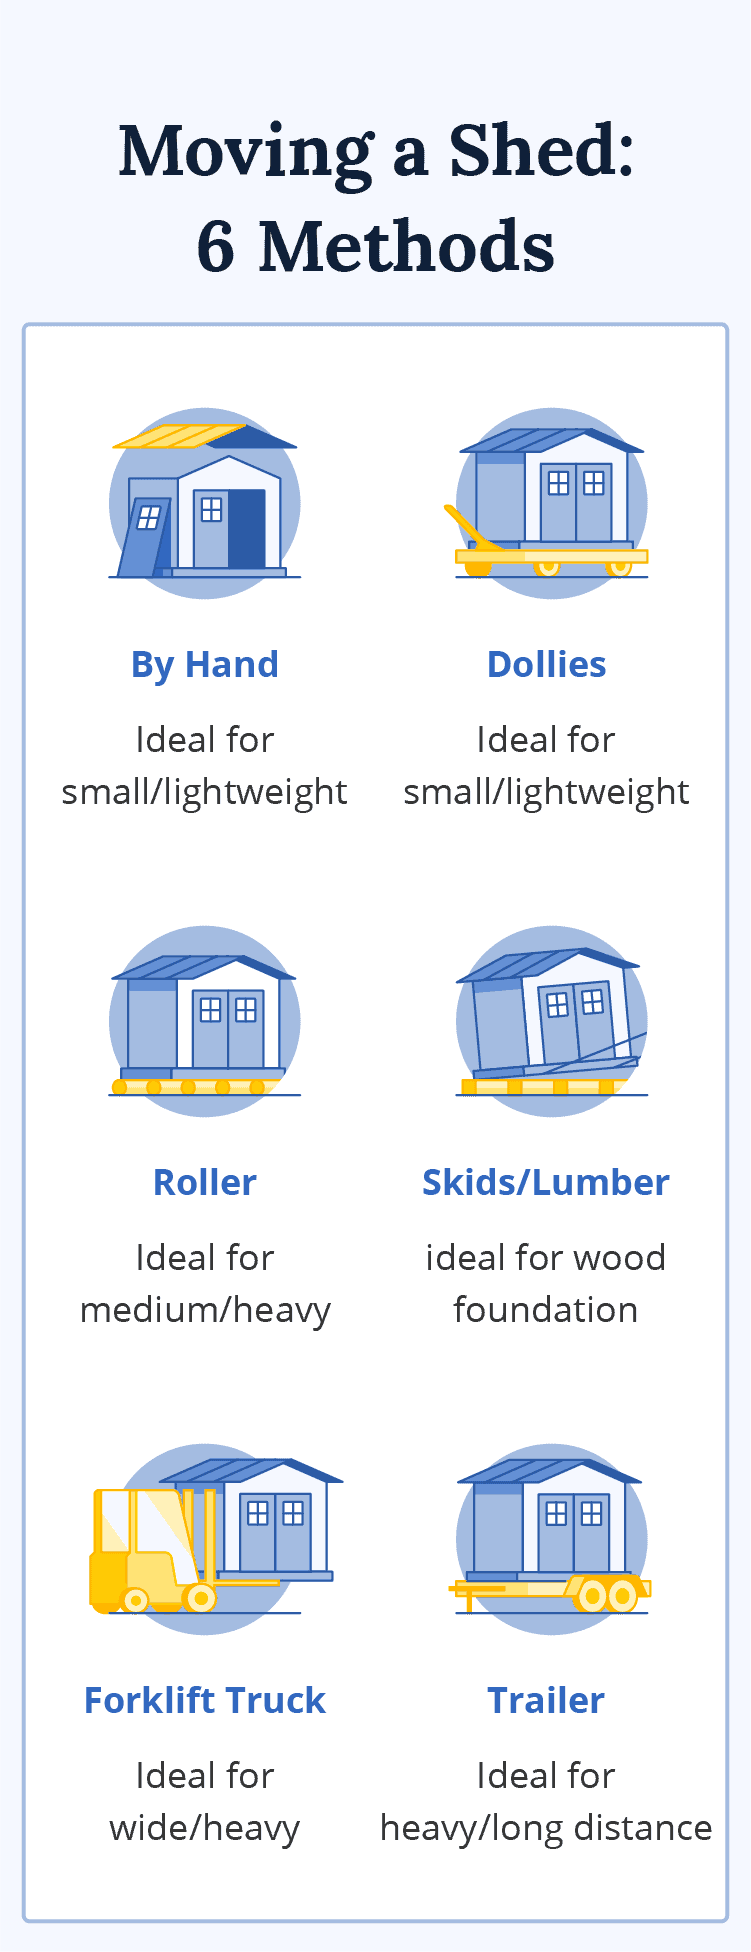
Method 1: By Hand
If it’s a small, lightweight shed and you’re only moving it a short distance in your yard, you may be able to lift and carry it with help from two or three people. In cases where your shed is heavier than you expected, it may be possible to disassemble the shed and move it by hand.
| Safety tip: Even for smaller shed sizes (less than 64 sq. ft.), dismantling it first will help avoid damage and make the moving process easier. |
Method 2: Dollies
Another way to move a lightweight shed is with a cargo dolly. With the help of another person, you can slide the shed onto one or more dollies and roll it to its new location. For a slightly heavier shed, you may need to place a dolly at each corner of the shed and pull it with a vehicle, such as a riding mower.
Method 3: Rollers
Similar to using a dolly, it’s possible to roll a slightly heavier shed on top of steel or PVC pipes. Think of this method as a “conveyor system” where the pipes serve as the rollers beneath the shed base.
| Safety tip: A short yard distance can have hazards like electrical wires and uneven ground. Be sure to scan and clear the pathway before moving. |
Method 4: Skids/Lumber
If your shed has a wood foundation, you can relocate it by pulling it (likely using a vehicle) from the lumber or “skids” underneath. The skids make the foundation portable, functioning as a sled that supports the base of the shed. You’ll need to lift the shed with a jack and attach hooks from the skids to the pulling vehicle.
Method 5: Forklift Truck
If you have the budget for a machine rental, a forklift can do the trick. Forklifts can carry larger, heavier equipment. With this method, consider wrapping straps around the shed to keep it secured to the forklift truck. You will need heavy-equipment experience or a professional forklift operator to use the machine.
Method 6: Trailer
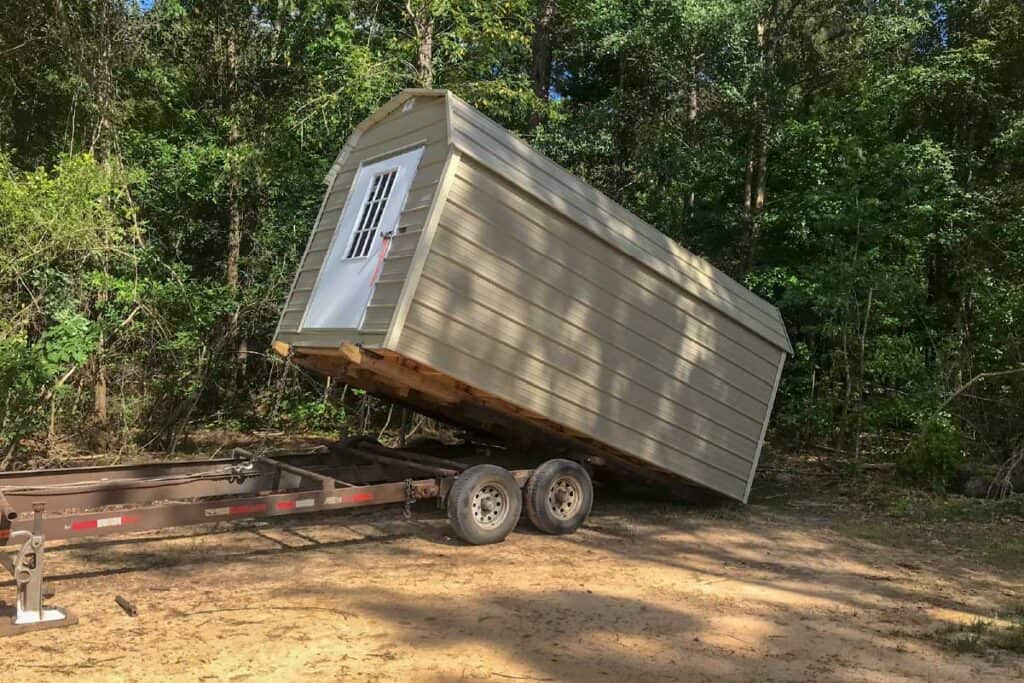
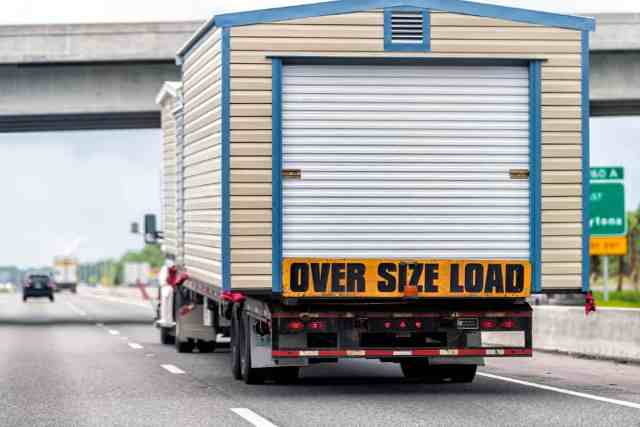
Flatbed trailers are popular rentals for moving large structures across long distances, such as to a new home or property across town. It’s strongly recommended to use tie-down straps for this method, too, to ensure a larger shed is secured properly and won’t slide or tilt while driving on public roads (this is a necessity). You’ll also need a truck with enough horsepower to pull the trailer.
Before renting a trailer, check state transportation laws about any driving requirements or restrictions. Pulling certain structures on the highway or beyond certain speed limits may be too risky.
4. Create a Moving Plan
Once you have a method in mind for moving your shed, you can create a proper moving plan. Create the best strategy for your shed’s move with the following tips.
Survey the New Location
Is the new site within the same property or beyond your yard? Do you need to pour a new concrete slab or establish another type of foundation? Are you planning to convert your larger shed into a living area, such as a tiny house, that could potentially require plumbing and installation of metal pipes?
Asking yourself these types of questions will help you determine what equipment you’ll need to prepare the new location for shed installation.
Measure Pathway Clearances
Keep in mind your shed’s size and any safety precautions while moving it around or off your property. For example, you’ll want to make sure the fence or yard gates are wide enough to move the shed through and that you won’t hit any trees or damage anything.
Consider the Shed Design
Think about the type of shed you have—its style, materials, and additional features. For a shed that is bolted to the foundation, it may be easier and worthwhile to just order a new shed.
Customize and order a new metal storage shed.
5. Prepare the Shed
With a plan in place, the next step is to prepare your shed for moving based on your method of choice. This includes:
Clearing It Out
Empty out the shed, removing all items inside: garden tools, lawn equipment, boxes, scrap wood, and anything else kept there. This step will help reduce the shed’s weight and prevent items inside from getting damaged while moving.
Disconnecting Utilities
Be sure to disconnect water, electricity, and all other utilities running to your shed beforehand. You may need to hire a professional to perform this step safely.
Reinforcing Entryways
Secure all doors and windows, even removing them if needed, to prevent them from moving and breaking during relocation. These open points are weaker areas of the shed structure and may warp from tugging and shifting during the move.
Disassembling (If Applicable)
You may need to disassemble the shed or remove any connected features that might get damaged along the way, such as mounted shed lighting.
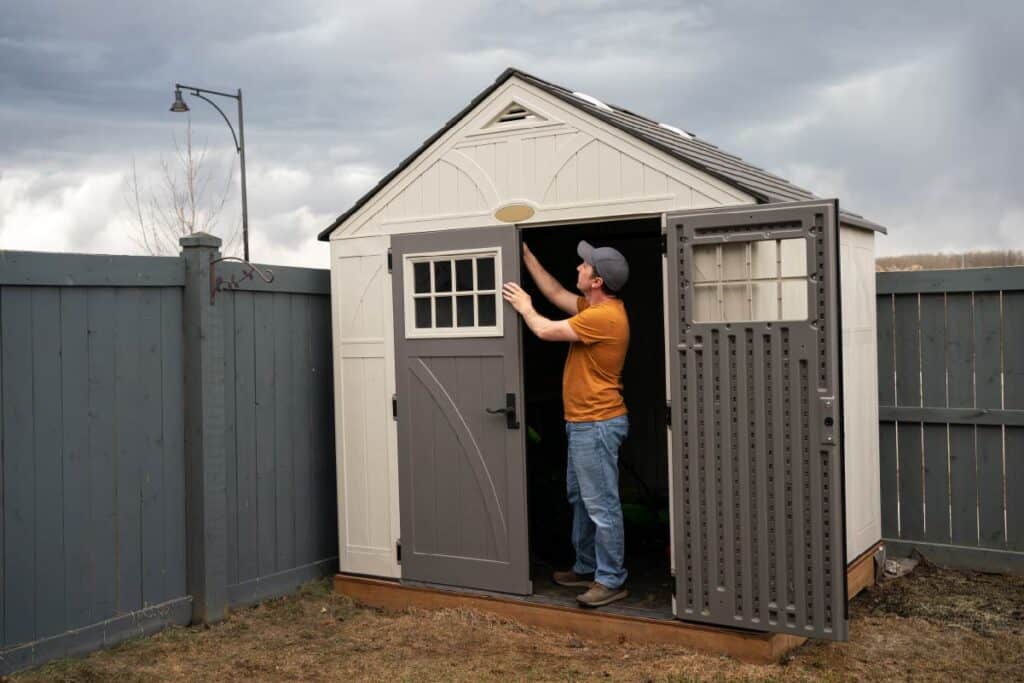
6. Lift and Transport
For a smaller shed, use lifting jacks or a team of helpers to raise it slightly. If you have a larger shed, use a machine lift. Mind the material of your shed during this process—for example, a wooden shed can be easily damaged while lifting.
Once lifted, slide the shed onto dollies or a trailer using ramps and secure it to the platform using straps. This will prevent the shed from shifting during transit. Whether driving with a flatbed or towing the shed to the new location, make sure you maintain a safe speed on the road. Also, be aware of the shed’s width on narrow turns.
7. Set and Reassemble
Once at the new location, slowly lower and place the shed (or individual parts) on the foundation. If disassembled, you can now reconnect the shed following your tape labels or the shed’s manual. Depending on the weather conditions and foundation type, you may need to install bolts or anchors to help the shed stay in place and reinstall insulation in your metal shed.
Consider having a qualified professional handle any previously disconnected electrical wiring or plumbing. Once all utilities and parts are properly installed, you can return items and organize the shed for easy access.
8. Perform Post-Move Shed Inspection
After successfully moving and reinstalling your shed, there are a few important tasks to ensure structural integrity.
- Repairing minor damages: Check that the doors and windows function properly, the siding is intact, etc.
- Leveling the shed foundation: Confirm the base is flat and already adjusted as needed.
- Landscaping around the shed: Make sure the new shed placement isn’t too close to branches, fencing, or other yard objects that would prevent easy access.
Customize and Order a New Metal Shed
We hope this guide on how to move a shed has been helpful and gave you some good ideas. If moving a shed is too difficult and time-consuming for you, getting a new shed may be cheaper and easier.
With a durable metal sheds for sale from Alan’s Factory Outlet, you don’t have to worry about weather damage or upkeep. Best of all, metal is fire- and insect-resistant, keeping your storage items inside safe.
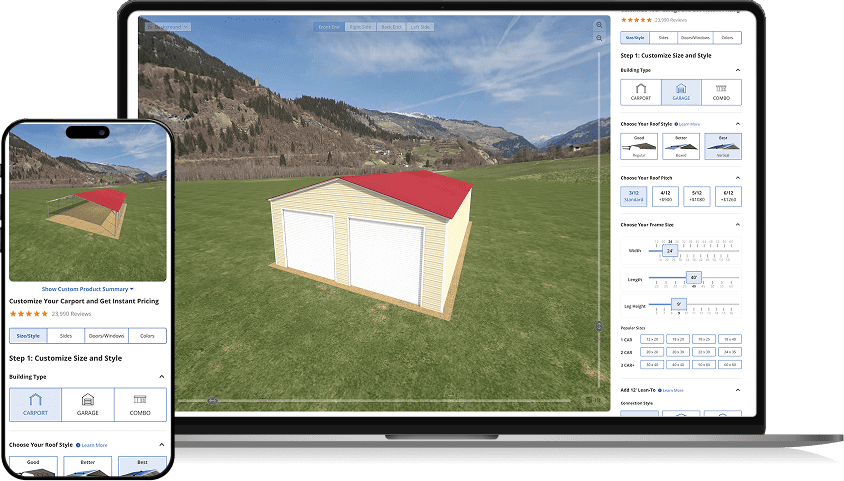
Using our design tool below, you can quickly customize and order a new shed in just a few clicks. All our sheds are made in the USA and include free delivery and installation.
