When considering an inexpensive yet reliable vehicle shelter, look no further than carports. They’re versatile structures that protect vehicles from sun damage and harsh weather elements. People also use them for shaded outdoor recreation, extra storage space, and more.
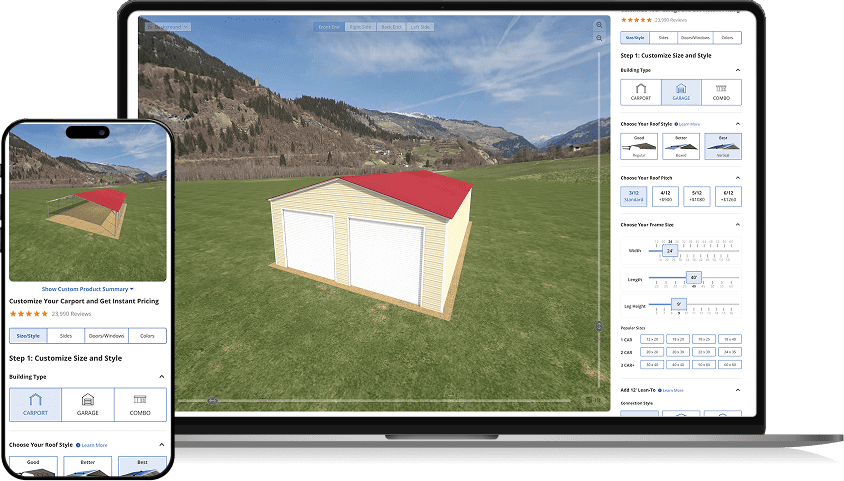
They’re super customizable, so you can scale your structure size up for RVs or select from various colors and designs to match your home and boost your property value.
If you’re looking for a great DIY project that will add value to your home, this guide will show you how to build a carport step by step.
Step 1: Pre-plan Your Project
Before you start building, consider a few important factors, such as your carport’s design and size and legalities like proper permitting. Make sure you’ve checked these boxes before you order materials.
Size and Location
Measuring the size of your vehicle will help determine the approximate carport size and space you need. For example, a standard sedan is 6×15, while carports for RVs need at least 12×35 for full coverage.
Don’t forget accessories and other vehicles you might want to store, like a trailer or bike racks.
Your location also matters. If there are large trees nearby, you might have to work around or remove roots. Hills have different footing depth requirements and installation guidelines. Finally, you need to know where the utility lines are before you start digging to avoid injury or property damage. In the U.S., you can call 811 or schedule a visit online and have the utility companies come and mark your property.
Type of Carport
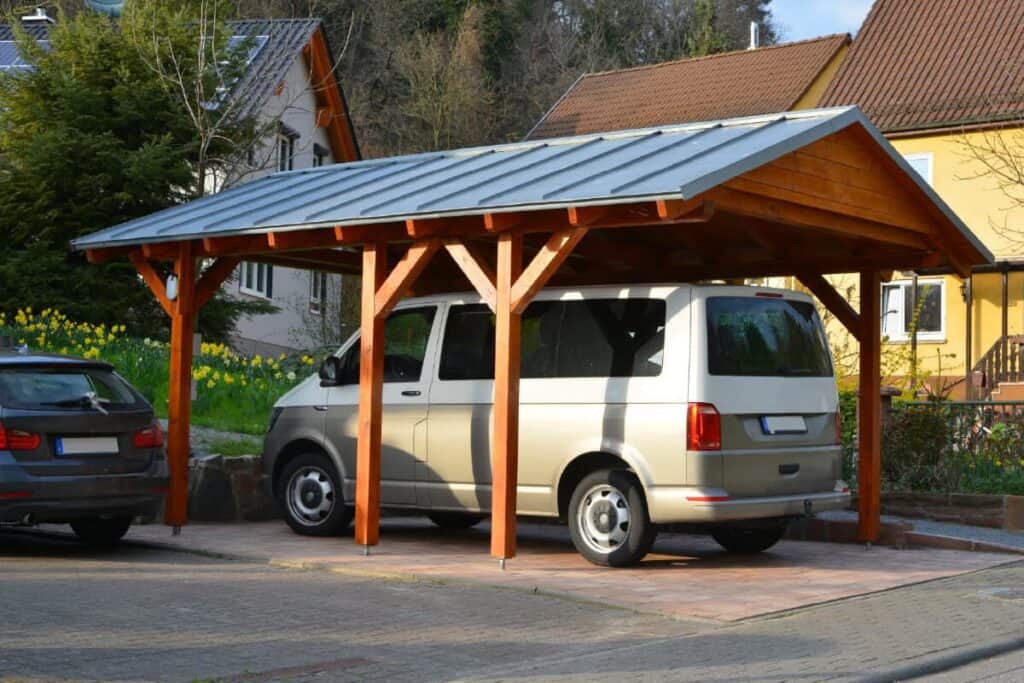
As for the building material, most DIY carports are made of wood. However, some people prefer metal carport kits for durability instead. Unlike wood, metal can withstand fire and extreme weather conditions, and it’s not likely to rot any time soon.
Also decide if you want to build a standalone or an attached/lean-to carport. It will affect the carport plans and materials you need.
Cost
Building a carport for two cars (20×20 feet) can cost around $4,000 to $12,000, depending on the size and materials you choose.
If you’re looking for a deal, prefabricated metal carports are more affordable. Our 20×26 metal carport kits start at $2,795, and you can check our price chart for specific pricing details.
Building Permit
Permanent structures with concrete footings or foundations typically require a building permit, but it really depends on your local zoning office’s regulations.
Garages, sheds, and carports are usually subject to building permits, depending on the scale of your project and how permanent it is.
It’s also a good idea to share your carport plans with your homeowners association (HOA) if your neighborhood has one. They might have regulations on new structures, building materials and sizes, or design choices, like colors.
Foundation
Carports need a foundation to provide stability for the structure and an even surface that is low maintenance. Most carport foundations are made of gravel, which is more affordable than concrete. Keep in mind that gravel foundations can shift and create trenches over time, so you’ll need to level the space periodically.
You’ll still need to pour concrete to secure the carport footings in the ground. Check your local building code guidelines for frost-depth requirements and other recommendations based on your property’s location and layout.
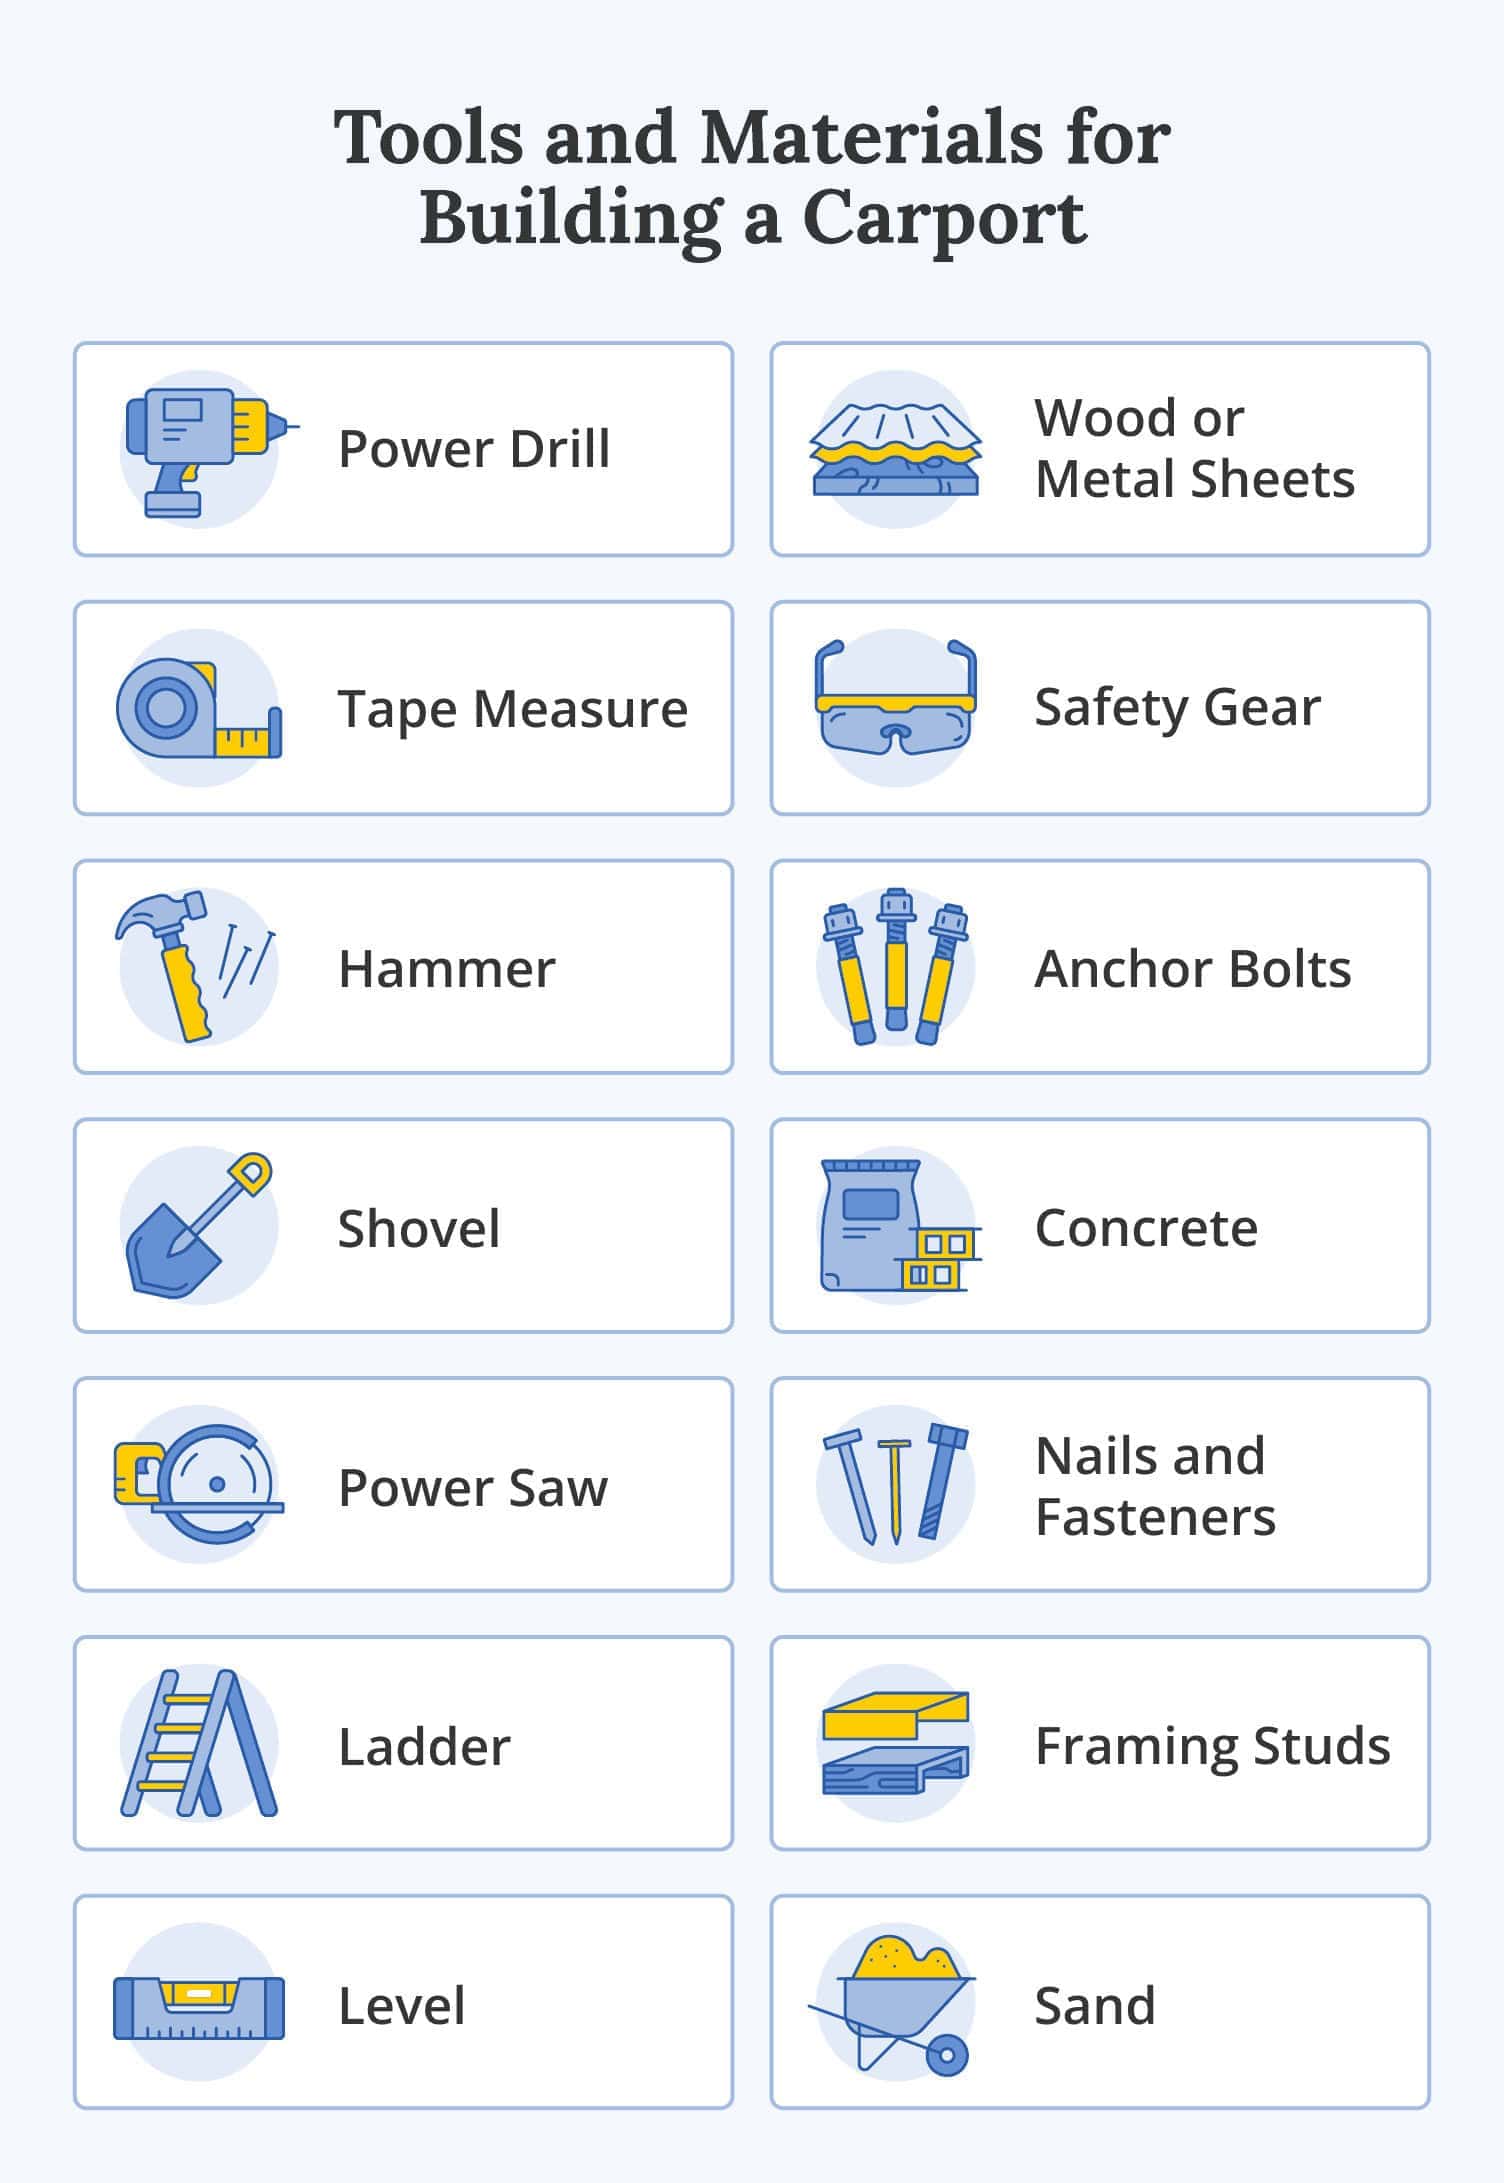
Step 2: Gather Tools and Materials
If you don’t already have the following items for your project, here’s the basics of what you’ll need:
| Tools: | Materials: |
| • Power drill • Tape measure • Level • Hammer • Power saw • Shovel • Ladder • Personal safety gear | • Nails and fasteners • Anchor bolts • Concrete • Sand • Wood or metal sheets • Wood or metal framing studs |
Of course, specific carport plans or environmental locations may have additional requirements that you should prioritize:
Step 3. Measure and Prepare the Location
You should have already called the utility companies to identify existing utility lines, ensuring the area is safe to build. Next, plot out the space. Measure at least 12×18 feet to accommodate one vehicle, or follow your carport plan measurements.
Mark your perimeter with string links. Identify your corners and drive stakes into the ground. Then, you connect them with strings. You can make additional batter boards for support. Just ensure your string lines are straight and level and that the corners are square.
Next, clear grass and debris with a shovel and level the ground. Use sand or gravel as necessary.
Step 4. (With Concrete Slab) Lay the Foundation
If you choose to pour a concrete slab, you’ll be able to anchor your carport to the slab using concrete anchors once it’s dry. That means you can skip pouring individual footings for each post, but you’re investing in a lot more concrete.
You’ll still have to create a form for the carport perimeter. You might also consider adding reinforcements to strengthen the concrete. Otherwise, you can just pour and level the concrete.
This is a suitable DIY project for folks with some experience, but pouring and leveling a concrete slab is a lot of work and requires diligence and patience. If you’re new to DIY, consider a preassembled carport kit with step-by-step instructions to help you out.
Step 5. (Without Concrete Slab) Dig and Install the Post Holes
Mark the corners of your perimeter and any place along the lines where you’ll install support posts. Measure again to make sure everything lines up, then dig holes for each post.
To avoid foundation problems later, make sure holes meet the required frost depth. If you need a little more force to break through roots and rocks, you can use a post-hole digger or rent a power auger.
Next, you’ll pour concrete to create the post footings. You can use a form to save some time. Once the footing is nearly full, center and install a post anchor bolt, then continue pouring concrete. The bolt should peek above the footer to attach the post.
Repeat for all footings, then allow the concrete to cure before installing the posts onto the anchors.
If you haven’t really worked with concrete or built other structures, you can always call in a professional for help. That said, DIY is a great way to save some cash, and installing concrete footings is pretty beginner-friendly after a few YouTube videos.
Step 6. Assemble the Frames and Panels
Assemble one peak, two side posts, two rafters, and two height extensions, if needed. Repeat this process to create the second end frame for your carport. Assemble the rest of the parts the same way to create the interior framing.
Starting at one end of your base rail, place one of your end frame assemblies (the ones without trusses) on the vertical pins of the first base rail and screw in place. Repeat with the interior frames, finishing with the other un-trussed frame at the opposite end. Use anchor bolts to secure the beams into the ground, if needed.
Step 7. Add the Roof
Lastly, fasten the roofing sheet on the top of the rafters with screws. You’ll want to start at the peak and work your way down. Check to make sure everything is secured.
If you’re enclosing your carport with walls, now’s the time to install those, too. Don’t forget metal building gutters to protect your property and carport. Pooling, running water can disrupt the soil and damage your foundation, so rerouting the water away from your carport is essential.
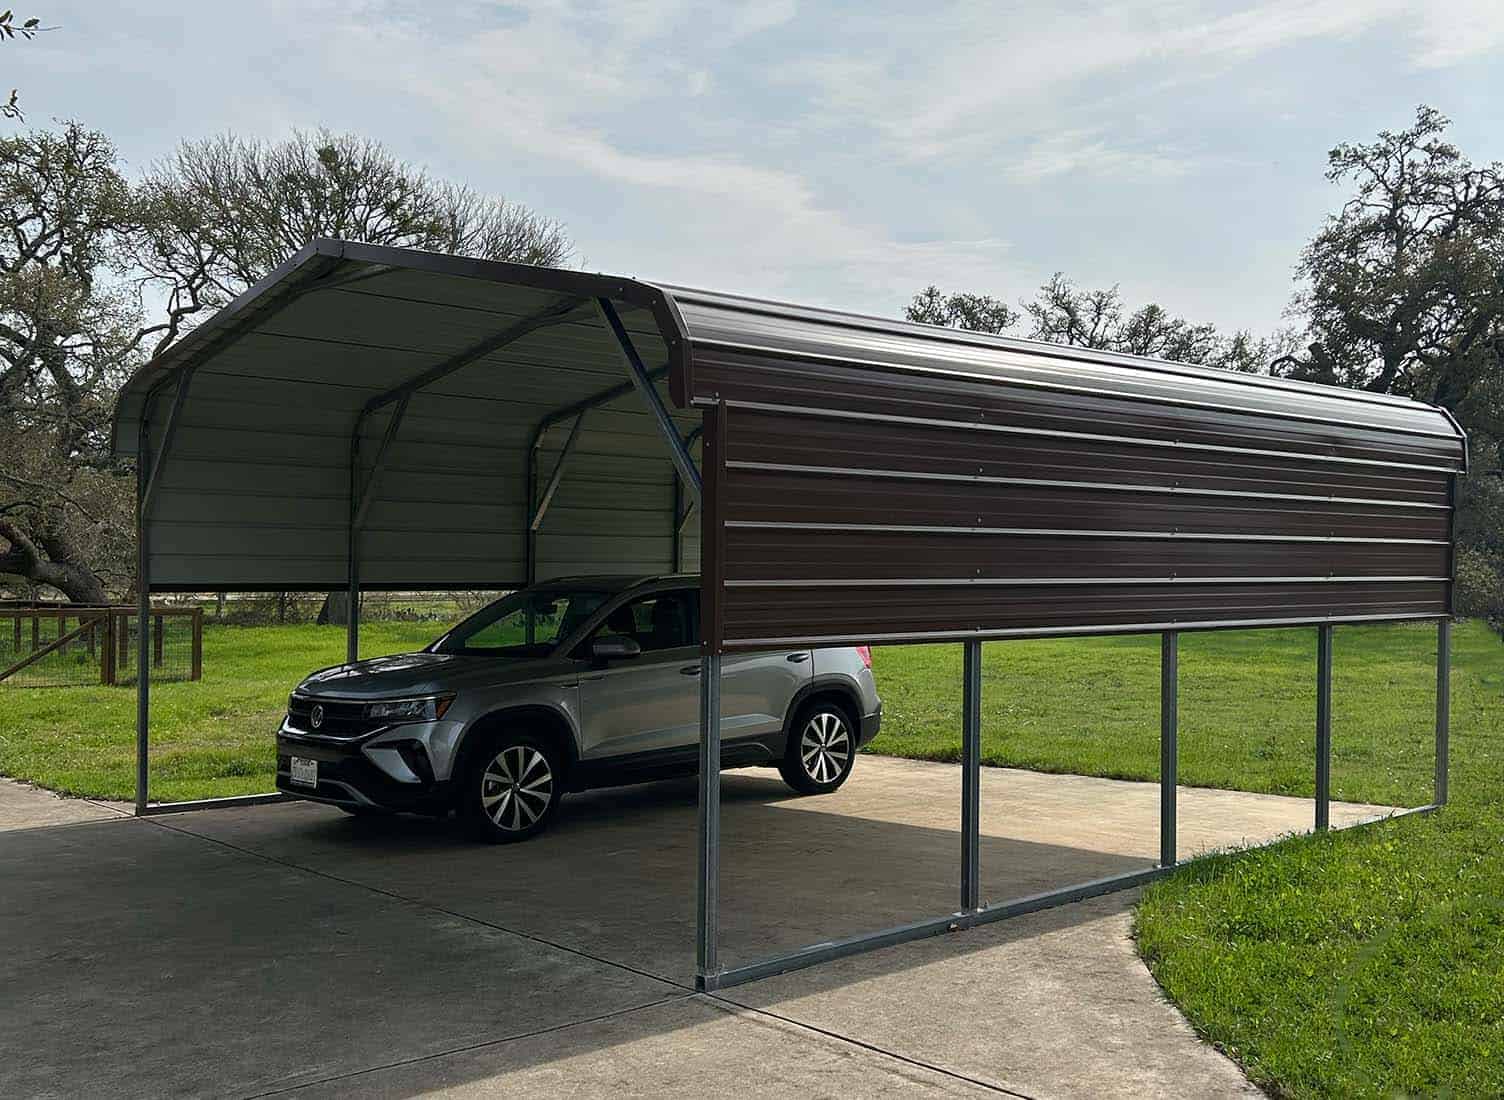
Protect Your Vehicles from Sun and Weather Damage
Metal carports are an attractive way to protect your vehicles from UV and weather damage without investing in a full-size garage. And once you know how, it’s easy to build a carport at home to your exact specifications. Ready to build? Compare carport prices and configurations to find your perfect match.