Would you like to add a lean-to roof to your metal garage or storage shed? You’re in the right place. From preparation to installation, this detailed guide will show you how to build a lean-to carport step-by-step.
Planning and Preparation
Before starting the project, determine how you plan to use the new lean-to carport. Will it just be additional covered parking for a vehicle? Would you like to also use the shaded area for storage or working outdoors? The following steps will help you outline the plan.
1. Assess the Site
Choose an ideal location, deciding if you’re attaching the carport to the side of your detached garage, home, storage shed, or another existing structure. It’s important to first inspect the structure, making sure it is spacious enough and in good condition.
Also, check your local building codes to obtain any necessary permits for building a structure on your property.
After receiving permission, you can then take measurements of the area to determine the dimensions you’ll need for the carport. Remember to account for how many vehicles you will be sheltering and their sizes. The standard carport size is 12’x20’ for one car, 20’x24’ for two cars, and at least six feet high.
2. Design the Lean-to Structure

Once you have determined the ideal dimensions of your lean-to carport, you can decide on the angle of the roof pitch. You can sketch a design based on your desired dimensions or use our free carport plan above for guidance.
3. Gather Tools and Materials
The next step is ensuring you have all of the necessary tools and materials. Collect and keep these within reach before you start the building process. Below is a list of everything you will most likely need to build your lean-to carport:
| Tools | Materials |
|---|---|
| Hammer | 6x6s (posts, support beams, and braces) |
| Drills | 2×6 lumber (ledger boards & rafters) |
| Miter saw | 2×4 lumber (purlins) |
| Tape measure | Lag bolts/screws |
| Screwdriver | Hurricane/rafter ties |
| Post hole digger | Concrete mix |
| String line | Water |
| Stakes | Metal roofing sheets (or roofing material of choice) |
| Carpentry pencil/chalk/spray paint | Post bases (optional) |
| Ladder | concrete anchors (optional) |
| Tamper | Paint (optional) |
| Safety gear (e.g. goggles, gloves) |
Building the Base
There are different types of foundation, including gravel and concrete, that serve as the base and help bear the load of a carport. You may not need a man-made foundation, depending on the ground’s condition. However, you’ll still need to prepare the ground before performing any type of installation.
4. Excavate and Level the Ground
Make sure the ground is flat and level before installing the framing. This may require clearing the site of trees, debris, and other items in the way of construction. If you plan to pour a concrete slab as the foundation, you’ll need to dig at least six inches beneath the soil. Use a tamper to smooth out and even the surface of the dirt.
5. Mark the Location
Next, take a tape measure and outline the location of the carport you plan to build. Mark the hole placements needed for the posts using chalk or spray paint. Posts should be spaced about 8 feet apart.
Once marked, drive stakes into the corners and run a string line from the existing structure around the stakes, pulling it taught. This will ensure the lean-to framing is aligned with the structure and as square as possible.
6. Dig the Post Holes

Then, use a hole digger to carve out soil for inserting the posts. Make sure the holes are at least two feet deep for support. If your foundation is a concrete slab, you can skip digging the holes and move to the next step.
Framing the Structure
Following the foundation, the next portion of the project will be to ensure your lean-to carport is sturdy and properly supported.
7. Set the Posts
Set the 6×6 posts into the holes. You can temporarily use extra pieces, such as the 2×4 braces, to help keep the posts straight and level upon insertion.
8. Pour Concrete Footings
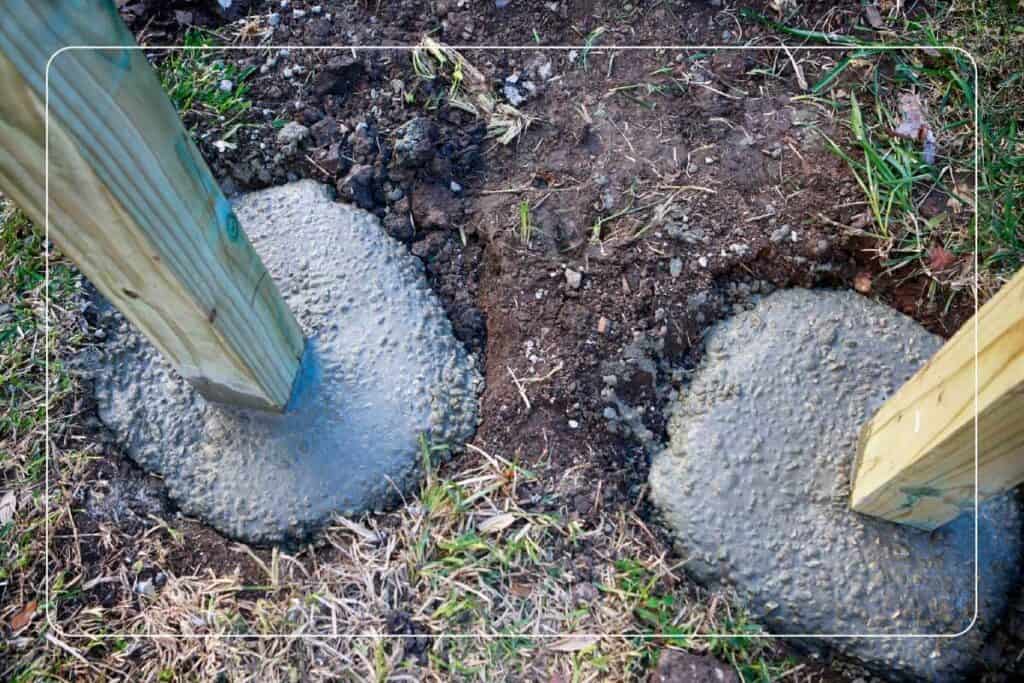
Once the posts are secured in your desired position, you can pour your concrete mix into each hole. Add water into the concrete mix to fill up around the posts. When mixed together, the concrete will harden in the holes as footings.
fConcrete footings will keep the posts secure. To prevent the wood footing from rotting over time, be sure to use treated posts. If you’re working on a concrete foundation, you can instead attach the posts with post bases and secure them with concrete anchors.
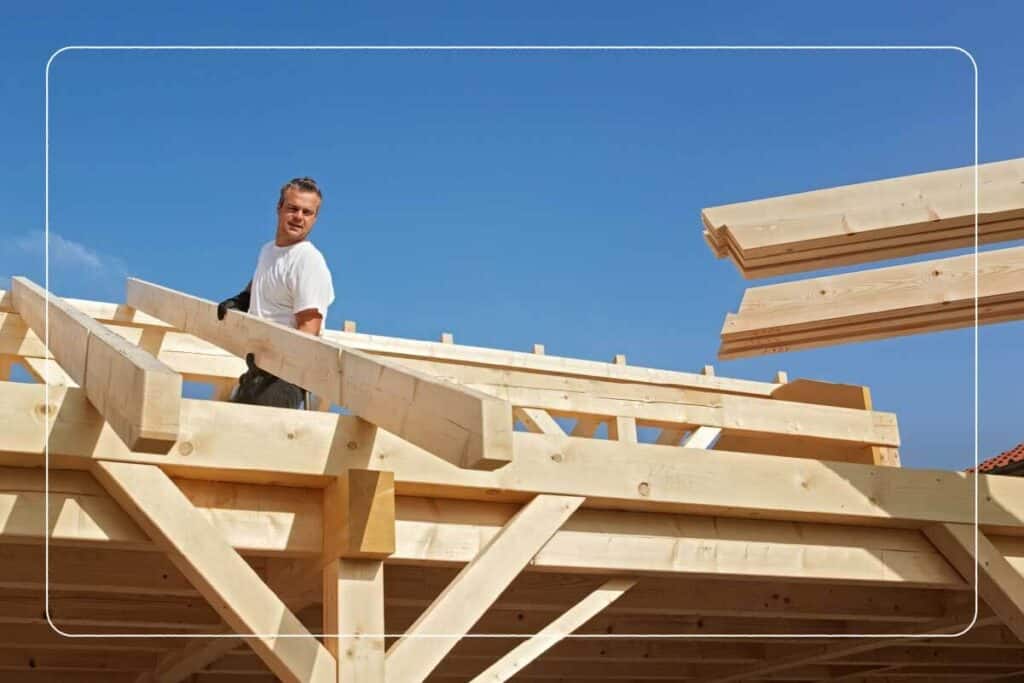
9. Cut the Framing
After the concrete footings are fully hardened, you can now measure and cut the support beams and rafters. Mark the measures with a carpenter pencil. Using a saw, cut all the posts and framing pieces to the appropriate length.
Building the Carport Roof
Once you cut all of the framing and set the base, you can begin assembling the roof of your carport.
10. Secure Ledger Board(s)
Using the desired carport height as a reference, mount your 2×6 ledger board onto the wall of the existing structure and secure it with lag bolts. It will serve as the “connector” between the existing structure and the lean-to carport frame, helping support the weight.
Be sure to screw the lag bolts through the ledger board into the framing of the main building so the ledger board will be able to support the weight of the carport. Your ledger board should be higher than your posts, and the ends of the board should be parallel to the posts.
11. Attach Support Beam and Braces
Next, place the 6×6 support beam perpendicularly across the top of the posts and secure it to them with lag bolts. For extra support, cut and attach shorter, 6×6 braces that extend diagonally from each side of the posts to the support beam. Each post will resemble a “Y” shape once secured.
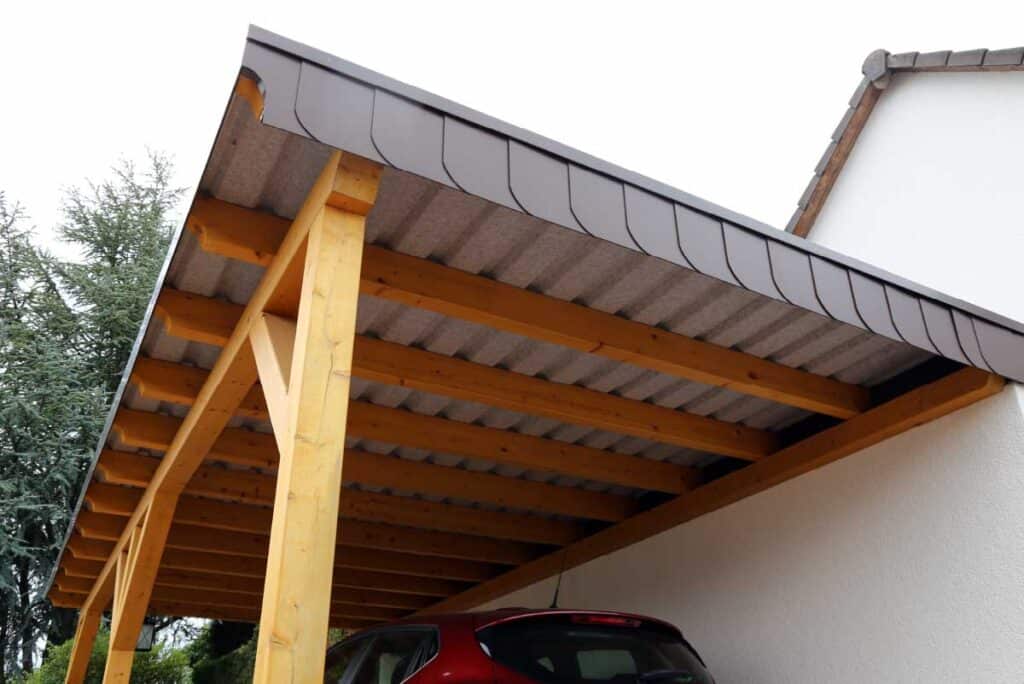
12. Connect Roof Rafters
After attaching the support beam, lay the 2×6 rafters on top as a row, extending perpendicular from the ledger board down to the support beam. Make a small “bird-mouth” cut into each rafter at the points where they meet the support beam, and connect them like “tongue-and-groove” panels.
Fasten the “tongue-and-groove” end of the rafters to the support beams using rafter ties (also called “hurricane” ties). As for the other end of the rafters, secure them to the ledger board with lag bolts.
13. Attach Roof Purlins
Perpendicularly on top of the rafters, lay 2×4 purlins about two feet apart. Secure the purlins to the rafters with nails. These purlin boards are necessary to support the integrity of the roof.
14. Install Roofing Material
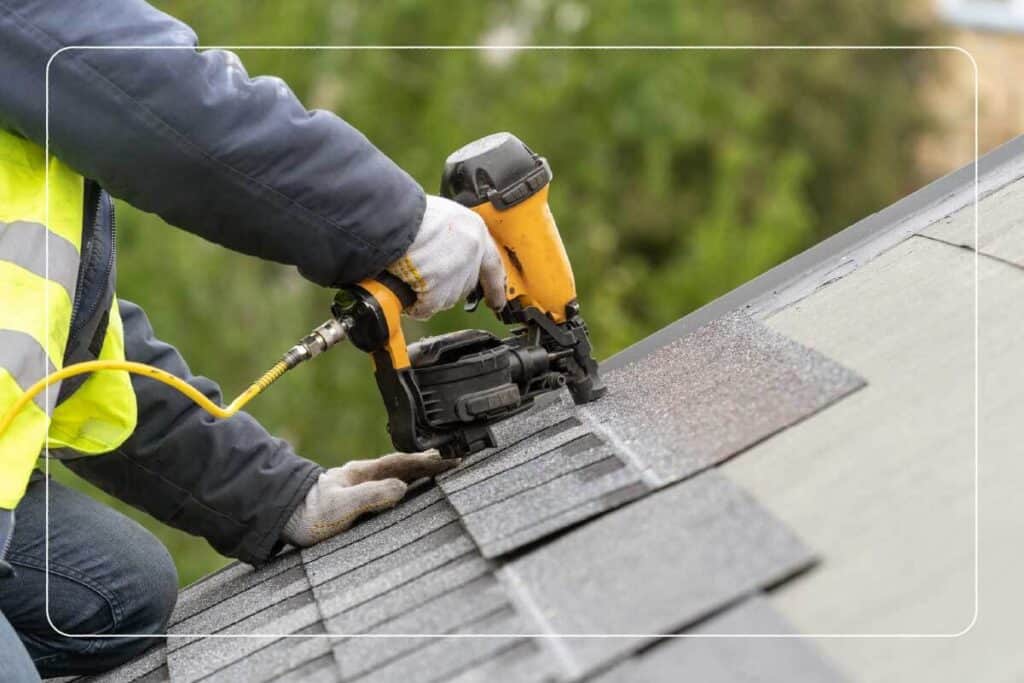
The final step is adding metal roof sheets (or your material of choice) to the roof. Lay the metal sheets across the top of the rafters, allowing each sheet to slightly overlap, and fasten them to the rafters with lag bolts.
Optional Finishing Touches
After completing your lean-to carport, you can personalize it with optional additions. Below are a few popular finishing touches:
- Installing lighting (string lights, mounted lanterns, etc.)
- Enclosing a carport side with a wall addition
- Painting the carport posts and siding
If you plan to install electrical outlets onto the structure, we highly recommend hiring a professional electrician for assistance.
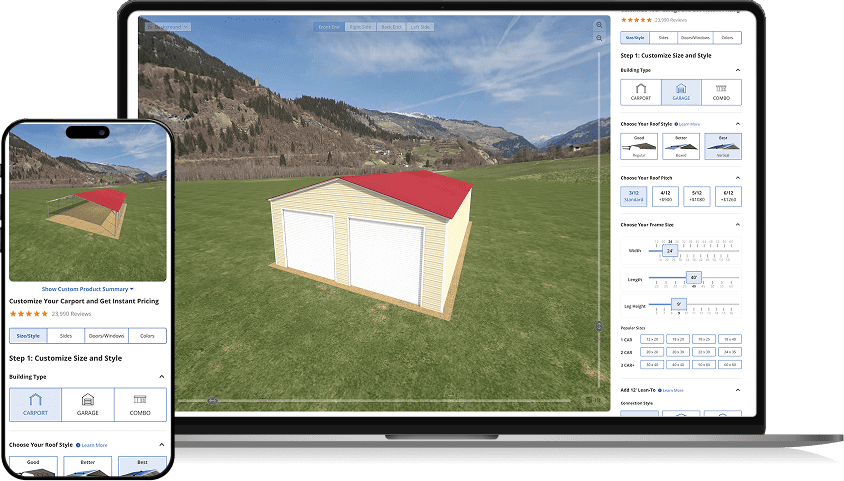
Customize Your Lean-To Carport with Alan’s Factory Outlet
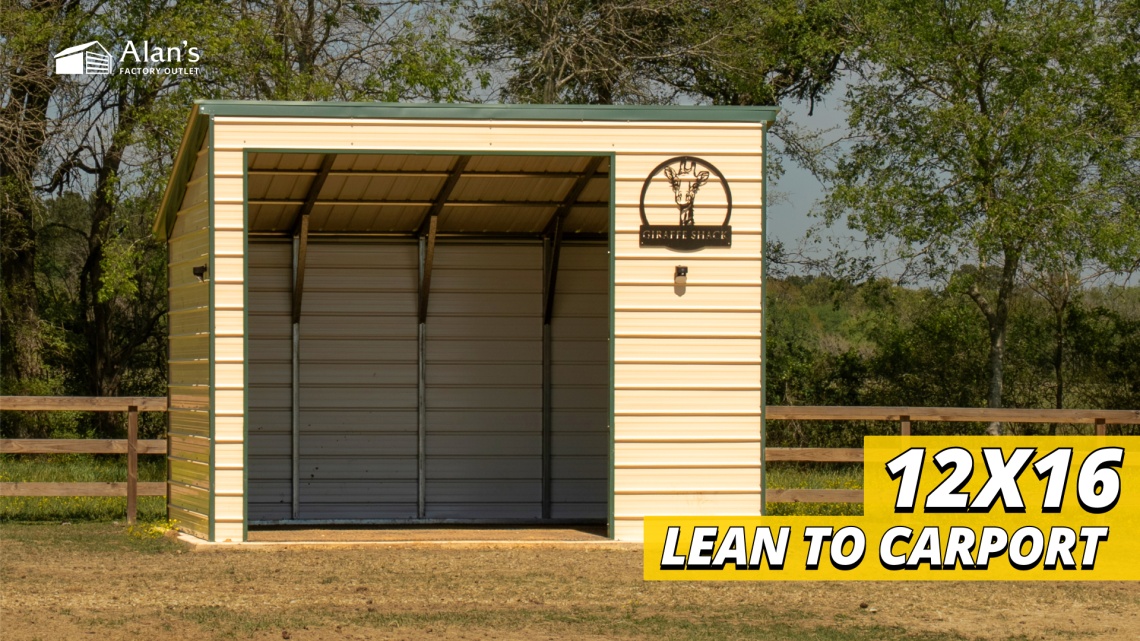
These steps on how to build a lean-to carport should be fairly easy for an experienced carpenter or advanced DIYer to follow. However, if this type of carport is too difficult or time-consuming, you can customize and order a metal carport from us instead.
Here at Alan’s Factory Outlet, we have dozens of carport styles, including metal storage buildings with a lean-to. We also provide free delivery and installation, saving you time and money. Design and order your next carport today using our customization tool below.