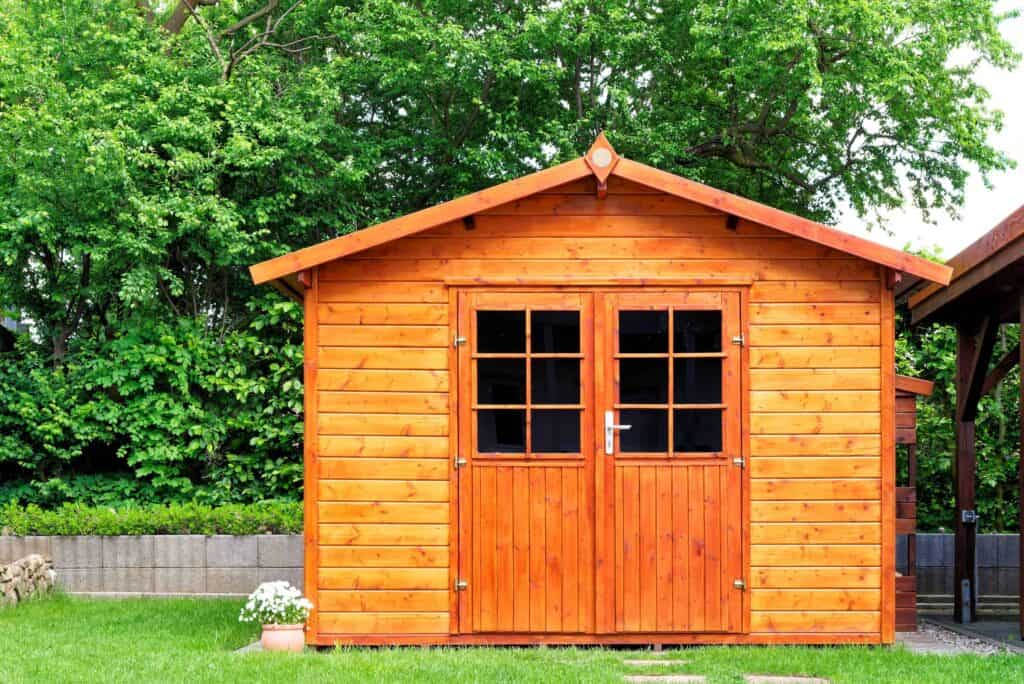
Staining your wood shed might seem intimidating. However, understanding the basics can make the process smoother and more rewarding. The right stain enhances the beauty of your shed and also extends its lifespan by protecting it from poor weather conditions.
In this guide, we’ll break down the types of stains available, the materials you need, and the steps to get the job done quickly. Let’s dive in and ensure your shed gets the care it deserves.
Choosing the Right Stain
Learning about the stain options for your wood shed can be confusing. Let’s cover the different types of stain formulation and stain opacity so you can make an informed decision.
Formulation: This refers to the composition of the stain, which determines how well it penetrates the wood and its overall ease of use. There are three main formulations:
- Oil-based
- Water-based
- Gel
Opacity: This indicates how much of the wood’s natural grain and texture will be visible after applying the stain. There are three main opacities:
- Transparent
- Semi-transparent
- Solid
Types of Stain Formulations
Let’s go over the three main types of stain formulations.
1. Oil-Based Stains
- Description: These stains soak deeply into the wood, offering rich color and robust protection.
Pros
Cons
2. Water-Based Stains
- Description: These stains sit more on the surface and don’t penetrate as deeply as oil-based stains. They’re easier to clean up and dry faster.
Pros
Cons
3. Gel Stains
- Description: Gel stains have a thicker consistency, making application easier and reducing drips and runs.
Pros
Cons
Types of Stain Opacity
Remember, opacity tells you how much of the wood’s natural grain and texture will be visible after applying the stain.
1. Transparent Stains
- Description: Offers minimal color change, allowing the wood’s natural beauty to shine through.
Pros
Cons
2. Semi-Transparent Stains
- Description: Adds color to the wood while still showing the natural grain.
Pros
Cons
3. Solid Stains
- Description: Provides a thick, opaque layer of color, similar to paint.
Pros
Cons
Choosing the Right Combination
As a summary, here is what each formulation and opacity are best for, depending on your type of shed.
Formulation:
- Oil-Based: Ideal for deep penetration and long-lasting results.
- Water-Based: Perfect for easy application and eco-friendliness.
- Gel: Great for precise application on vertical surfaces.
Opacity:
- Transparent: Perfect for highlighting the natural beauty of wood.
- Semi-Transparent: Great for enhancing the wood grain with added color.
- Solid: Ideal for maximum protection and hiding imperfections.
Example Combinations
Formulation and opacity work together for a specific type of stain, such as:
- Oil-Based Semi-Transparent Stain: Penetrates deeply, enhances the wood grain, and offers solid
protection.
- Water-Based Solid Stain: Quick-drying, easy to clean up, provides maximum protection, and
delivers vibrant color.
- Gel Transparent Stain: Simple to apply, preserves the natural wood appearance, and allows for controlled application.
Tips For Choosing the Right Stain
In addition to the stain’s formulation and opacity, you also need to choose a color. Here are a few tips for choosing a color for your wood shed.
- Weather exposure: Is your shed under constant siege from sun, rain, or snow? Solid stains are your ally here. For sheds in more sheltered areas, a transparent or semi-transparent stain could be sufficient.
- Wood type: Some woods, like cedar and redwood, have natural oils that pair well with transparent stains to highlight their inherent patterns. Denser woods might benefit more from a solid stain that helps protect against moisture penetration.
- Aesthetics: Consider the look you are going for. Do you want a natural look, or are you matching the shed to other structures or your home’s exterior? Your visual goal will heavily influence your stain choice.
Pro tip: Always test your stain choice on a small, out-of-sight area of your shed. Wood can be unpredictable, and you’ll want to see how it looks when dry.
Tools and Materials
Gather these tools and materials so you’re fully prepared to stain your wood shed:
| Tool/Material | Description |
| Stain | Calculate the coverage you need. Typically, one gallon covers 200 to 300 square feet. Choose a quality stain that fits the wear and exposure your shed will face. |
| Brushes and Rollers | For applying the stain. Brushes work well for getting into nooks and crannies, while rollers can speed up the process on flat panels. |
| Painter’s Tape | Useful for protecting areas you don’t want stained, such as hardware and windows. |
| Sandpaper | A medium grit sandpaper will help smooth out rough spots and remove any peeling old stain or paint. |
| Drop Cloths | Protect the ground and surrounding area from drips or spills. |
| Power washer (optional) | Ideal for thoroughly cleaning the shed before staining, especially if there’s a buildup of grime. |
| Putty knife (optional) | If restaining, you may need a putty knife to scrape off the old stain after applying a chemical stripping agent. |
Prepping the Wood Shed To Stain
Proper preparation is key to a successful staining job. Follow these steps to ensure your shed is ready:
- Clean the Surface: Use a power washer to remove dirt, grime, and old, flaking stain. If you don’t have a power washer, a stiff brush and a bucket of soapy water will do the trick. Make sure the shed is completely dry before moving on.
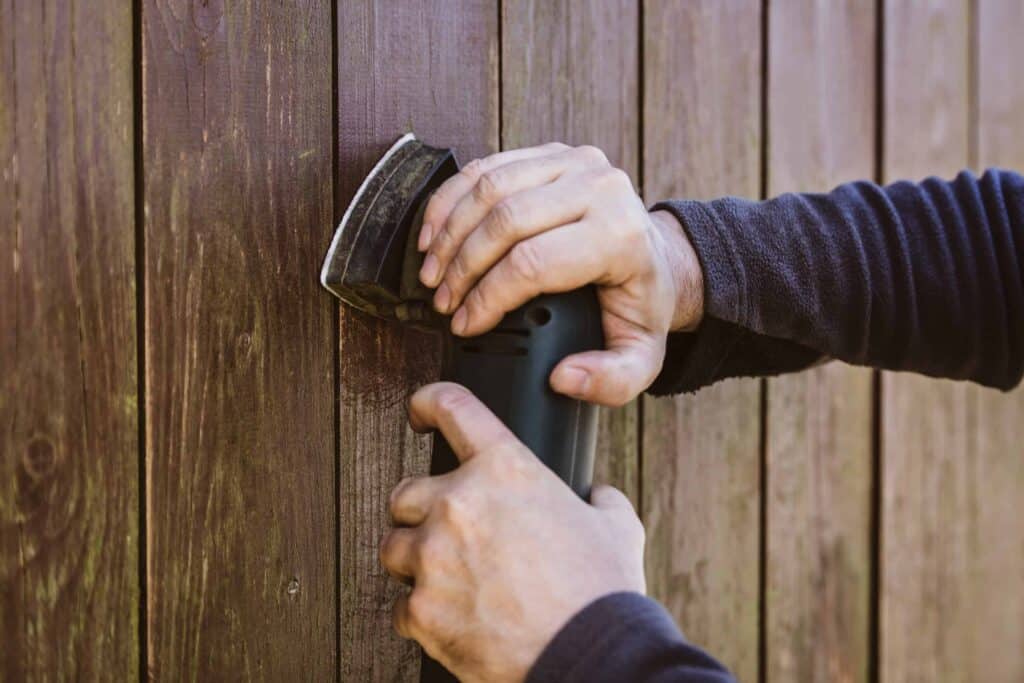
- Sand the Wood: Next, sand the entire surface with medium-grit sandpaper. This step is crucial for removing any remaining rough spots and creating a smooth base that will help the stain adhere better. Pay special attention to any areas with old stain or paint, making sure they’re smoothed out.
- Repair Damage: Inspect the shed for any signs of wood damage or rot. Replace damaged boards as needed and fill small cracks or holes with wood filler. Allow any repairs to dry fully.
- Tape-Off Areas: Use painter’s tape to protect any hardware, windows, or areas where you don’t want stain. This includes door handles, metal accents, or trim pieces. Getting this right ensures a clean, crisp look once the job is done.
- Check the Weather: Make sure to pick the right day for the job. Avoid staining on overly humid or rainy days. Ideal conditions are dry, with mild temperatures. This ensures the stain dries evenly and adheres properly.
- Use a Chemical Stripping Agent (When Restaining): If you’re restaining your shed, you may need to apply a chemical stripping agent to remove the stubborn old stain. To apply the agent, first use a paintbrush. Then, let it dry according to the manufacturer’s instructions. Once dry, use a putty knife to scrape off the old stain that is beginning to peel off the wood. Once you remove all the old stain, sand the shed to prepare for the new stain’s application.
Applying the Stain Step-by-Step
Here’s how to stain your wood shed in 7 steps:
Step 1: Stir Your Stain
Before you even pop open the can, give it a good stir. Stain components can settle at the bottom, and you want a consistent color and viscosity. Don’t shake—stir.
Step 2: Test the Stain
Always test your stain on a discrete part of the shed or a scrap piece of similar wood. This ensures the color and finish are exactly what you expect before committing to the whole shed.
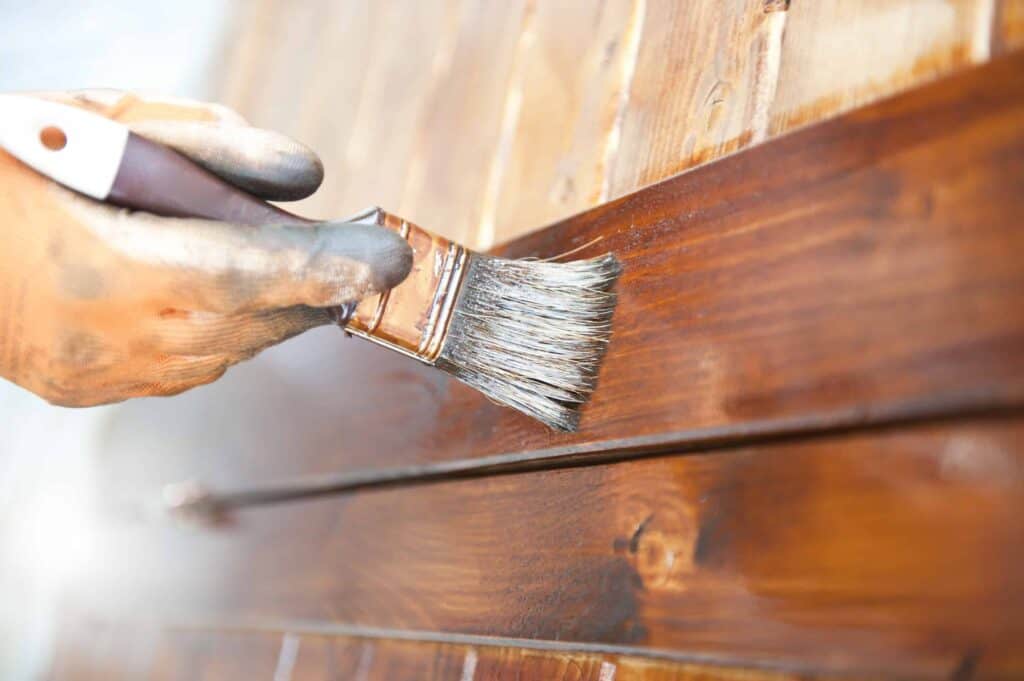
Step 3: Apply the First Coat
Dip your brush or roller into the stain, wiping off excess to avoid drips. Begin at one corner and work your way down and across, maintaining a wet edge to avoid lap marks. For brushes, use smooth, long strokes; rollers should be used in a consistent, back-and-forth motion without pressing too hard.
Step 4: Smooth Out as You Go
After every few strokes, take a step back and look for drips or uneven patches. Smooth these out with your brush or roller while the stain is still wet. This attention to detail can make or break the final appearance.
Step 5: Allow to Dry
Check the stain can for the recommended drying time; it typically ranges from a few hours to overnight, depending on the weather and product. Make sure the shed is dry to the touch before adding another coat.
Step 6: Assess and Apply Second Coat (If Needed)
Once dry, examine the color and coverage. If the wood grain is showing through more than you’d like or the color isn’t as deep as you expected, a second coat might be necessary. Repeat the application process just as you did the first time.
Step 7: Clean Up
Wrap up by cleaning your brushes and rollers with the appropriate solvent—water for water-based stains and mineral spirits for oil-based stains. Remove any painter’s tape and tidy up your work area.
Drying the Shed
Proper drying leads to a smooth overall finish. Let’s discuss step 5 above, drying the shed, in more detail.
- Timing is Everything: Most stains require at least 24 to 48 hours to dry under ideal conditions,
which are 70°F with 50% humidity. Check your stain’s label—times can vary significantly between products.
- Check Humidity Levels: If the humidity is above 80%, you’ll want to extend the drying time. High
humidity slows down the curing process, so it might take an extra 12 to 24 hours before the stain is ready for a
second coat or to be fully dry.
- Temperature Matters: Don’t stain if the temperature is below 50°F or above 90°F. Stain applied in
too-cold conditions won’t adhere well, leading to an uneven finish, while too-hot conditions can cause the stain to
dry too quickly, preventing proper absorption.
- Direct Sunlight: If possible, apply your stain when the shed is in the shade. Direct sunlight can
cause the stain to dry too rapidly, which can lead to a patchy appearance.
- Ventilation: If staining the interior of your shed, open its doors and windows to improve airflow. Good ventilation helps the solvents in the stain evaporate evenly and speeds up the drying process without causing bubbles or wrinkles.
Common Mistakes to Avoid
Some of these topics we already covered, but we will reiterate them because they are important!
Skipping Surface Preparation
Many jump right into staining without properly preparing the wood surface. Ensure your shed is clean, dry, and smooth. Any dirt, moisture, or rough spots can prevent the stain from adhering correctly, leading to poor results.
Ignoring Weather Conditions
Staining in inappropriate weather can ruin your hard work. Avoid staining on very humid days or in direct sunlight, and never stain if rain is expected within 24 hours of application.
Using Old or Wrong Type of Stain
Check that your stain hasn’t expired and is suitable for exterior use and your specific wood type. Old or interior stains won’t stand up to the elements, causing you to redo the job sooner.
Inconsistent Application
Applying stain unevenly can lead to splotches and streaks. Use consistent techniques—whether brushing or rolling—and maintain a wet edge to prevent overlap marks.
Forgetting to Mix the Stain
Stain components can separate in the can. Always stir thoroughly before and occasionally during application to keep the color and finish consistent.
Poorly Timing the Second Coat
A second coat is often necessary for even coverage and protection, but timing is crucial. Applying it too soon can make the surface sticky or uneven. Wait until the first coat is properly dry, per the stain’s instructions.
Interested in a Metal Shed Instead of Wood?
Do these steps to stain a wood shed feel overwhelming? With a metal shed, you’ll never have to apply stain to your shed again. Best of all, metal is fire- and insect-resistant, keeping your storage items inside safe. At Alan’s Factory Outlet, we pride ourselves on our durable sheds with transparent pricing.
Using our design tool below, you can quickly customize and order a new shed in just a few clicks. All our sheds are made in the USA and include free delivery and installation.