Are you noticing a few cracks in your garage floor? Garage floors crack for various reasons, but fortunately, most cracks are just cosmetic (surface-level) flaws and not a huge concern. Given that most garage floors endure the weight of heavy vehicles and weather exposure over time, minor cracks are bound to occur.
However, if your garage floor cracks are more serious, or perhaps just an eyesore you’d like to get rid of, I have good news: repairing cracks in concrete garage floors is fairly simple.
Read on to learn repair methods for garage floor cracks, find out what makes garage floors crack in the first place, and discover ways to prevent concrete cracks from reoccurring.
What You’ll Need
| Tools | Materials |
|---|---|
| Protective gear (rubber boots, gloves) | Concrete degreaser/cleaner |
| Push broom | Concrete patch mix of choice |
| Squeegee | Epoxy coating (or floor sealer of choice) |
| Pressure washer | Self-leveling floor resurfacer |
| Caulking gun/applicator | Concrete bonding adhesive |
| Putty knife/paint scraper | |
| Mixing equipment | |
| Paint roller + extension handle |
Be sure to carefully read through the safety instructions recommended by the product manufacturers of the garage floor crack repair material you use. It’s also important for the garage to be well-ventilated, so make sure to keep the garage door and windows open while working with chemical-based solutions and other repair material.
DIY Garage Floor Crack Repairs: 5 Steps to Success
Concrete floor cracks are a common problem for garage owners. Follow these steps to seal and cover those imperfections successfully.
Step 1: Assess the Damage

Clear out the area by removing every item from the garage floor and parking any vehicles outside. Once the floor is completely clear, inspect all the cracks in the concrete, including their size and where they begin to form. This will help you determine the right repair method to use.
If you notice additional issues during the inspection, such as water leakage or structural problems beneath the surface, seek a professional for their input. They can confirm whether or not the cracking is more serious and which repair materials are best for your situation.
Step 2: Clean and Prep the Floor
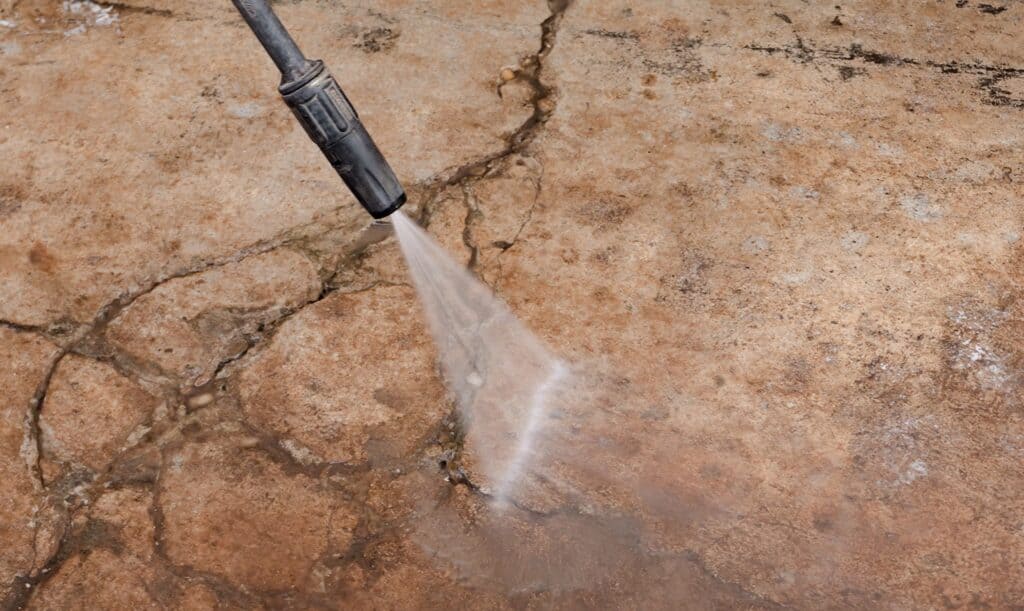
Next, thoroughly clean the garage floor. Start by sweeping up dirt and debris, then follow with pressure washing. This step will help remove any stubborn muck and small pebbles possibly stuck within the cracks. After washing, use a push broom or squeegee to push all excess water into the drains and allow the concrete floor to dry completely.
Apply a concrete bonding adhesive to the garage floor as the primer, spreading it evenly across the surface with a roller. Let this dry for about two hours. The adhesive will help bond the new concrete with the existing concrete surface.
Step 3: Fill the Cracks
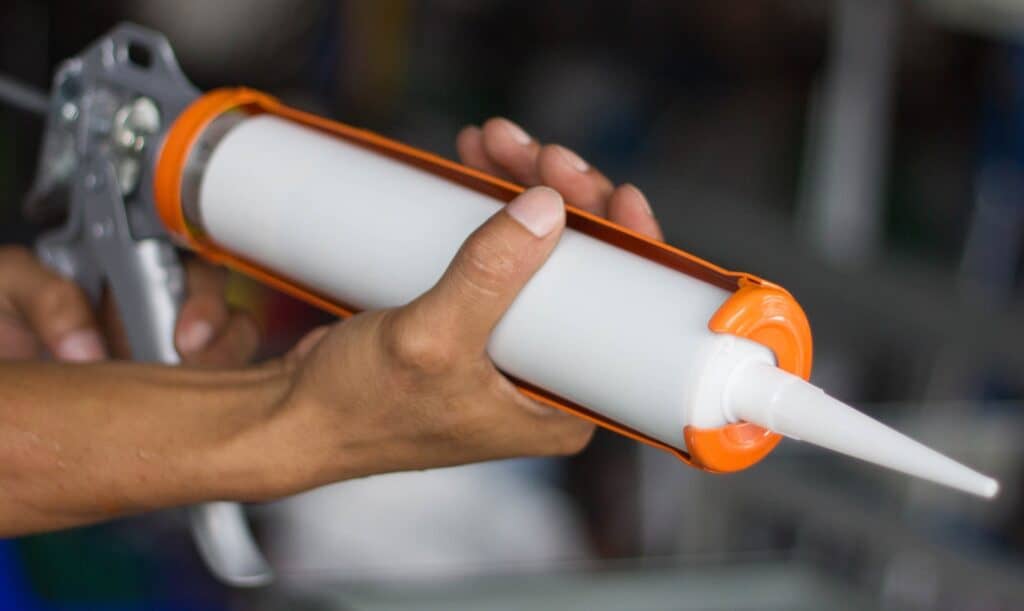
Using your caulking gun, squeeze out the concrete crack repair mix into the floor cracks, slowly filling the cracks one at a time.
For settled concrete spots—areas where the floor cracks are unleveled—you’ll need to use a resurfacer mix. Thoroughly mix and pour the floor resurfacer (preferably a self-leveling product) across the settled areas per the manufacturer’s instructions.
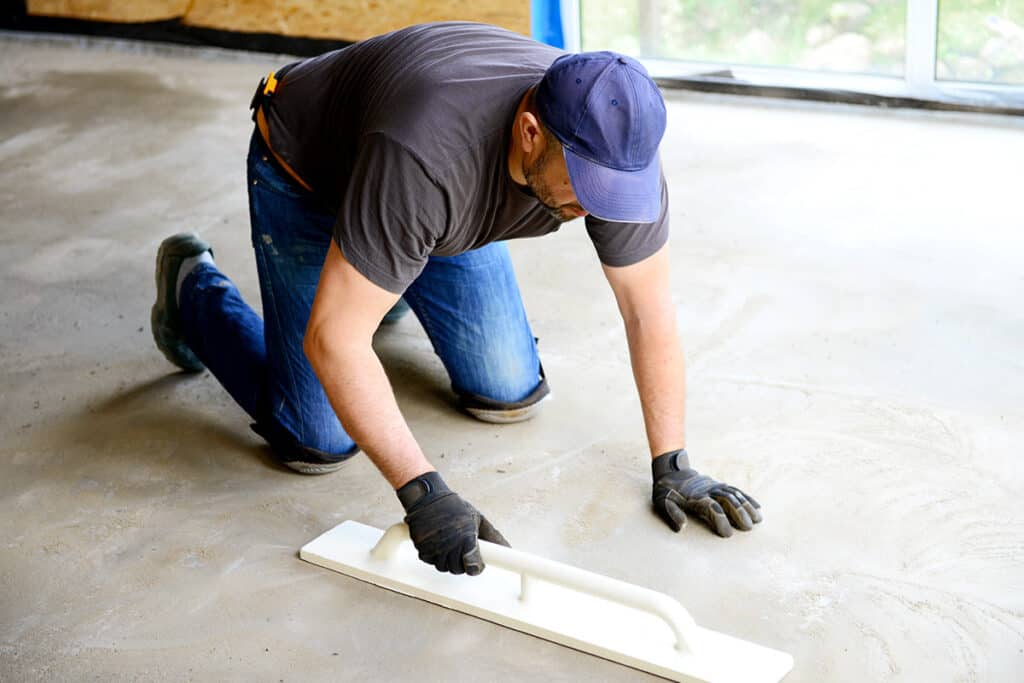
Step 4: Smooth and Blend
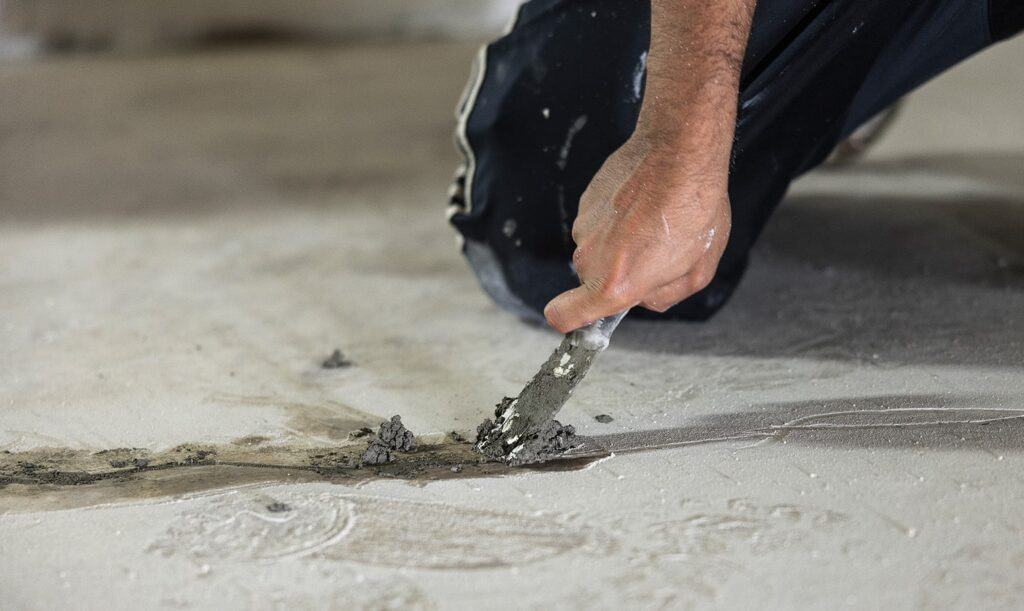
Use your putty knife or paint scraper to spread and smooth the concrete crack repair mix evenly across the crack surfaces. Then, spread the floor resurfacer evenly over the unleveled areas by using a squeegee. As the name conveys, a self-leveling resurfacer levels as it cures, saving you time.
After smoothing and blending the concrete patches, wait for the curing time and drying process. Crack patch mix may take two to six hours, and resurfacer mix may take six to 24 hours before they are dry to the touch.
Step 5: Apply Floor Coating
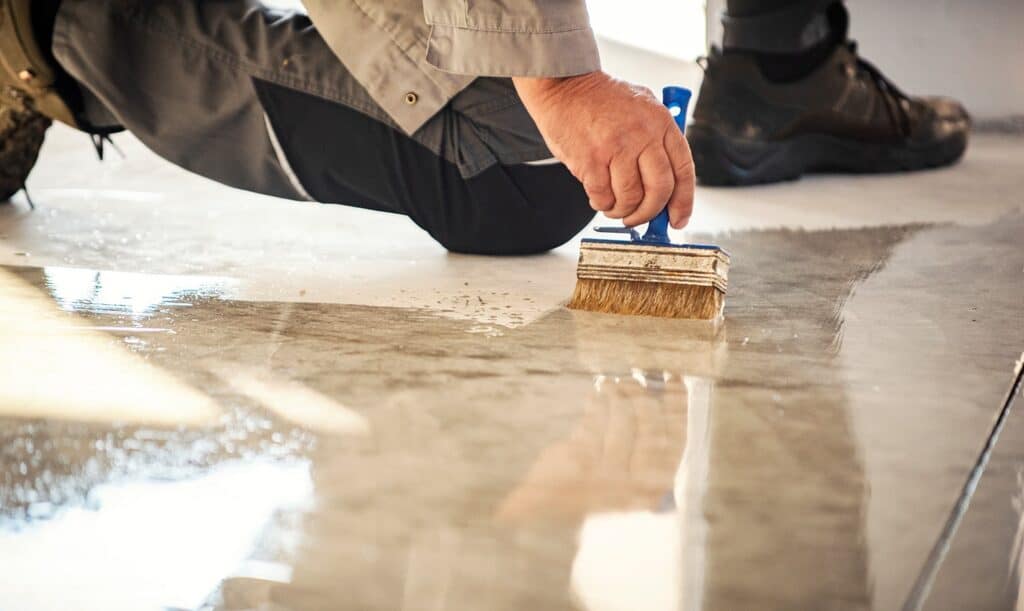
Applying the floor coating is the final step. Epoxy coating (or your sealant of choice) will harden as a surface layer. This protects the garage floor from damage and helps conceal those patched cracks. Allow about 24 hours of drying time before adding a second layer of coating.
When applied correctly, floor coatings improve the concrete floor’s durability and make it resistant to moisture and stains. For best results, apply floor coatings when the weather is cool and comfortable, not in extremely hot temperatures.
Also, wait at least a week before parking vehicles inside the garage, and allow the epoxy to fully cure and harden evenly first.
Prevention and Maintenance
Once you’ve repaired and smoothed the cracks, take steps to ensure your garage floor doesn’t develop cracks in the future. There are routine inspections and maintenance to do to prevent future cracking and preserve the lifespan of your garage floor:

- Learn the common causes: Concrete garage floors tend to crack under seasonal temperature fluctuations, where they contract and expand from freezing and thawing. You can resolve this issue with proper garage insulation and temperature control units.
- Keep it clean: Mud, grime, and road salt during winter months can cause wear and tear to concrete over time. Combat this by periodically sweeping and scrubbing your garage floor, preventing dirt and debris buildup.
- Repair new cracks: Do your best to fill in or patch up any new cracks in the garage floor as soon as you notice them. This can keep them from spreading and splitting.
- Use concrete sealers: Finish off any freshly repaired or new concrete slab with a floor coating solution. In addition to strengthening the concrete, concrete sealers provide a good waterproofing method for garage floors and make them easier to clean.
- Schedule routine inspections: Periodically check your home and garage for pipe leaks and any other issues that can cause structural damage to the foundation.
While most concrete garage floor cracks are easy enough to repair yourself, other cracks that stem from structural problems, such as foundation shifting and erosion under the foundation, are much more severe. Know when to hire a professional. Experienced contractors can properly evaluate signs of potential problems and help you choose the best course of action.
Frequently Asked Questions
Are cracks in garage floor concrete normal?
Yes, it’s normal to see a few hairline cracks form in your garage floor over time. These surface-level cracks are generally wear and tear from parked vehicles, foot traffic, and weather. Large, progressive cracks, however, may indicate a more serious issue.
Why do concrete floors crack?
Concrete expands and shrinks during severe temperature changes, such as from freezing winters to humid summers, which can cause it to crack over time. Garage concrete floors can also crack under too much weight in one area, such as a heavy parked vehicle, and from uneven soil settlement beneath it.
Can you repair a sinking or badly cracked garage floor?
Yes, but repairing sinking floors most likely requires extra steps and assistance from multiple people. You’ll want to factor in the size of your garage and project time. A sinking concrete garage floor is most likely suffering from other structural damages. In this case, it’s best to let a professional contractor handle it.
Closing Tips on Garage Floor Repair
Following this guide, you’ll have a fully repaired concrete garage floor in no time. Remember to stay on top of necessary repairs and inspections to maintain a durable, crack-free garage floor.
If you’re planning to install a concrete foundation for a new home addition, consider a detached metal garage. From extra parking and storage space to a soundproof garage workshop, you can use detached garages for almost anything.
Our metal garages are proudly made in the USA, and thousands of customers love the protection, convenience, and peace of mind they provide. Customize and order your next metal garage using our design tool below, and take advantage of our free delivery and installation.