Well, another camping season is winding down. The air’s getting crisp, the leaves are turning, and maybe you just got back from one last trip in your home-on-wheels. You’re probably tired. Understandably, the last thing you might feel like doing is a bunch of chores for RV winter storage.
It’s tempting to just park it, lock the door, and think, “I’ll deal with it next spring.”
A little dust? A few stray spiders? No big deal, right?
That night, you dream of water lines bursting like frozen firecrackers. Maybe you even picture the roof caving under heavy snow or discovering a cracked engine block come springtime.
You wake up in a cold sweat, relieved it was just a nightmare…
But here’s the thing: those are all possible scenarios when storing an RV in winter. Thankfully, you can avoid these risks with the right preparation and a little know-how. That’s why we wrote this guide.
We’re here to walk you through how to properly prepare your RV for the cold winter months ahead, ensuring it’s safe, sound, and ready for adventure when the warm weather returns.
The Case for Winterization: Why Proper RV Winter Storage Matters
You might remember from science class that water does a funny thing when it freezes—it expands. By almost 10%, according to StackExchange. That expansion is powerful. It’s why ice floats and why we get to skate on a frozen lake during winter.

But here’s the thing: that powerful expansion happens inside your RV’s plumbing if you leave water there during freezing weather. When water freezes in a confined space like a pipe, a valve, or a tank, it will push outwards with incredible force, often cracking whatever is holding it.
This single fact causes many problems when storing an RV in winter.
Skipping winterization might save time now, but it’s a gamble that can lead to some seriously expensive headaches later.
Let’s look at the potential consequences you’re dodging by taking the right steps.
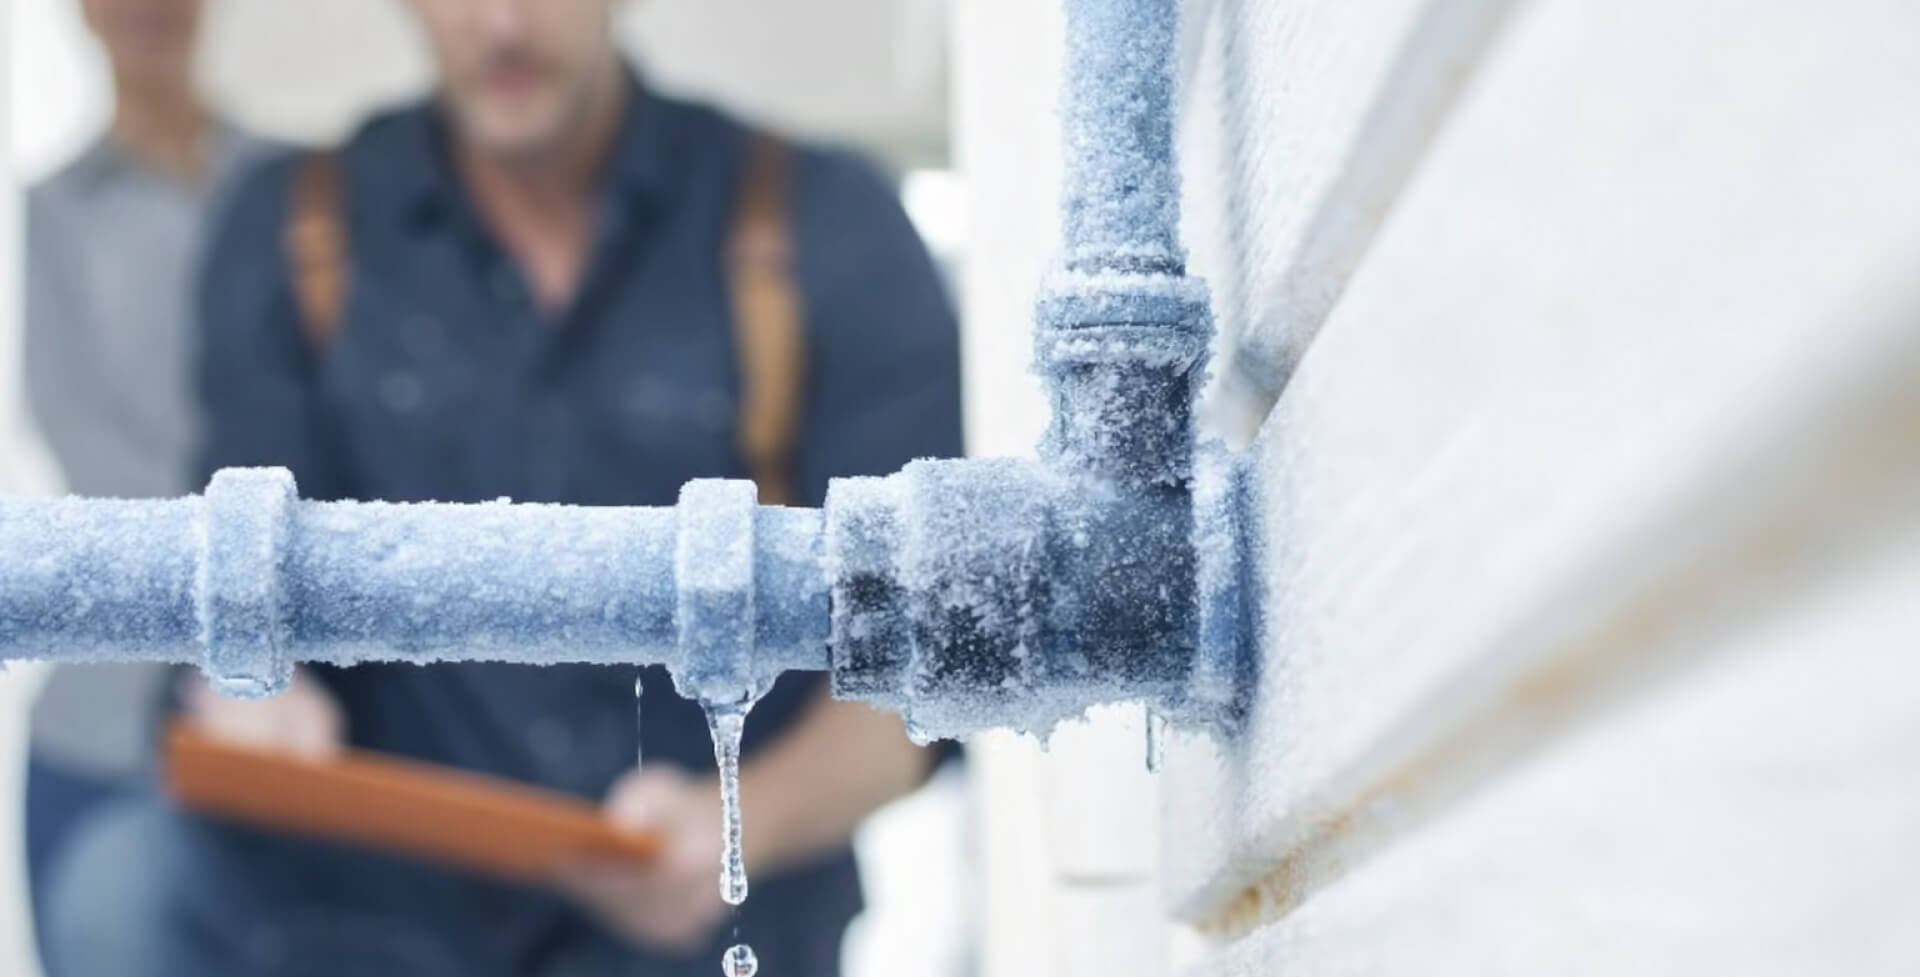
Frozen and Burst Water Lines, Plumbing Components, and Holding Tanks
This is the big one. Any water left lingering in your RV’s plumbing—the pipes, faucets, the water pump, the water heater, and toilet valves—will freeze when temperatures drop below 32°F (0°C).
As it freezes and expands, it can easily crack these components. You might not even notice the damage until springtime, when you turn the water back on, only to find leaks everywhere.
Freezing temperatures can also crack your fresh water, grey water, or black water holding tanks if they aren’t completely drained. Fixing extensive water damage and replacing plumbing parts can cost hundreds, even thousands, of dollars in repairs.
Roof Damage or Collapse from Snow/Ice Load
Heavy, wet snow or accumulated ice can exceed the RV roof’s weight limit, causing sagging, structural damage, broken trusses, or even a full collapse.
According to Drivin’ & Vibin’, most stock RV roofs can support up to 250–300 pounds. With the average American man weighing 200 pounds (source: 2024 Hims Shape of America Report), most RV roofs will hold your weight.
But with snow, it’s a different picture.
According to CNY Central, wet snow can weigh as much as 20 pounds per cubic foot. That means every inch of snow weighs around 1.7 pounds per square foot (psf).
The roof of a Class C RV is about 28 ft x 8 ft = 224 square feet.
So a single uniform inch of wet snow on that RV’s roof would weigh almost 400 pounds, possibly exceeding what the roof can hold.
In the case of much fluffier dry snow, which weighs around 3 pounds per cubic foot or 0.25 psf for every inch of snow, it would only take seven inches to reach the same total weight. A foot of snow would almost surely collapse the average RV roof.
Seal Degradation and Leaks due to Freeze/Thaw Cycles
Water seeps into tiny imperfections in seals around windows, vents, seams, and doors. When it freezes, it expands, widening the gap. Repeated cycles rapidly degrade seals, leading to significant water intrusion and interior damage.
Ice Dam Formation and Related Leaks
Similar to houses, ice can build up along the RV roof edge, preventing melting snow from draining properly. This backed-up water can then work its way under roofing materials and into the RV interior.
Permanent Battery Damage
Cold temperatures significantly slow the chemical reaction in batteries, making them harder to charge and easier to discharge. Storing batteries in a discharged state in the cold drastically shortens their lifespan and can lead to irreversible damage (sulfation) or freezing of the electrolyte, potentially cracking the case.
As Dr. Mike McDonagh from Energy Storage Publishing stated on BESTmag, cold temperatures can fool even modern smart chargers into thinking the battery is charged when it really isn’t. Quoting Dr. McDonagh, running “an over-discharged battery…in a partial state of charge” can “kill a lead-acid battery in just a couple of months.”
Engine Block Cracking
In motorized RVs, if the engine coolant (antifreeze) doesn’t have the correct concentration for the expected low temperatures, it can freeze and expand, potentially cracking the engine block or radiator—a very expensive repair.

In some cases, a cracked engine block may require a full replacement. According to Car Parts News, a V-10 gasoline engine like the one you’d find in a Class C RV can cost as much as $2,500 used and almost $5,000 remanufactured. If you want a brand-new OEM crate motor, you’re looking at $7,500.
And don’t even get me started on diesel engines! A diesel engine for a small RV can cost $5,000–$8,000 more than its gasoline counterpart.
Diesel Fuel Gelling
In freezing temperatures, paraffin waxes in diesel fuel can solidify or “gel,” clogging fuel lines and filters, preventing the engine from starting. This fuel gelling can be a big issue if you need to move your RV before the winter season is over.
Additional Risks Related to Winter RV Storage
While the issues mentioned above are your biggest concerns, there are a few other things to look out for:
- Damage to Awnings/Slide Toppers: Snow and ice accumulation can stretch, tear, or damage the fabric and hardware of awnings and slide toppers if they aren’t properly retracted and secured.
- Damage to Vent Covers/Skylights: Plastic components like vent covers and skylights become brittle in extreme cold and can easily crack under the weight of snow/ice or from impacts (like falling icicles or branches).
- Damage to Air Conditioner Shrouds: Heavy snow/ice can crack or damage the plastic A/C shroud.
- Pest Infestation: Rodents and insects seek warm, protected shelter during the cold winter. An improperly sealed RV is an inviting target, leading to chewed wires, insulation damage, and contamination.
Taking the time to winterize protects you from these headaches and ensures your RV is ready to roll, trouble-free, come springtime. It’s a worthwhile investment in peace of mind.
Where Will Your RV Spend the Winter? Exploring Storage Options
All right, hopefully, we’ve convinced you why winterizing is so important. But knowing where your RV will ride out the colder months is as important in terms of preparation.
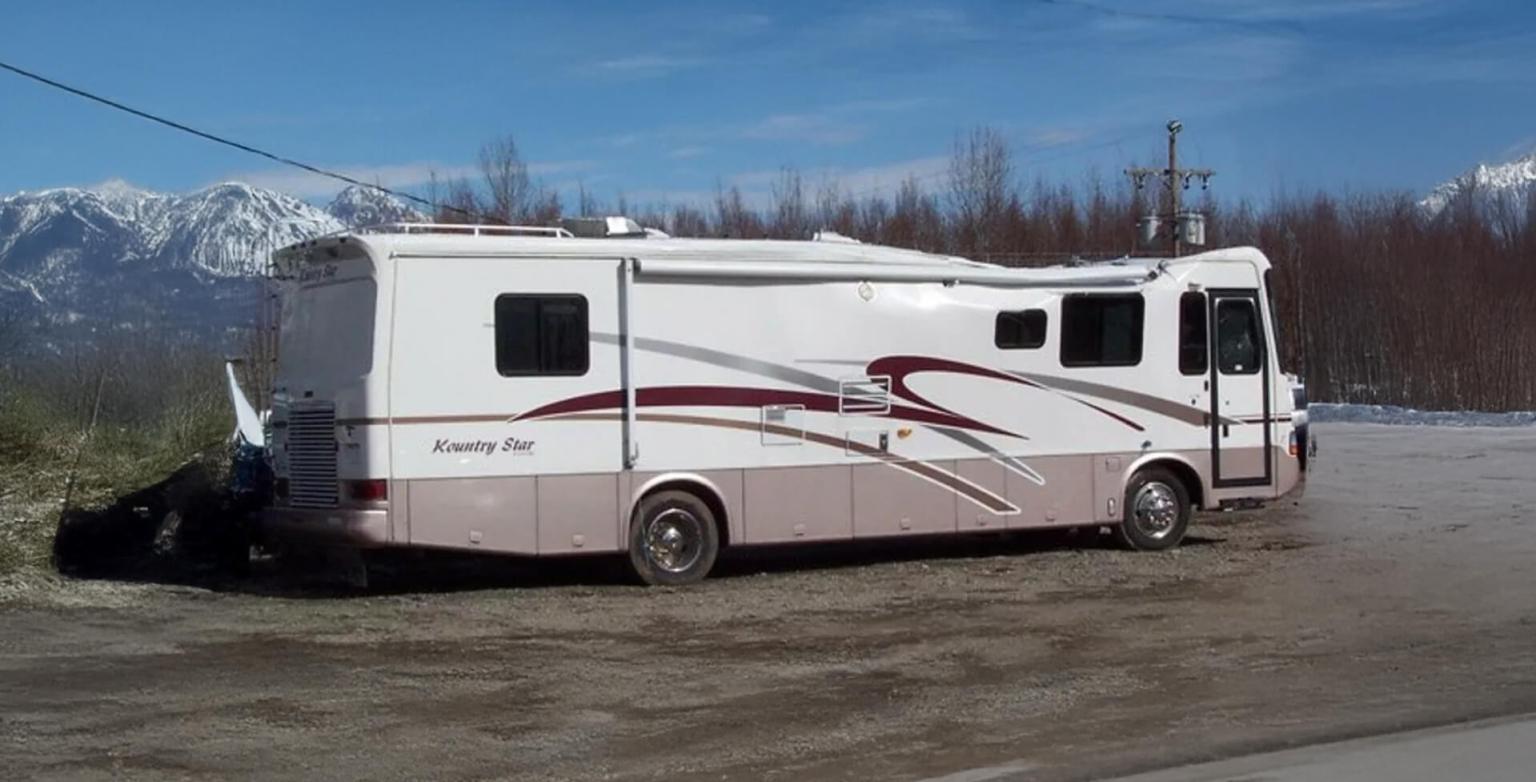
Winter RV Storage at Home: Convenience and Considerations
Storing your RV right on your own property is often the cheapest and most convenient option. You can easily access it for maintenance checks or to grab something you forgot inside. Plus, there’s no monthly storage fee.
However, there are downsides. Your RV will be exposed to the elements—sun, rain, snow, ice, wind—unless you have some kind of RV shelter.
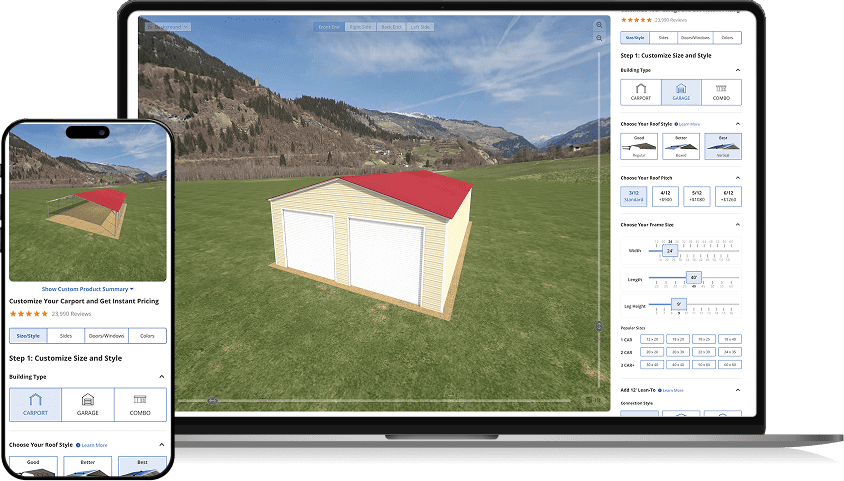
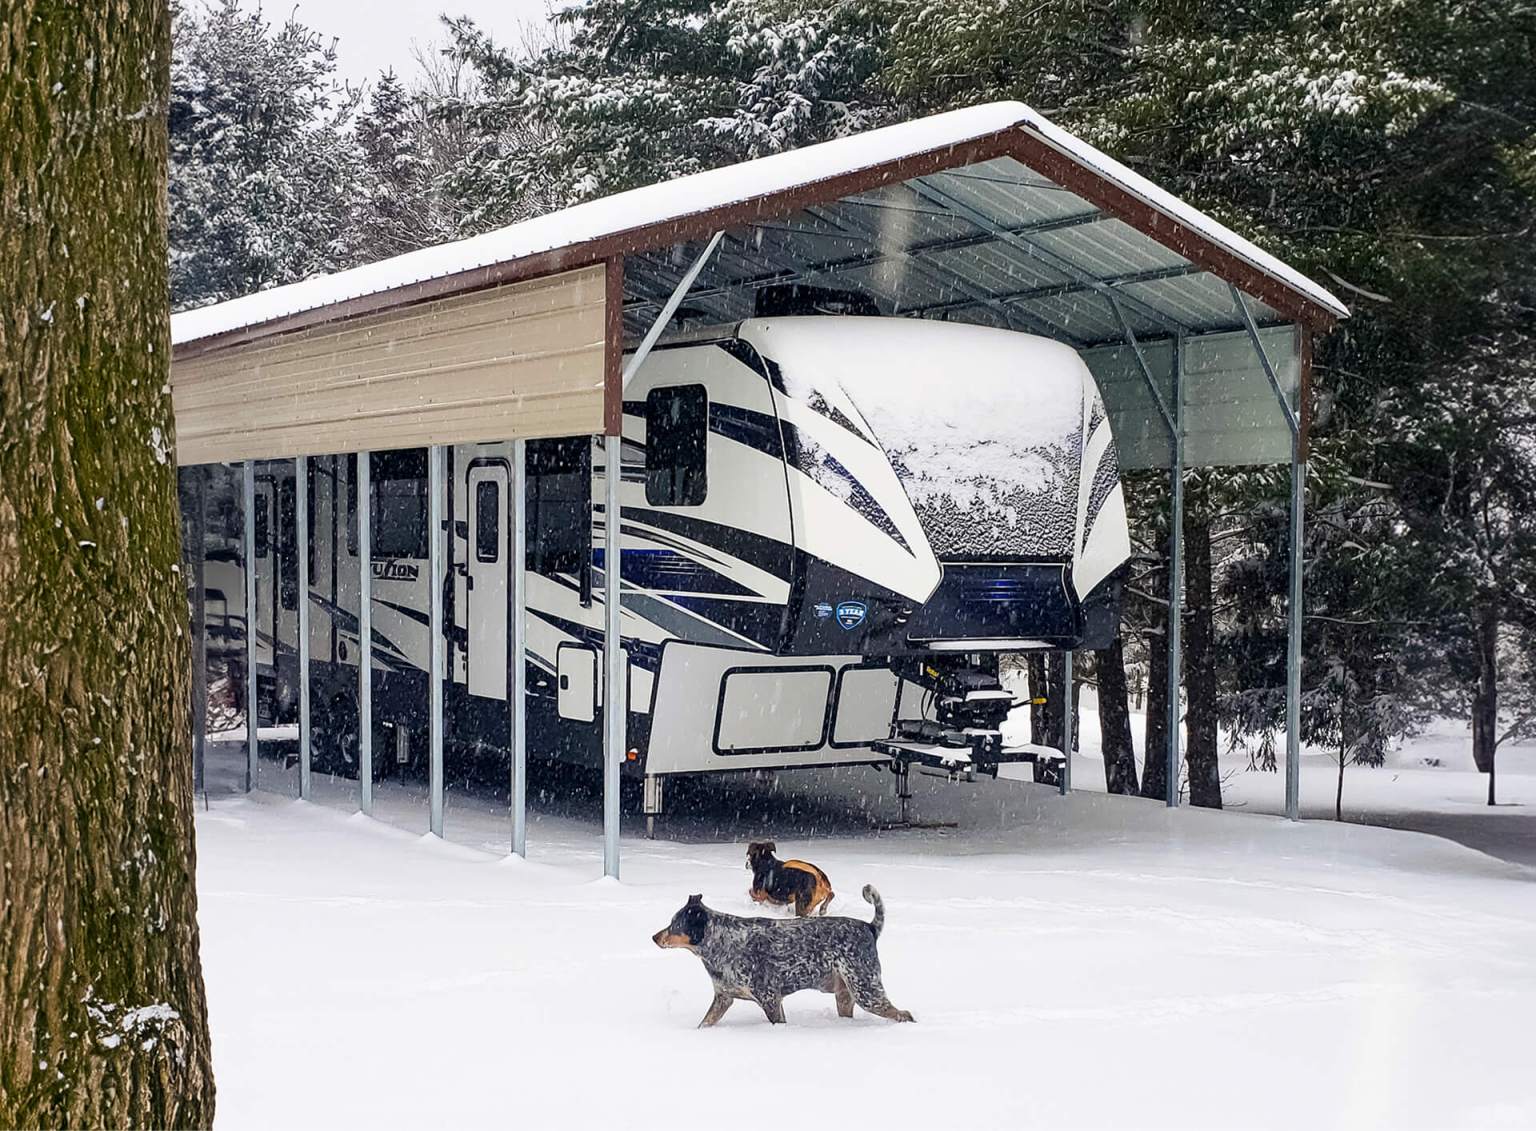
This is where a metal building from Alan’s Factory Outlet can be a lifesaver. A sturdy metal RV carport provides excellent overhead protection from snow, ice, rain, and the worst of the sun’s UV damage, significantly reducing weather-related risks.
Use our height clearance calculator to ensure your carport is tall enough to accommodate your RV.

On the other hand, a fully enclosed RV garage offers complete protection from the elements and added security, turning your backyard spot into a premium storage solution.
If you don’t have a shelter, you’ll need to be diligent about snow removal from the roof.
Off-Site Winter RV Storage Facilities: Pros and Cons
Some local zoning laws or Homeowner Association (HOA) rules include restrictions on parking RVs, especially larger motorhomes, in driveways or yards for extended periods.
If storing at home isn’t feasible or doesn’t offer enough protection, using a dedicated storage facility is a popular choice. These businesses offer various storage options specifically for vehicles like RVs.
When it comes to off-site RV storage facilities, you’ll find several options for different wallets. Some are outdoor storage lots, while others are large, temperature-controlled warehouses.
Outdoor Storage Lots
This is typically the most basic and budget-friendly option at a commercial storage facility. It’s usually just a designated parking spot in an open lot. You get no protection from harsh weather, direct sunlight (leading to UV damage), bird droppings, or falling tree limbs.
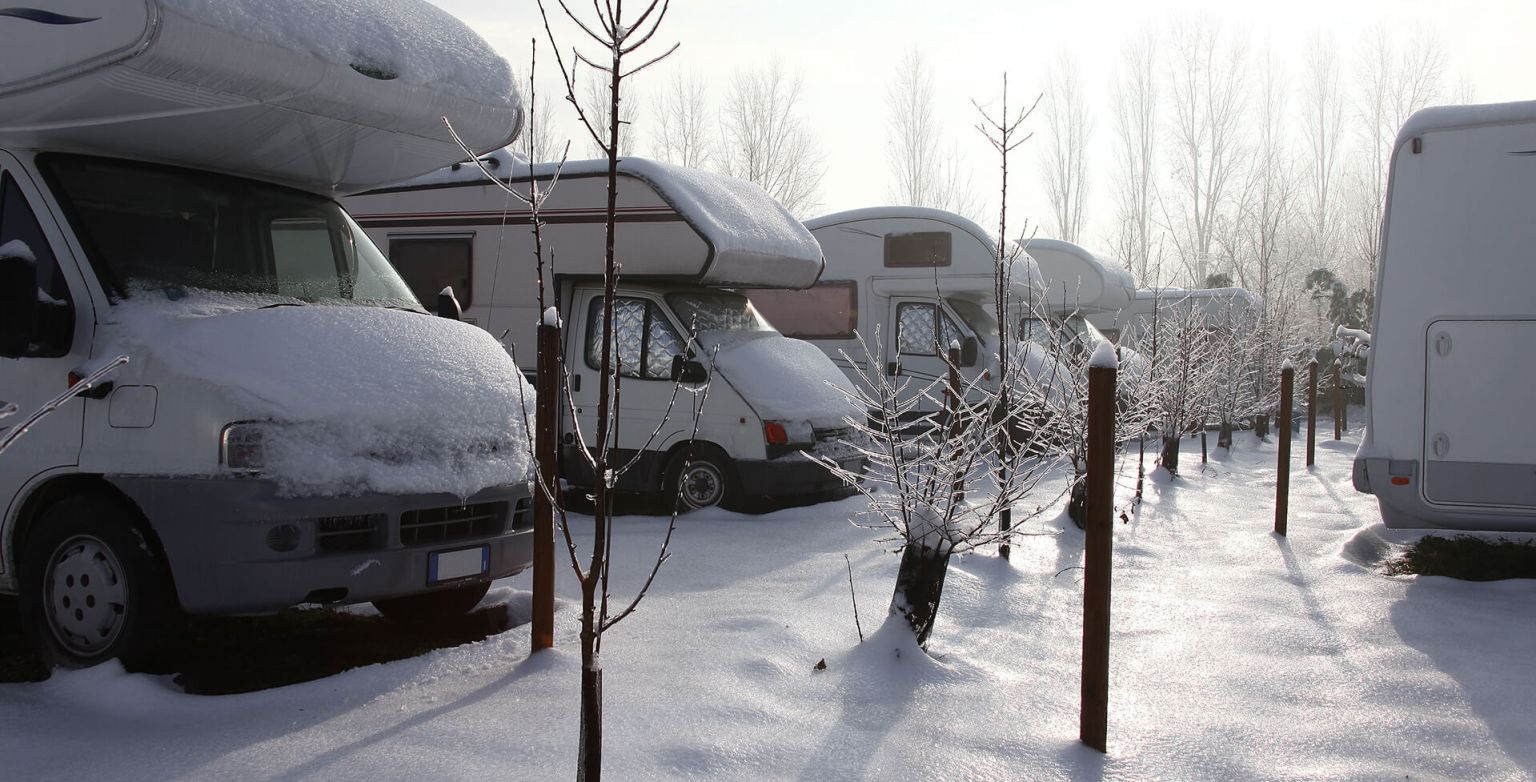
It’s better than parking on the street, but it offers little environmental protection.
Covered Storage Spaces
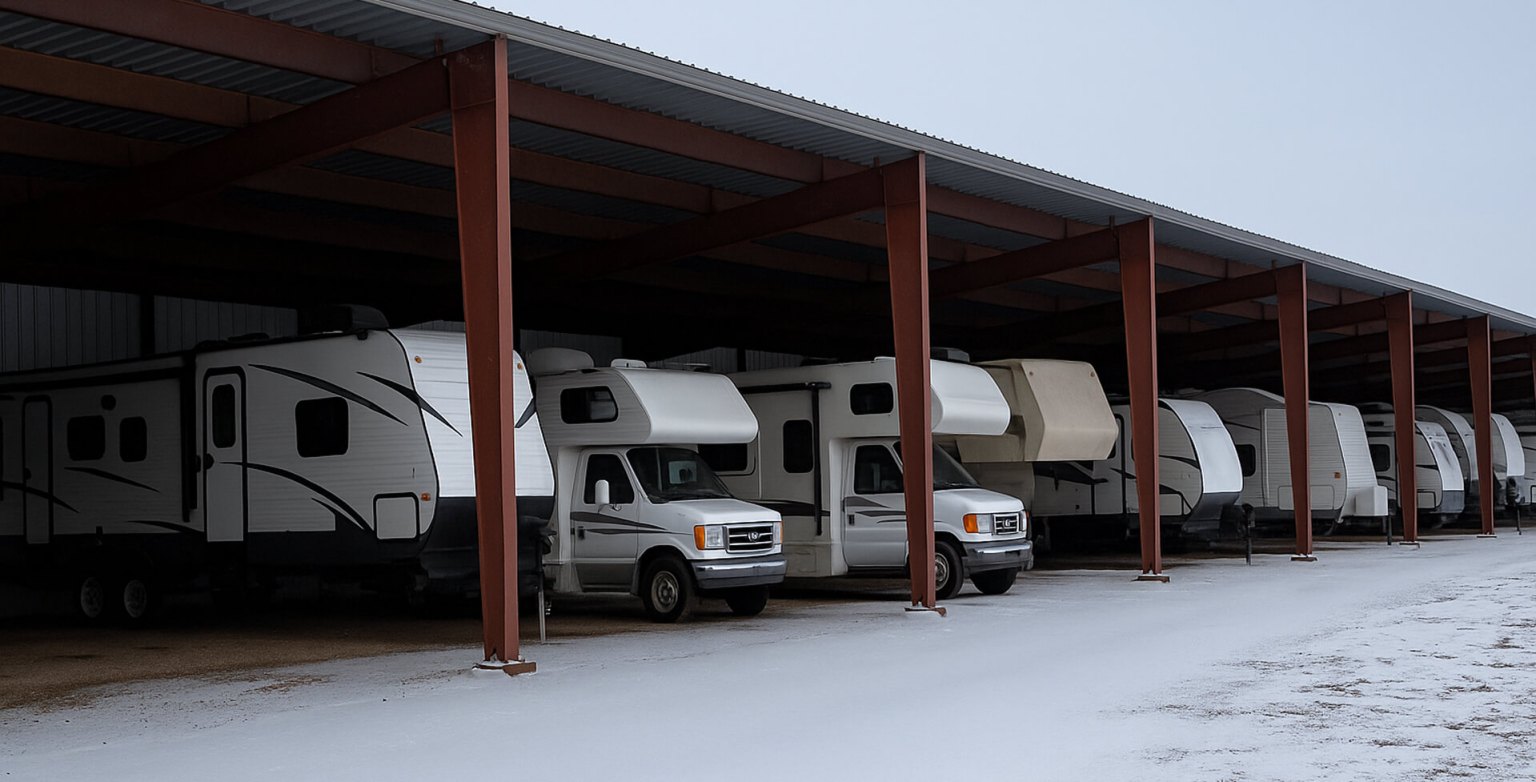
A step up from open lots, covered storage usually means a roof over your RV, but the sides may be open. This offers significantly better protection from direct sun, rain, and snow accumulation, reduces UV damage, and keeps the worst of the weather off.
However, wind-blown rain or snow can still reach your rig, and it doesn’t offer much protection from ambient temperature swings or humidity. These storage spaces usually charge more per month than open lots.
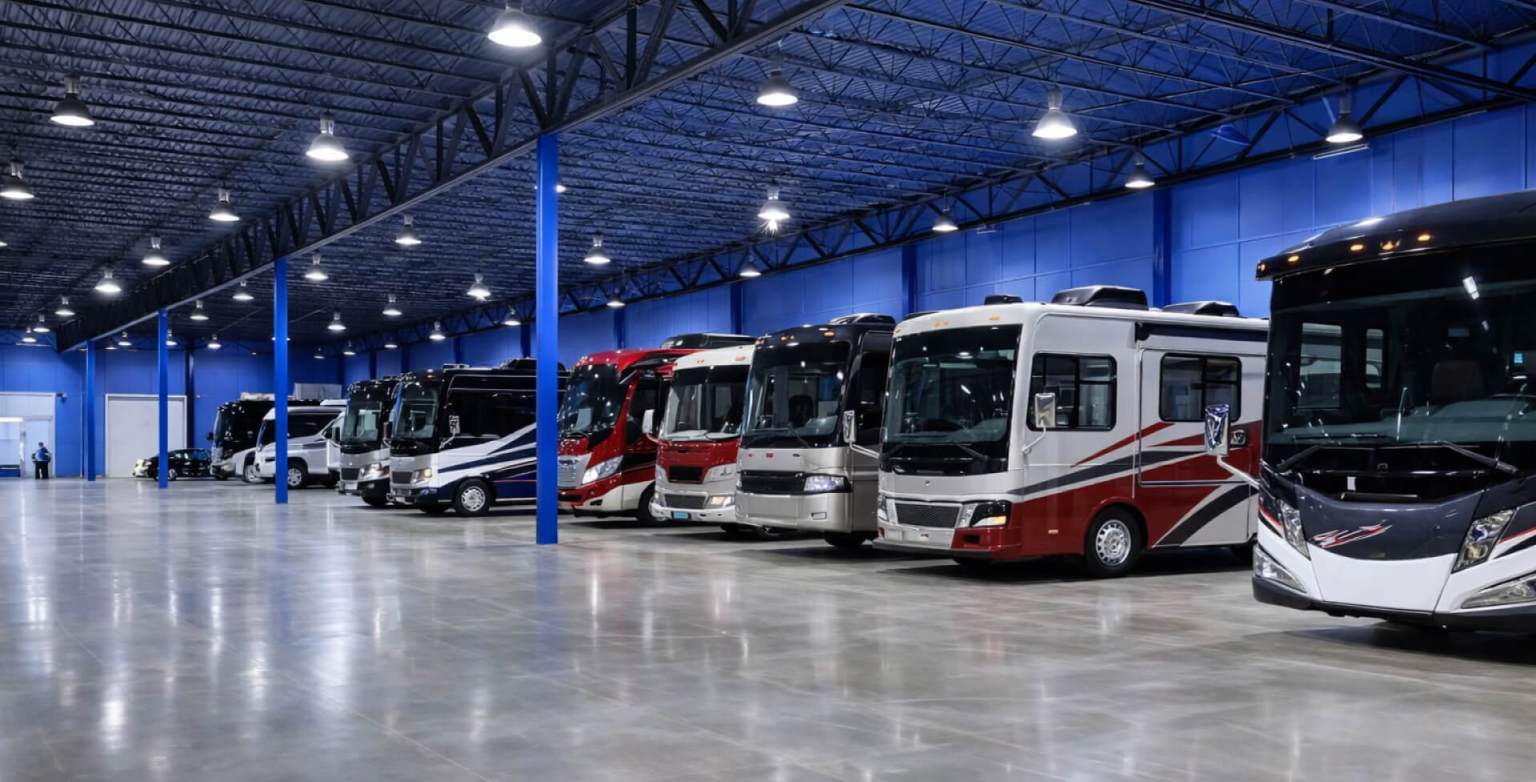
Indoor Storage Units
Here, your RV is parked inside a fully enclosed building or a large individual storage unit similar to a garage. This provides excellent protection from all weather elements. It’s ideal for preventing exterior damage and keeping your RV cleaner.
You’ll find two variations:
- Non-climate-controlled storage units
- Climate-controlled storage units
A climate-controlled storage space is often the most expensive storage option, typically charging a premium per month, but it offers the best peace of mind, avoiding most of the risks related to low temperatures and changes in humidity.
Factors Influencing Your Choice
So, how do you pick the best storage option for you? Consider these points:
- Budget: How much are you willing to spend per month? Costs range from free (your yard) to potentially several hundred dollars for a large, climate-controlled indoor storage unit.
- Climate: Are you dealing with heavy snow, frequent freeze/thaw cycles, high humidity, or intense sun (even in winter)? Colder climates or wetter areas might justify investing in covered or indoor storage. Milder, drier SE US winters might make outdoor storage with good prep more feasible.
- RV Type & Size: A small pop-up camper might fit in your standard garage, but a larger motorhome needs a dedicated space. The size will directly impact the storage cost at a facility or the size of the garage or carport you’ll need to install at home.
- Level of Protection Desired: How concerned are you about UV damage, weather wear, potential pest issues, or security?
- Accessibility: If you want to check on your RV during the winter months, storing at home offers the most access. Some storage locations might have limited hours.
Do some research, compare prices, features, and security, and read reviews before making a decision.
General RV Storage Prep: Tires, Pests, and Exterior Care
Before we dive into the specific tips for winter RV storage, which is our focus here, some general prep steps are crucial whenever your RV sits for extended periods. We’ll give only a brief account of these general steps here.
Key areas include:
- Tire Maintenance: Ensure proper inflation and use tire covers to protect against UV rays and weather. Lift the RV on blocks or jack stands to prevent flat spots during long-term parking.
- Pest Prevention: Meticulously inspect and seal any potential entry points on the RV exterior and underbelly. Remove all food from the RV and consider deterrents.
- Strategic Parking: Park strategically to avoid hazards like tree sap or falling tree branches.
- Interior Cleaning: Remove food, drinks, and toiletries. Clean the fridge, freezer, and pantry thoroughly. Wipe down surfaces. Prop fridge doors open. Wash bedding/linens. Check for and eliminate any unusual smells.
- Exterior Cleaning: Wash and wax the RV exterior to protect the finish from dirt and moisture. Clean awnings. Inspect roof seals and seams and repair them if needed to prevent water damage. Clean the undercarriage. Consider a breathable, weatherproof cover, considering factors like potential UV damage vs. moisture trapping.
For a deeper dive into these and other tips, read our comprehensive guide to RV storage. Getting these basics right sets the stage for effective winterization.
The Ultimate RV Winter Storage Checklist: Best Winterization Tips
Okay, let’s get down to the nitty-gritty: the specific steps you need to take to protect your RV from the unique challenges of winter weather. This is the heart of proper winter storage.
While you should always consult your RV’s Owner’s Manual for instructions specific to your make and model, these general best practices cover the critical areas for most RVs. Following this checklist will help you avoid those nightmare scenarios and keep your RV safe until the camping season returns.
Tip #1. Drain All Water Systems
First things first: get the water out. ALL of it. Or at least, as much as humanly possible.
- Empty Tanks: Completely empty fresh, gray, and black tanks at an approved dump station. Flush the black tank well.
- Drain Water Heater: Turn off the heater (electric/propane) and let it cool. Remove the drain plug outside and open the pressure relief valve to let it empty completely.
- Open Faucets & Drains: Open all hot/cold faucets inside and out. Open the low-point drains (usually under the RV) to empty the lines. Flush the toilet until dry.
- Blow Out Lines (Recommended): Use an air compressor (set to 30–40 PSI MAX) with a blowout plug on the city water inlet. Open each faucet one by one until only air sputters out.
Tip #2. Flush with RV Antifreeze (The Pink Stuff!)
Now, after draining everything, you might wonder, “Why do I need to pump antifreeze through? Isn’t it empty?”
That’s a fair question.
The truth is, even after careful draining and blowing out lines, some residual water often remains trapped in low points, inside the water pump, in check valves, and particularly in the P-traps under your sinks and shower (they really do trap water in). Even a little bit of water can freeze and cause broken pipes or other water damage.
That’s where RV antifreeze comes in. We’re talking about the non-toxic pink stuff specifically designed for potable water systems (usually propylene glycol based), NOT automotive antifreeze (ethylene glycol), which is highly poisonous.
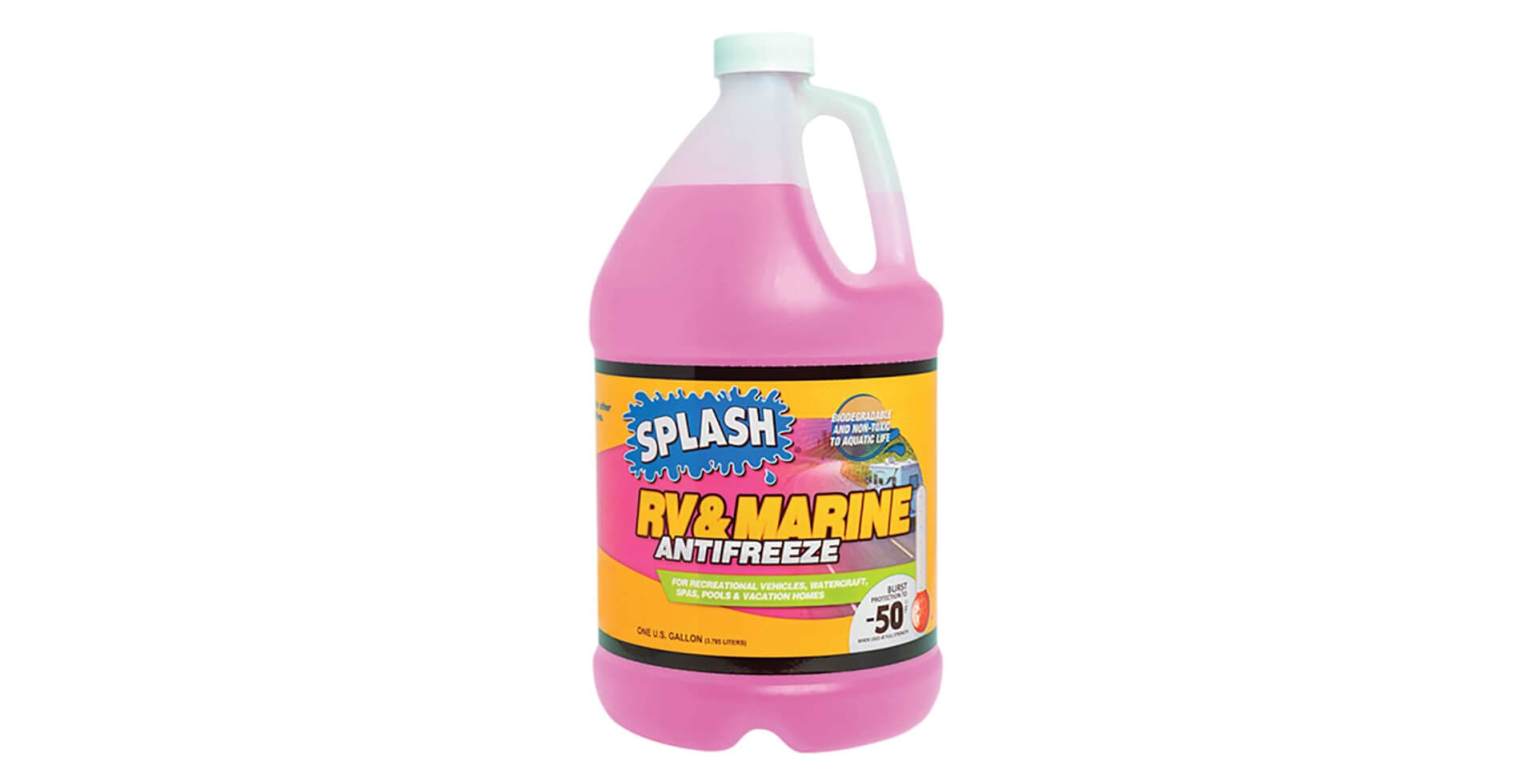
RV antifreeze has a very low freezing point and works by displacing any leftover water or mixing with it, lowering the freezing point of the mixture so it won’t solidify and expand even in very cold temperatures. This is the surest way to protect your entire plumbing system.
- Bypass Water Heater: This is crucial! Use the bypass valve(s) near your water heater to stop antifreeze from filling the empty tank. Consult your manual if unsure.
- Introduce Antifreeze: Use your RV’s winterizing kit hose, or disconnect the pump inlet hose and place it directly into a jug of pink RV antifreeze. Alternatively, use an external hand pump connected to the city water inlet.
- Circulate: Turn on the water pump. Go to each faucet (closest first) and run the cold, then the hot, until you see steady pink fluid. Do this for all sinks, showers (inside/out), and the toilet.
- Protect Drains: Pour about a cup of antifreeze down each sink and shower drain to fill the P-traps. Add a bit to the toilet bowl. Turn off the pump. Close faucets.
Tip #3. Disconnect, Store, and Maintain the Battery
Cold weather is brutal on your RV battery (or battery bank). To prevent permanent damage and ensure it’s ready to go next spring, proper battery care is essential.
- Charge Fully: Before disconnecting, make sure your RV battery is fully charged.
- Disconnect: Turn off all 12 V power. Disconnect the negative (–) cable first, then the positive (+).
- Store Safely (Recommended): Remove the battery and store it in a cool, dry place that stays above freezing (garage shelf, basement). Avoid storing directly on concrete (place on wood/plastic).
- Maintain Charge: Connect the stored battery to a smart battery maintainer/tender. These keep it topped off safely without overcharging. Check it monthly. If leaving the battery in the RV, ensure it’s fully disconnected and consider a solar trickle charger or periodic charging via the converter (if suitable).
Pro-Tip: Compensate for On-Charge Battery Voltage When Charging in Cold Weather
Many folks don’t realize that charging a lead-acid battery correctly in the cold requires a bit more attention.
Cold temperatures increase the battery’s internal resistance. When you put it on a charger, this resistance makes the voltage rise faster than it would at room temperature for the same amount of charge delivered. Consequently, many battery chargers might stop charging before the battery is truly full, based solely on reaching a standard voltage reading.
A pro-tip to solve this issue is to compensate for the temperature effect by aiming for a slightly higher end-charge voltage when charging in the cold. A general rule of thumb is to add about 3.5–4 millivolts (mV) per battery cell per degree Celsius (°C) or roughly 1.94–2.22 mV per battery cell per degree Fahrenheit (°F) below standard room temperature (approx. 77°F or 25°C).
For example, a standard 12 V RV battery has six cells and is generally considered fully charged when its resting voltage is around 12.6 V at room temperature (Source: Shop Solar).
But let’s say you’re charging it on a cold winter day with average temperatures around 32°F (0°C). In this scenario:
- Temperature difference = 77°F – 32°F = 45°F
- Voltage Compensation Needed = (Temp Difference) x (# of Cells) x (mV per cell per °F) = (45°F) x (6 cells) x (approx. 2 mV/cell°F) ≈ 540 mV = 0.54 V
- Target Full Charge Voltage at 32°F ≈ 12.6 V + 0.54 V = 13.14 V
So, at 32°F, you must charge your battery until it reaches 13.14 V to get a full charge. Charging only to the standard 12.6 V in these cold conditions would leave the battery significantly undercharged (perhaps only half full), jeopardizing its health over the winter.
Understanding this temperature compensation helps ensure your battery gets the full charge needed to survive the cold, especially if using a charger without automatic temperature compensation.
Tip #4. Fuel Prep Protocol for RV Winter Storage
Whether you have a gasoline or diesel motorhome or just a generator onboard your trailer, the fuel system needs attention before storage. Fuel can deteriorate over several months, and diesel faces the risk of gelling.
Follow these steps to protect your fuel system:
- Top Off the Tank: It’s generally recommended to fill the fuel tank to about 95% full. A full tank leaves less room for air, which reduces condensation buildup inside the tank over winter. Water in fuel is bad news.
- Add Stabilizer to Gasoline: Modern gasoline, especially ethanol blends, can break down relatively quickly. Add a quality fuel stabilizer to the tank according to the product directions (usually based on the number of gallons you’re treating). This prevents gumming and varnish buildup in the fuel lines, injectors/carburetor, and keeps the fuel fresh.
- Add Stabilizer/Anti-Gel to Diesel: For diesel engines, use a diesel-specific fuel additive that both stabilizes the fuel and contains an anti-gelling agent. This prevents the paraffin waxes from solidifying in cold weather.
- Run Engine & Generator: Don’t just dump the additive in and walk away. After adding the additive, run both the RV’s main engine and the generator (if equipped) for a good 10–15 minutes. This circulates the treated fuel throughout the entire fuel system, including lines, filters, and injectors/carburetors, ensuring everything is protected.
Extra Tips for Storing an RV in Winter
Beyond the big four (water, battery, fuel, and general prep), here are a few more equally important tips that often get overlooked but are crucial for thorough winterization:
- Double-Check Engine Coolant: Use an inexpensive coolant tester to verify your motorhome engine’s antifreeze/coolant protection level. Ensure it’s rated for your lowest expected winter temperatures.
- Check or Drain Windshield Washer Fluid: Ensure the windshield washer reservoir contains winter-rated fluid, or drain it completely.
- Cover Engine Openings: Use breathable mesh or steel wool to block the engine air intake and exhaust pipe, deterring pests.
- Slide-Out Seal Care: Clean slide-out seals and treat them with a rubber seal conditioner to prevent drying, cracking, or sticking in the cold. Store slides retracted if possible (check the user manual).
Final Walk-Through & Securing
One last check before locking up:
- All windows, vents, and doors are closed and locked
- No food, liquids, or valuables were missed
- All lights and appliances are off
- Tire covers are secure
- Storage bays locked
- Openings covered
- The propane is off
- RV cover snug
Taking these extra few minutes can save you from discovering a costly mistake later. Remember, bad preparation can lead to potentially thousands or even tens of thousands of dollars in repairs.
According to the RV Dealers Association (RVDA), the average owner only uses their RV about 30 days a year. You don’t want to waste those precious days fixing preventable problems!
Mid-Storage Maintenance: Quick Check-Ins
If you can access your stored RV, check on it monthly or after bad weather. Look for:
- Water leaks inside (check ceilings, around windows/vents)
- Heavy snow load on roof (remove if safe and necessary)
- Clear vents (not blocked by snow/ice)
- Signs of pests (droppings, nests)
- Battery status (if stored onboard)
- Tire pressure (top off if needed)
- RV cover security (if used)
Catching issues earlier saves bigger problems later.
Spring Awakening: Getting Your RV Ready for Camping Season
When winter’s grip loosens, reverse the process carefully to ensure a smooth start to the camping season.
Bringing the Water Systems Back Online
- Flush Thoroughly: Connect fresh water. Open all faucets. Run water until all pink antifreeze is gone and the water runs clear.
- Recommission Water Heater: Install the drain plug. Turn bypass valves back to normal. Let the tank fill completely. Check for leaks.
- Sanitize System: Use a bleach solution (follow manual or standard ratio: 1/4 cup bleach per 15-gal tank capacity) in the fresh tank. Run through all the lines. Let it sit for several hours. Drain and flush repeatedly with fresh water until the bleach smell is gone. This is essential for safe water!
Restoring Power: Reconnecting the RV Battery
- Inspect/Clean Terminals: Clean battery posts and cable ends if corroded.
- Reinstall Battery: Connect the positive (+) cable first, then the negative (–). Tighten connections.
- Test Power: Verify that 12 V lights and systems work.
Propane System Safety Check
- Reconnect Tanks: Secure tanks and hoses if removed.
- Open Valves Slowly: Avoid triggering the excess flow device.
- Leak Test: CRITICAL! Spray soapy water on the connections and regulator. Open the tank valve. Look for bubbles (leaks). Fix any leaks before using appliances.
Tires, Appliances, and Final Safety Checks
- Tires: Check pressure in all tires (including spare). Inspect for damage.
- Appliances: Test fridge, stove, water heater (once full), furnace, AC.
- Safety Devices: Test smoke, CO, and LP detectors. Replace batteries. Check expiration dates.
- Consult Manual: Review for any model-specific de-winterizing steps.
Special Note for Diesel Motorhomes in Cool Spring Weather
If de-winterizing a diesel RV in lingering cold:
- Use the engine block heater (if equipped) before starting in freezing temperatures
- Consider adding an anti-gel additive if it is not used for storage
- Be mindful of fuel-gelling potential
Final Thoughts: Protecting Your Home on Wheels
Putting your RV into winter storage might seem like a daunting task, but as you can see, it’s a series of logical steps designed to protect your investment and prevent major headaches down the road. From thoroughly cleaning inside and out to meticulously protecting the water systems from freezing, caring for the battery and fuel, keeping pests out, and choosing the right storage option, each step plays a vital role.
Taking the time to do it right means avoiding costly repairs and ensuring that when next year’s camping season rolls around, your RV is ready and waiting for new adventures, not sitting in a repair shop. It’s about peace of mind all winter long, knowing your home-on-wheels is safe and sound.
And remember, if storing your RV at home is your plan, having the right protection makes all the difference. A durable metal RV carport or a fully enclosed RV garage from Alan’s Factory Outlet can be the perfect option to shield your RV from the worst of winter weather right in your own yard.