Insulating your metal shed transforms it from a simple storage space into a comfortable, year-round, usable area. Proper insulation regulates the internal temperature, prevents condensation—which can lead to rust and damage—and reduces heating or cooling costs.
This guide will help you understand the different types of insulation you can use, plus identify the advantages, disadvantages, and costs of each. By the end, you’ll know precisely how to choose and install the right insulation for your metal shed’s needs.
We’ll first cover how to choose the right insulation for your shed, but if you’re ready to install, you can skip straight to the steps.
Types of Insulation Materials
Among the different types of metal shed insulation, we recommend Double Bubble and Woven R17 because of their price and overall quality. However, spray foam may be a wise choice if your shed is rounded or has areas that are challenging to reach.
Tip: Get to know the R-value of your insulation
Insulation’s R-value measures its ability to resist heat and cold airflow. For metal sheds, a higher R-value means better insulation against temperature changes.
Double Bubble Insulation (Reflective Radiant Barrier)
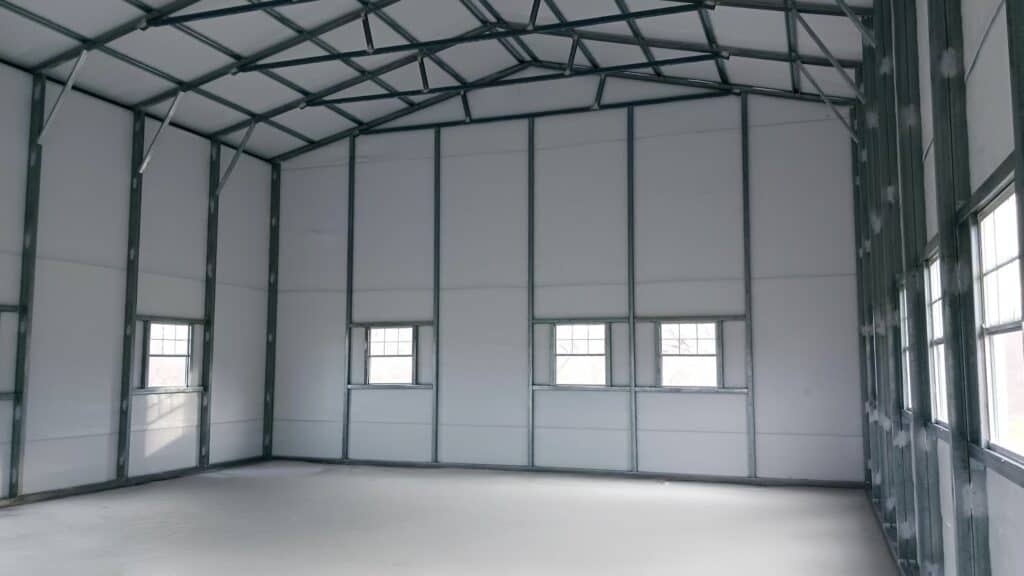
A reflective radiant barrier, such as Double Bubble, has a silver backing that goes against the wall of the shed. The other side of the insulation, the side you see, is white.
Advantages:
- It primarily controls moisture by preventing condensation from forming inside the shed.
Disadvantages:
- It has an R-value of 1, which is very low and will do little to protect the shed from temperature changes.
Cost:
- Around $1.50 per square foot.
- Total cost of $1,356 to fully insulate the roof and sides of a 12 x 20 shed.
Woven R17 Insulation
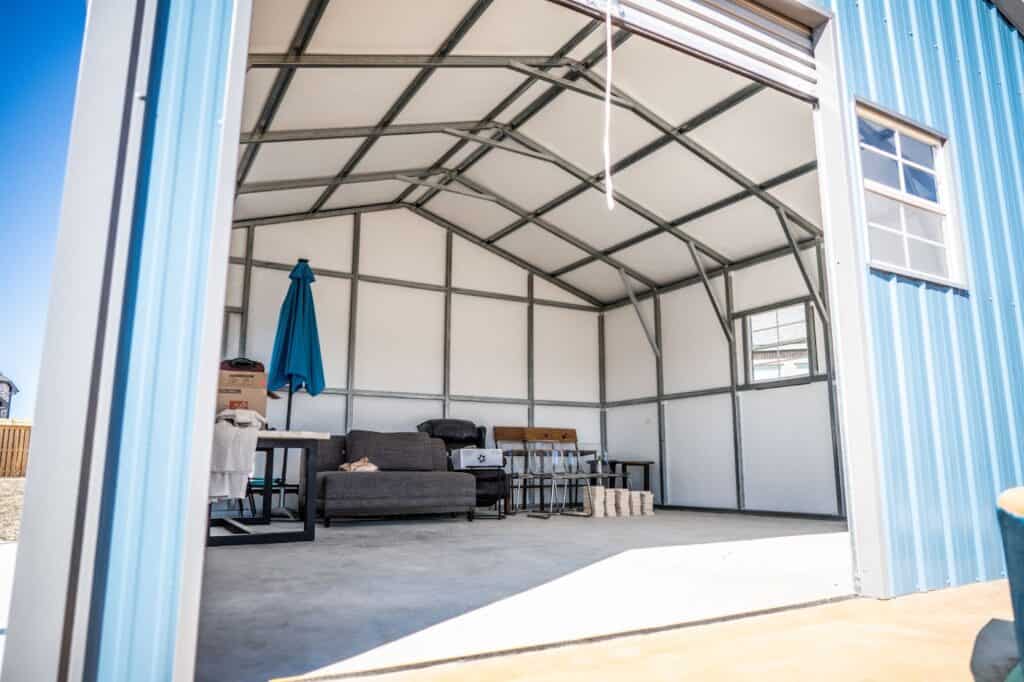
Woven R17 is made from a combination of foil, bubble material, and woven material. The insulation color inside the shed is typically white.
Advantages:
- It has an R-value of 17, which means it’s very good at regulating temperature changes.
- It will prevent moisture buildup inside the shed.
Disadvantages:
- It’s typically twice as expensive as Double Bubble and two to four times as expensive as fiberglass batt.
Cost:
- Around $3 per square foot.
- Total cost of $2,712 to fully insulate the roof and sides of a 12 x 20 shed.
In this video, you can see an example of Woven R17 insulation:
Fiberglass Batt Insulation
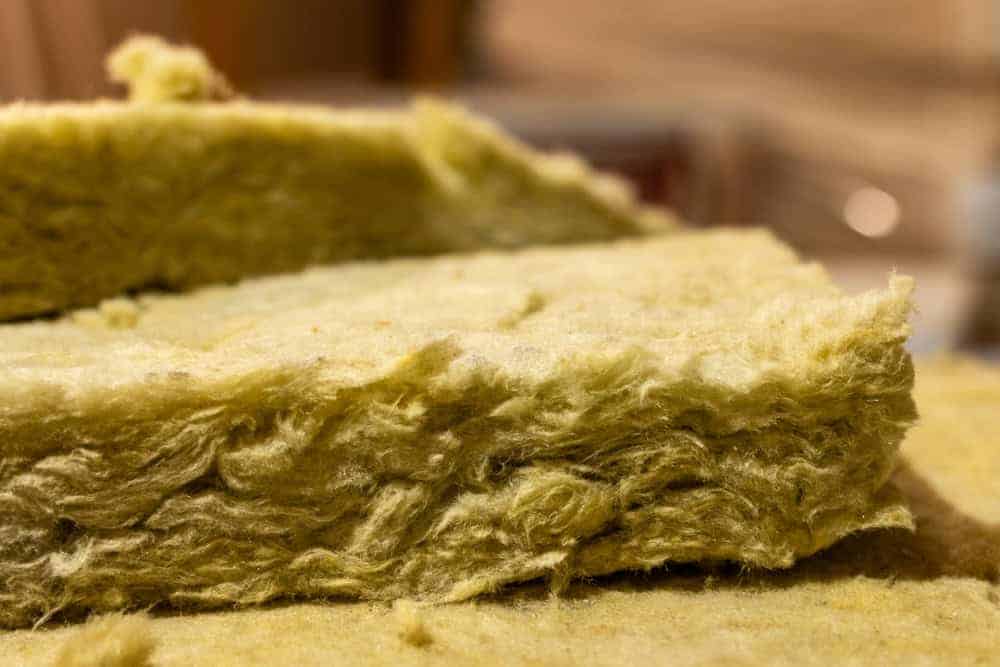
Fiberglass batt is made of tightly woven glass fibers formed into blanket-like sheets. A batt is an insulation cut into pieces, whereas a roll isn’t pre-cut.
Fiberglass batt is designed to fit between the studs of a shed’s roof and walls. The insulation works by trapping air in its fibers, slowing heat transfer. It has an R-value around 3 to 4.
Advantages:
- It’s inexpensive and is often the cheapest installation for a large metal shed.
- You can typically buy this insulation at your local hardware store.
Disadvantages:
- It’s critical to ensure you fill every opening thoroughly during installation.
- You risk a drastic reduction in temperature efficiency with faulty installation.
- It’s more challenging to install in metal sheds than in wood sheds because of the larger surface area between frames.
Cost:
- From $.88 to $1.64 per square foot.
Spray Foam Insulation
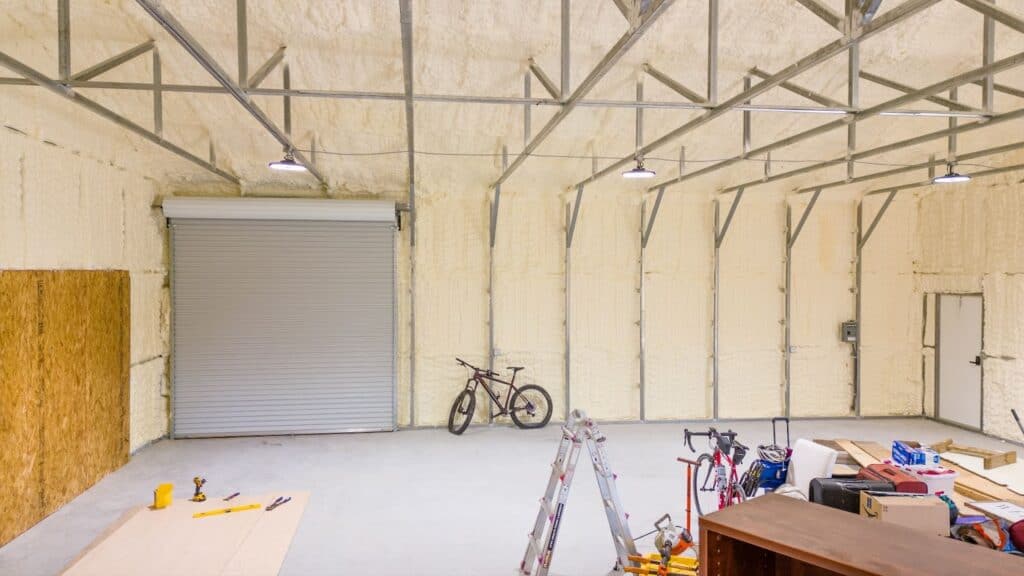
Spray foam is an insulation material that is applied as a liquid, then it expands to fill gaps and cracks.
This type of insulation comes in open cell or closed cell. The closed cell insulation is significantly more expensive because it is water resistant, and you can apply it in places with likely water contact. The R-value for open cell is 3.8. The R-value for closed cell is 7.
Advantages:
- It’s an excellent option for sheds with tight spaces or an odd shape.
- This insulation can be applied at almost any thickness.
Disadvantages:
- Open cell spray foam is not recommended for sheds in hot or humid climates.
- Open cell may allow moisture from inside the building to pass through and contact the metal walls, causing corrosion.
- Closed cell is typically the most expensive insulation option.
Cost: From $2.70 to $7.20 per square foot, depending on the type selected
In this video, you can see a customer who added spray foam to their metal building:
Foam Board Insulation
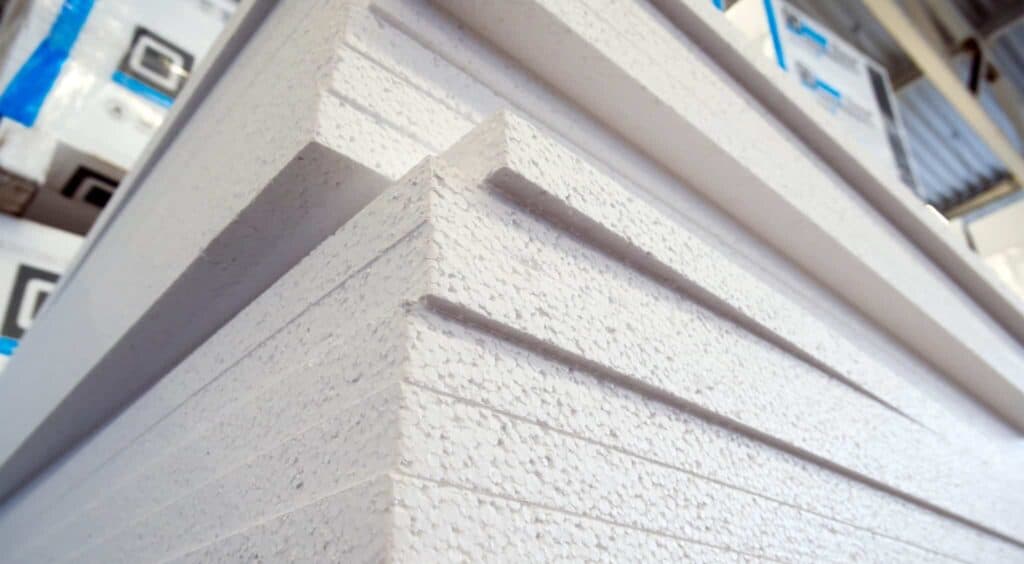
Foam board insulation is a rigid panel. These panels are cut and installed on a shed’s walls, roof, or floor. R-values depend on the thickness of the board and can range from R-2 to R-20 for very thick, 3-inch panels.
Advantages:
- They are lightweight and generally easy to install.
- The boards are durable and long-lasting, requiring minimal maintenance.
Disadvantages:
- Foam board insulation isn’t compatible with certain types of sheds, such as a rounded shed with curved walls.
Cost: From $.50 to $3 per square foot, becoming more expensive as density increases
Tip: Don’t use loose-fill insulation for your shed
Loose-fill insulation consists of loose debris that fills the empty spaces in your wall. It usually consists of newspaper, fiberglass, or rock wool and is designed for attics and basements, not sheds.
Insulate Your Metal Shed in 4 Steps
Here’s a step-by-step guide to properly insulate your metal shed’s walls, roof, and floor.
1. Prepare the metal shed
Before beginning the insulation process, you should clean the interior completely. Remove dust, debris, or existing materials. When installing the insulation, you’ll need a clean and smooth interior.
While cleaning, check for the following:
- Any damages that may need repair
- Any moisture issues like leaks or condensation
Seal any gaps and cracks with caulking, foam sealant, or insulation tape. Any areas where air can leak in or out of your shed will make the insulation less effective.
After you clean, inspect, and prep the shed, gather the proper tools and materials. Depending on your type of insulation, you may need the following:
- Insulation
- Tape measure
- Utility knife
- Stapler or adhesive
- Plastic sheets
- Safety gear such as gloves, mask, and goggles
If you’re using a do-it-yourself spray foam insulation kit, use tape and pieces of plastic to mark off any areas you don’t want the foam to get on.
2. Measure and cut insulation
Measuring the insulation should be a simple process. Be sure to account for any obstacles to the insulation installation, such as an electrical outlet.
To cut the insulation, use a utility knife or insulation cutter. Ensure the blade is sharp for a smooth and quick cut.
If you’re installing fiberglass batt, cut about an extra inch thick so the pieces fit snugly into place and keep the insulation effective.
If installing a foam board, consider using a straight edge with the knife for a cleaner cut.
We suggest labeling each piece’s location after you cut it to make organization and installation easier. That way, once you finish the cutting, you won’t get pieces mixed up.
3. Install and seal the insulation
Here are a few installation tips based on the specific type of insulation you’ve selected:
Reflective barrier: Be sure to position the reflective barrier insulation with the shiny side facing the shed interior. You will typically fasten the reflective insulation to the framing studs.
You also should leave an air gap of at least an inch between the shed and the insulation.
Fiberglass batt: It’s important to wear safety gear when installing fiberglass batt, including long sleeves, gloves, eye protection, and a mask. If you don’t, the fiberglass particles can cause severe irritation.
When installing fiberglass batts, make sure not to press too hard on the insulation, which can compress the fibers and make them less effective.
Spray foam: Often, spray foam is applied by a professional, but if you’re using a do-it-yourself kit, ensure your shed is well-ventilated.
It’s best to start with the outer edges and work your way towards the middle. The foam will expand to fill all nooks and crannies in the shed.
Foam board: When installing foam boards, use either special insulation adhesive or mechanical fasteners such as nails or screws. To seal the foam boards effectively, tape all joints between boards to create a continuous thermal barrier.
4. Inspect your insulation and adjust
No matter what type of insulation you’ve chosen, check for air leaks after installing it On a windy day, hold your hand around the shed to check for any air coming into the shed or any areas that may be too cold or hot. You could also use a smoke pencil or incense stick to track where the smoke moves within the shed.
Here are a few post-installation tips depending on your insulation:
Fiberglass batt: Gently press on the fiberglass in different spots to ensure it’s not overly compressed. The batt should spring back to its original thickness.
Spray foam: After around 24 hours of application, remove excess foam.
Foam board: Check that all nails and screws you used to install the boards are secured and haven’t punctured the shed. Punctures could create holes where hot or cold air could enter the shed.
Tip: Avoid these shed insulation mistakes
Check for air leaks to ensure you’ve fully sealed the insulation.
Don’t compress fiberglass insulation.
Choose the right insulation for your climate.
Why Insulate Your Metal Shed?
Whether you’ve converted your shed into an office or its storing tools, insulation will help protect its contents and save you money in the long run.
Regulate temperature: The temperature in a metal shed can change drastically. In the summer, it can be like an oven, and in the winter, it can be like an ice box. While the temperature does change in a metal shed, with insulation, the temperature change is less extreme.
Prevent condensation: Insulation helps prevent condensation, a common issue in metal sheds. In more humid weather, condensation can occur, leading to metal rusting and structural damage. Insulation acts as a barrier in your shed, keeping the internal temperature consistent and reducing humidity.
Save on energy costs: Because insulation reduces extreme temperatures, it costs less to cool or heat your shed, saving you money.
Protect Your Stuff with the Right Shed Insulation
Identifying and installing the best insulation for your metal shed will create a comfortable and energy-efficient space. By understanding your options, their advantages and disadvantages, and their costs, you can make an informed decision about what best suits your needs.
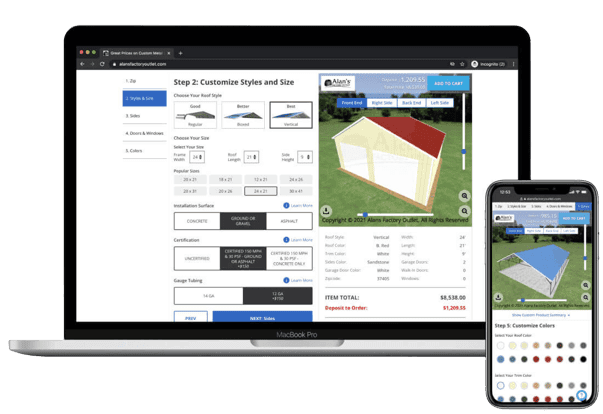
Alan’s Factory Outlet offers metal sheds and other metal buildings that you can customize with windows, doors, and roll-up garage doors. Design and order your perfect metal shed today.
