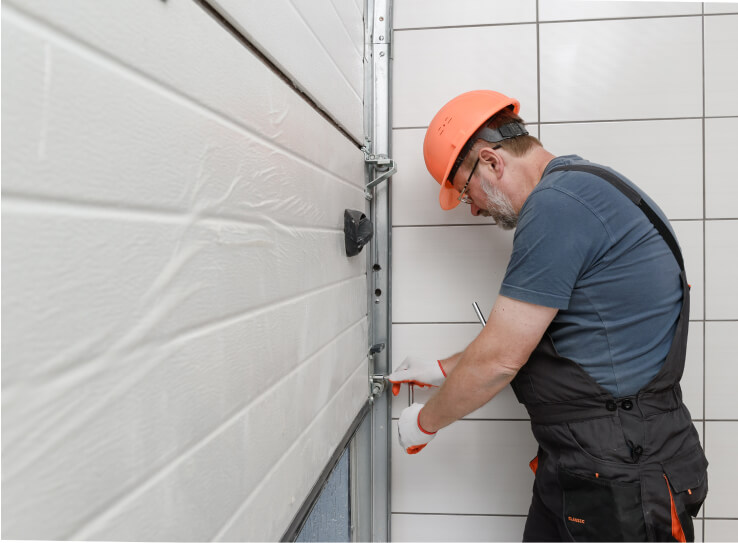
Learning how to insulate garage doors is a smart decision. Insulating your garage plays a big role in keeping it comfortable year-round—they’re a major source of heat gain during summer and heat loss during winter.
Garage doors take up a significant portion of one garage wall. Insulating them can make a huge difference in your garage’s energy efficiency, leading to reduced energy bills and substantial energy savings.
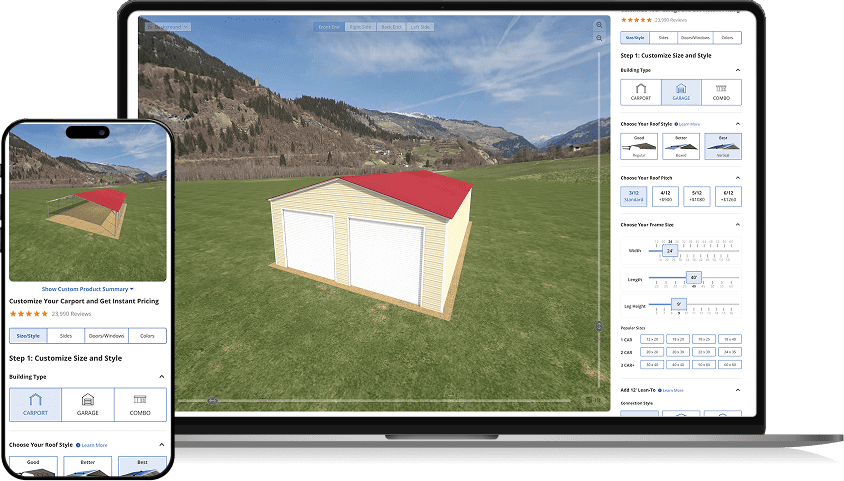
In this article, you’ll find a step-by-step guide to garage-door insulation, including why you should, how to choose the right insulation, and how much it’ll cost.
The Pros and Cons of Insulating Garage Doors
Insulation offers many benefits, like blocking heat transfer between the garage’s inside and the outside and reducing noise. However, like most things, it also has a few downsides. Here are a few for you to consider.
Pros
Cons
Once you’ve thought about the pros and cons of insulating your garage door, there are some details you need to understand so you can make a final decision.
Choosing the Right R-Value for Garage Door Insulation
The R-value is a material’s thermal resistance. It measures the quality of insulation. The higher the R-value, the better the insulation.
Choosing the right R-value for your project depends on your local climate. The following map from Energy Star classifies the US into different regions to help you choose the right level of insulation for walls, ceilings, and floors.

- If you live in hot and humid regions like Zones 1 and 2, you’ll be fine with R-10 to R-15 insulation.
- Zone 3 requires around R-20 to R-25.
- Colder regions like zones 4–8 require R-25 to R-30.
Your garage typically needs less insulation than your home (especially if it’s a detached, non-heated garage). So, you can get away with lower R-values of R-6 to R-12.
Now let’s talk about the types of insulation you can use to meet your R-value needs.
Choosing the Right Type of Garage Door Insulation
There are several insulation types you can use to get to those R-values. Let’s look at some of the most common.
Rigid Foam Insulation
Rigid foam board insulation, often made from polystyrene, polyisocyanurate, or polyurethane, is a popular choice. It comes in panels of varying thicknesses, making it easy to customize the R-value.
Pros
Cons
To achieve an R-value of R-6 to R-12, you’ll likely need one to two-inch thick rigid foam panels. Foam boards are the best option for wooden garage doors, and they’re also good for steel garage doors.
Double Bubble or Reflective Foil Insulation for Garage Doors
Reflective foil insulation, double bubble, or radiant barrier insulation is a popular and affordable option. It consists of two layers of polyethylene bubbles with a reflective foil layer in between or on top.
Pros
Cons
Reflective foil is one of the best options for metal garage doors.
Insulating Garage Doors with Fiberglass
Fiberglass insulation is another common type of insulation and the cheapest option available.
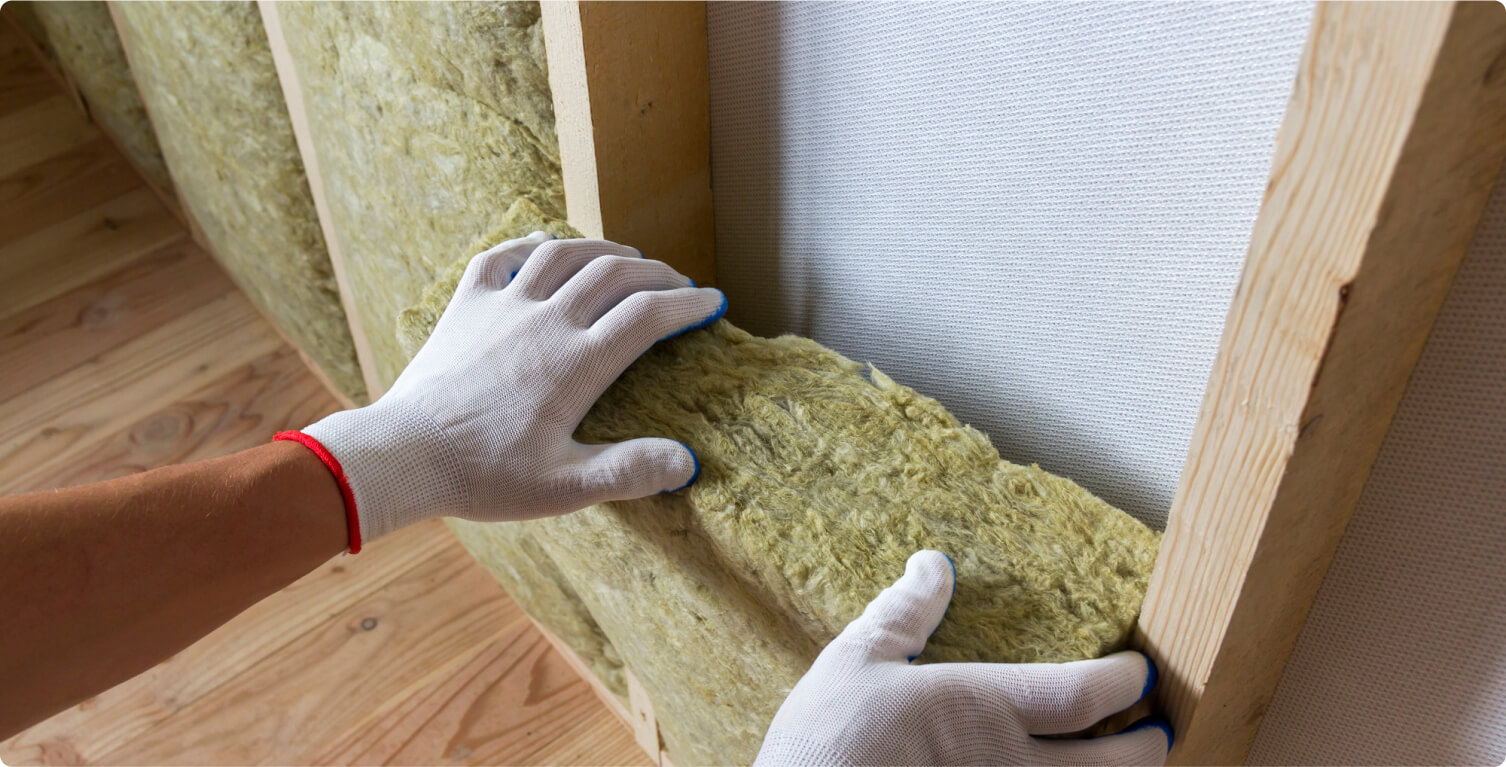
It comes in batts or rolls. It’s also relatively easy to work with.
Pros
Cons
Using Vacuum Protected Insulation Panels (VIPs)
Vacuum-insulated panels (VIPs) offer a great solution if you need high R-values without the bulk. For example, if you’re wondering how to insulate a garage door for Winter in Alaska, VIPs are the answer.
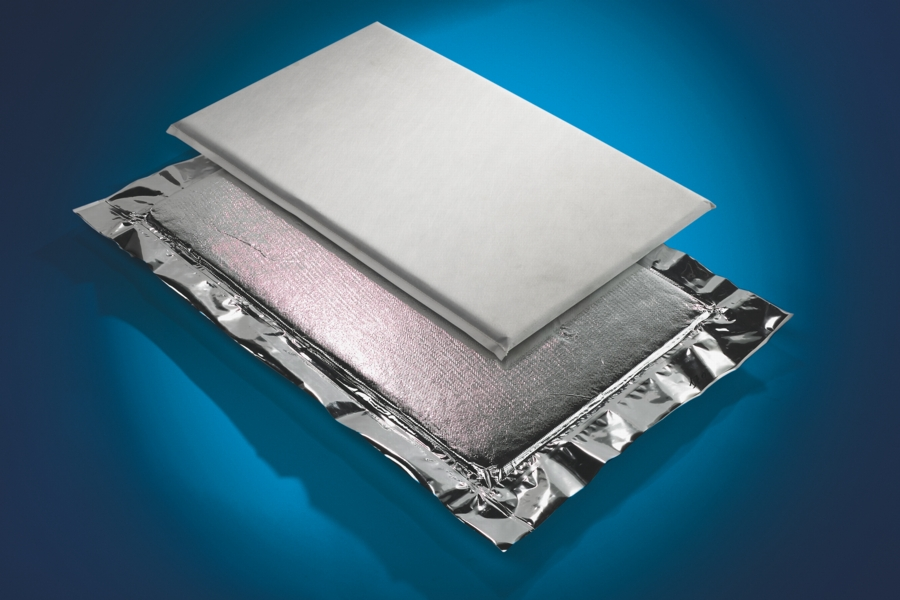
These panels have a core material sealed in an airtight envelope, creating a vacuum that significantly reduces heat transfer.
Pros
Cons
According to Building Green, the R-value of a 1-inch-thick VIP can reach an astonishing R-25. That’s 4X higher than the R-value of high-quality polyisocyanurate insulation (R-6.2, according to IKO).
VIPs are a relatively new technology and may be harder to find than other types of insulation. Furthermore, you can’t cut them like normal panels, so you usually have to purchase custom-made pieces for each garage door panel.
Garage Door Insulation Kits
If you’re looking for a convenient way to insulate your garage door, consider using a garage door insulation kit. These kits contain everything you need, including insulation panels, retention clips, and adhesive tape.
Pros
Cons
How to Insulate Garage Doors in Five Steps
Insulating your garage door is a manageable DIY project, whether using a kit or custom-made materials. Just follow this step-by-step guide on how to insulate garage doors.
What You’ll Need
Here’s a list of the tools and materials you’ll need:
| Category | Item |
|---|---|
| Tools | Measuring tape.Utility knife or scissors.Ladder. |
| Materials | Insulation (rigid foam, reflective foil, fiberglass, etc.).Retainer pins or retention clips.Adhesive (adhesive tape, industrial or spray adhesive, etc.).Weatherstripping (optional) |
| Protective Gear | Work gloves.Safety glasses.Dust mask. |
Most garage door insulation kits include all the materials, so you don’t have to buy them separately. However, you’ll still need the protective gear and tools.
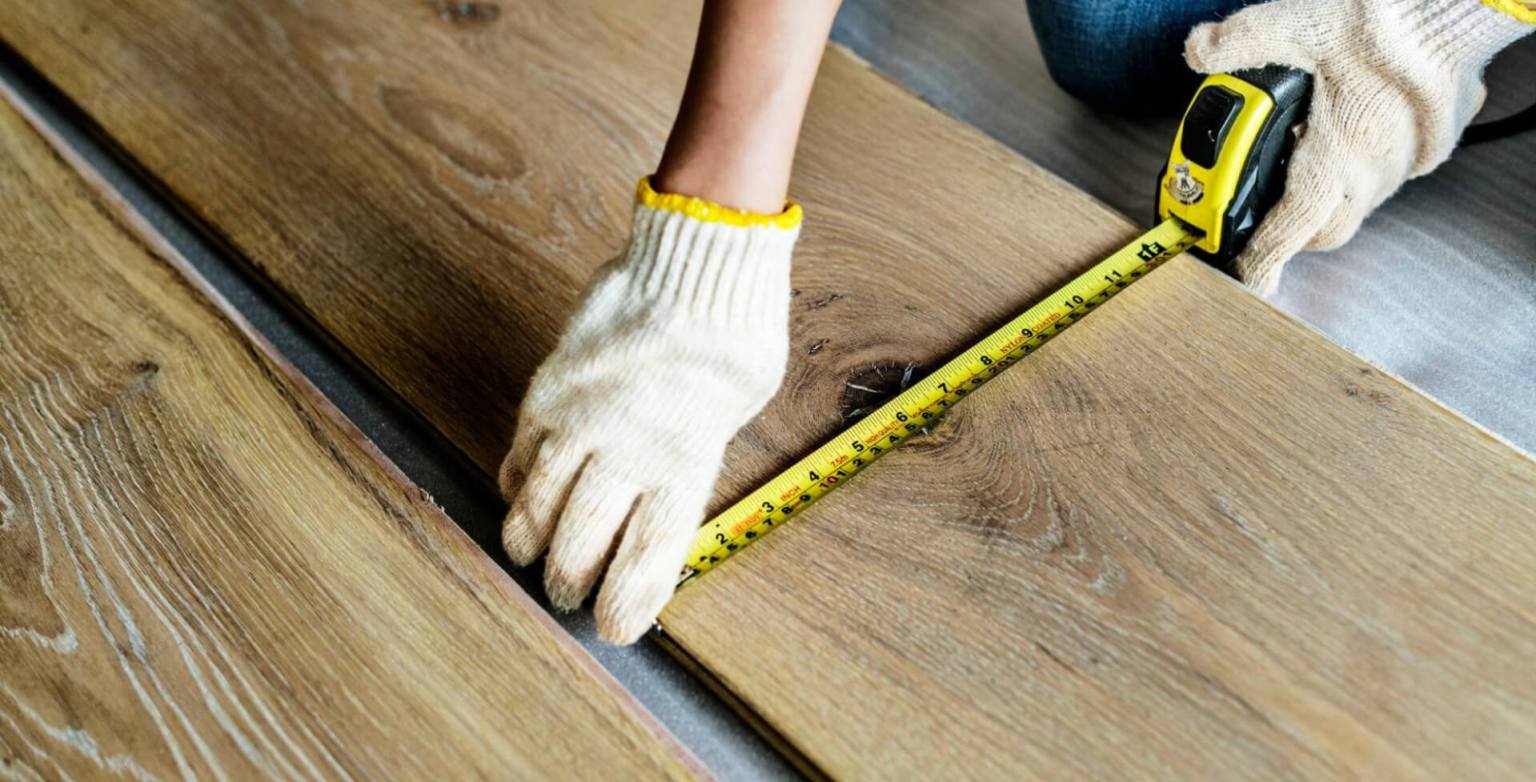
Step 1. Clean and Measure Your Garage Door
First, clean your garage door with mild detergent and water to help the adhesive stick better.

Next, you’ll need to measure your garage door panels. Write down the size of each panel, as the individual sizes may vary.
Step 2. Cut Insulation to Size
Now, it’s time to cut your insulation to fit snugly inside each door panel, resulting in a perfectly insulated garage door.
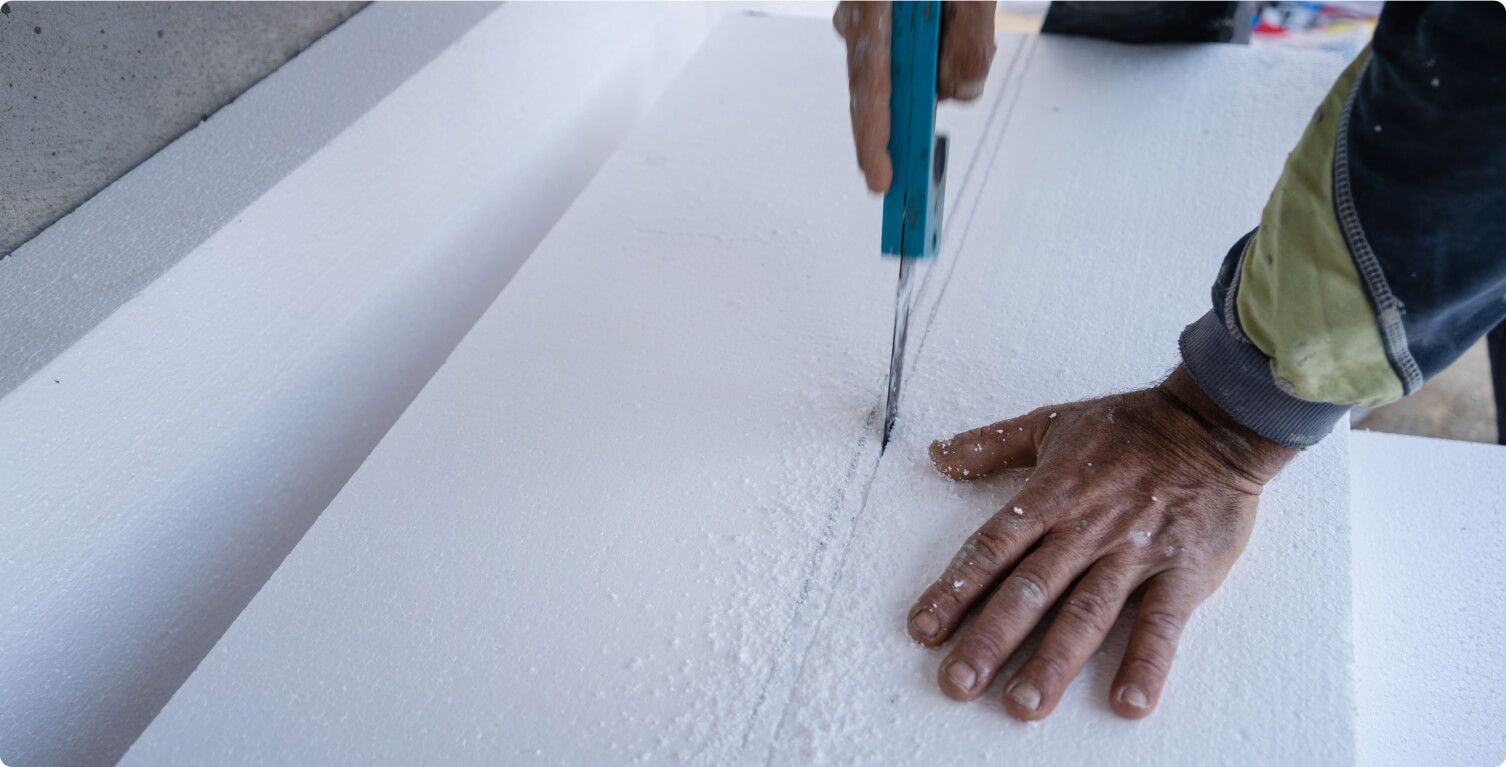
If you’re using an insulation kit, the pieces might be pre-cut, which is convenient. If not, follow the instructions below to safely cut your insulation.
- You can cut rigid foam, fiberglass batts, and double bubble insulation with a sharp utility knife.
- You can also cut reflective foil insulation and fiberglass batts with scissors.
It’s best to cut the insulation before working with retainers or adhesives. That ensures a good fit before permanent placement.
Step 3. Mark the Fasteners’ Positions on Each Door Panel
If you’re using retainer clips or pins to hold the insulation in place, you’ll need to mark where you’ll put them. Most garage door panels have horizontal rails that you can use to attach the fasteners. Use a pencil to mark the spots where you’ll install the clips or pins.
You can skip this step if you plan to stick the insulation directly to the door with adhesive.
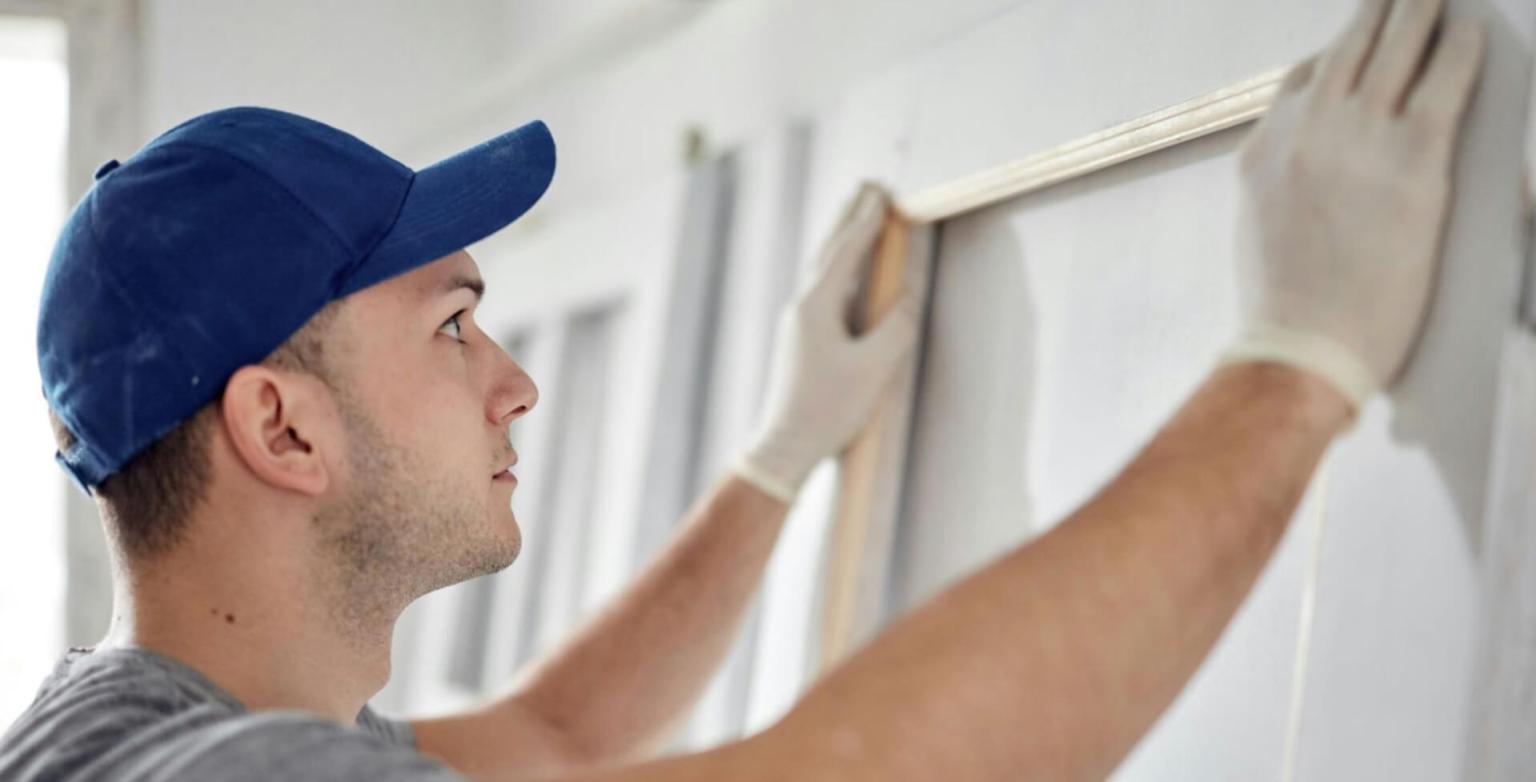
Step 4. Attach Retainer Clips or Add Adhesive
If you’re using retainer clips, you can attach them to the door panels now. Some clips already come with adhesive, but if yours don’t, you can use double-sided tape.

You can also stick the insulation directly onto the door panel using an industrial-strength or spray-on adhesive.
Sticking the insulation directly to the door can give it a cleaner look, but getting it positioned just right can be harder. Be careful not to use too much adhesive to avoid a mess.
Step 5. Tuck in the Insulation
Now, carefully tuck the insulation into each panel. Ensure it’s snug against the door and has no gaps.
If you use retainer pins, push them through the insulation and into the door panel to hold it in place.
Optional Extra Steps
- Seal the edges of the panels with tape. Doing so will help prevent air from leaking around the edges.
- Cover the insulation with cardboard or another material. This can help protect the insulation and give it a more finished look.
Tips for Effective Garage Door Insulation
Here are a few extra tips to help you control energy loss and get a comfy indoor temperature in your garage:
Tip #1. Seal the Outer Edges
Adding a vinyl strip to the outside edges of your garage door can help seal it up tight. These strips keep cold air from sneaking in during the winter and hot air from getting in during the summer.
Tip #2. Seal the Bottom of the Garage Door
Cold air can seep in underneath the bottom of the garage door, so it’s important to seal that up, too. You can use a garage door threshold plate, a bottom weather sealer, or some weatherstripping to help keep the cold air out and the warm air in.
Sealing the bottom can also help keep water from blowing in under the door when it rains or there are strong winds.
Tip #3. Use a Strong, High-Quality Adhesive
If you’re using adhesive to hold your insulation in place, use a strong one. Your garage door constantly goes up and down, and you want the insulation to stay on. Insulation kits usually come with their own adhesive, but sometimes it’s not the best quality. You might want to replace it with some premium double-sided tape or use a stronger adhesive like construction or spray adhesive. Remember to always follow the instructions on the label.
Garage Door Insulation Costs
Insulating your garage door doesn’t have to break the bank. The cost will depend on several factors, including your door size, the type of insulation you choose, the style and cost of your garage door, and whether you use a kit or buy everything separately.
Garage Door Sizes
The bigger your garage door, the more insulation you’ll need. Here’s a table with the most common garage door sizes and their surface area:
| Type of Door | Size (Ft) | Area (Sq Ft) | Number of Door Panels |
|---|---|---|---|
| 1-car Garage Door | 9’ x 7’ | 63’ | 16 |
| 2-car Garage Door | 16’ x 7’ | 112’ | 32 |
So, whether you’re using a kit or not, you’ll need around 16 insulation panels for a 1-car garage and twice as many for a 2-car garage.
Cost of Insulation
Here’s a table showing the estimated cost of different types of insulation for a standard 8-foot-high 1-car garage door and a 2-car garage door:
| Insulation Type | Cost per Square Foot | Estimated Cost for 1-Car Garage | Estimated Cost for 2-Car Garage |
|---|---|---|---|
| Reflective Foil | $1.50 | $90.00 | $170.00 |
| Fiberglass Batts | $0.65 – $2.00 | $80.00 | $150.00 |
| Rigid Foam | $2.40 – $3.75 | $190.00 | $340.00 |
| VPI | $8.00 – $12.00 | $630.00 | $1,120.00 |
How Much Do Garage Door Insulation Kits Cost?
Garage insulation kits can cost anywhere from $50 to $300, depending on the size of your door and the type of insulation included. On average, you can expect to pay around $1.00–$2.00 per square foot for a kit.
Ready to Warm Up Your Garage?
Insulating your garage door is a great way to make your garage more comfortable, keep outdoor temperatures outside, and control cooling and heating bills. It’s a project you can do yourself and doesn’t have to be expensive.
Just choose the right type of insulation for your needs and follow the steps in this simple step-by-step guide on how to insulate garage doors. You’ll be glad you did!
Learn more expert garage tips and tricks on our blog.
FAQs
Still have some questions about insulating your garage door? You’re not the only one. So we’ve got answers!
What is the best insulation for garage doors?
If you’re looking for the best insulation money can buy, Vacuum-Protected Insulation Panels (VIPs) are the way to go. They’re super thin but offer excellent insulation. However, they can be pricey and hard to find. Rigid foam is a good choice for balancing performance and price. It’s easy to install and offers good thermal resistance.
Can I insulate my garage door myself?
Absolutely! Insulating your garage door is a pretty straightforward DIY project. You can usually knock it out on a weekend, especially if you use an insulation kit.
How much does it cost to insulate garage doors?
The cost varies depending on the size of your door, the type of insulation you use, and whether you buy a kit or get everything separately. You can expect to spend anywhere from $50 to as much as $400.