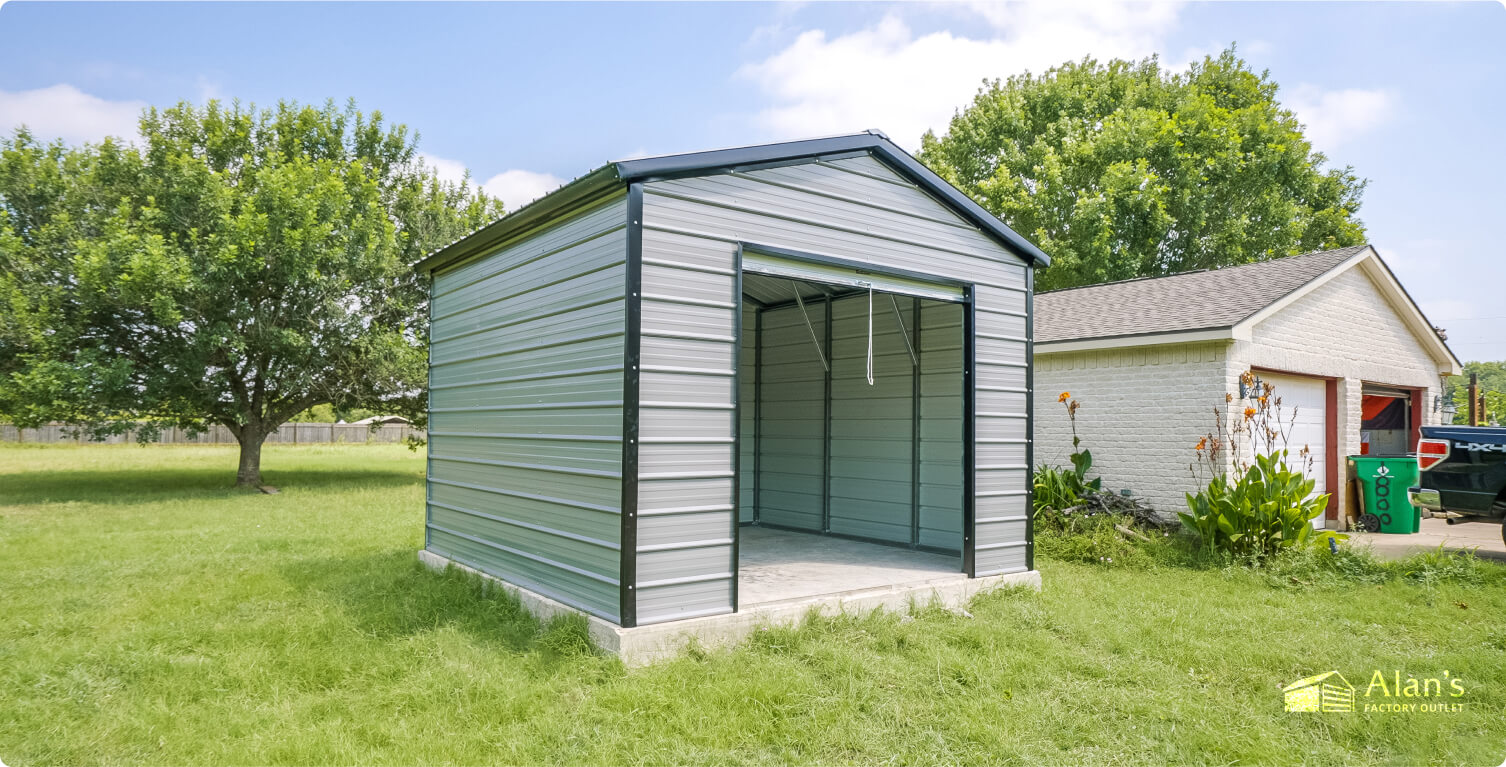
An insulated shed can make a world of difference in comfort and protection for you and your valuable belongings. You can purchase pre-insulated sheds that offer these benefits upfront. But if you already have yours installed, you’re probably wondering how to insulate a shed.
In this guide, we’ll cover everything you need to know about shed insulation, from choosing the right materials to tackling the installation process. We’ll also touch on insulation costs and how to save when insulating a shed.
What to Consider Before You Start Your Shed Insulation Project
Before you start insulating your shed, it’s important to plan ahead. Planning will help ensure you choose the right materials and approach for your specific needs and get the most out of your insulation project.
Here are a few things to consider:
Type of Shed
The type of shed you have determines the best insulation options. Some insulation materials are better suited to certain shed types than others.
For example, rigid foam boards might not be the best fit for a metal shed with curved walls, while spray foam might be a good option for filling in gaps and cracks in a wooden shed.
Here’s a quick guide to help you choose the right insulation for your shed type:
| Shed Type | Insulation Batts | Open-Cell Spray Foam | Closed-Cell Spray Foam | Rigid Insulation Board | Loose-Fill Insulation |
|---|---|---|---|---|---|
| Metal Shed | ✓ | X | ✓ | ✓ | X |
| Wooden Shed | ✓ | ✓ | ✓ | ✓ | X |
| Plastic Shed | ✓ | X | X | ✓ | X |
| Vinyl Shed | ✓ | X | X | ✓ | X |
Climate and Extreme Temperatures
Another important factor to consider is the climate. If you experience extreme temperatures, you’ll need insulation with a higher R-value to keep your shed comfortable. In hot climates, insulation can help prevent heat from building up inside the shed, while in cold temperatures, it can help keep the shed warm and avoid freezing.
Budget and Insulation Prices
Insulation comes in a variety of price points. Budgeting will help you narrow down your options. Remember that your shed’s size will also affect the overall cost, as you’ll need more insulation for a larger space.
Ventilation and Ridge Vents
Proper ventilation is essential for any insulated shed, especially in climates with high humidity or extreme temperatures. A ridge vent, installed along your shed’s roof, allows hot, moist air to escape. This air circulation prevents condensation and potential damage to your belongings.
Understanding R-Value
When choosing insulation, you’ll come across something called the R-value.
According to the Department of Energy, the R-value is a measure of an insulator’s thermal performance. It tells you how good an insulator is at stopping the flow of heat from one side of a wall to the other. Therefore, it’s the opposite of thermal conductivity.
Here are some typical R-values for different insulators:
| Insulation Material | R-Value |
|---|---|
| Fiberglass | 3-4 |
| Spray Foam (open cell) | 3.8 |
| Spray Foam (closed cell) | 7 |
| Double Bubble | 1 |
| Woven R17 | 17 |
| Foam Board | 2-20 |
| Mineral Wool | 4-14 |
| Average | 7.5 |
Think of the R-value as an insulation material’s “heat resistance.” A higher R-value means you have a better insulator.
Factors That Play Into an Insulator’s R-Value
Several factors affect an insulator’s R-value, including:
- Material: Different materials have different insulating properties.
- Thickness: Just as a thicker jacket keeps you warmer, thicker insulation generally has a higher R-value.
- Density: Denser insulation can sometimes offer better heat resistance.
How to Choose the Right R-Value for Your Shed Insulation Project
Your ideal R-value depends on your local climate, how you plan to use the shed, and whether you’ll use any heating or cooling systems inside. An air conditioner in your shed might require a higher R-value to maintain a consistent temperature.
Here’s a general guideline for recommended R-values in different temperature scenarios based on data from Energy Star:
| Temperature Range | Recommended R-Value (Walls) | Recommended R-Value (Ceiling) |
|---|---|---|
| Below Freezing | R-13 to R-19 | R-30 or more |
| Mild Winters | R-11 to R-13 | R-25 to R-30 |
| Hot Summers | R-13 to R-19 | R-30 or more |
Different Types of Insulation Materials
Now, let’s dive into the different insulation materials available for your shed. Each type of insulation has its pros and cons. Both aspects are relevant when choosing the right material for your shed insulation project.
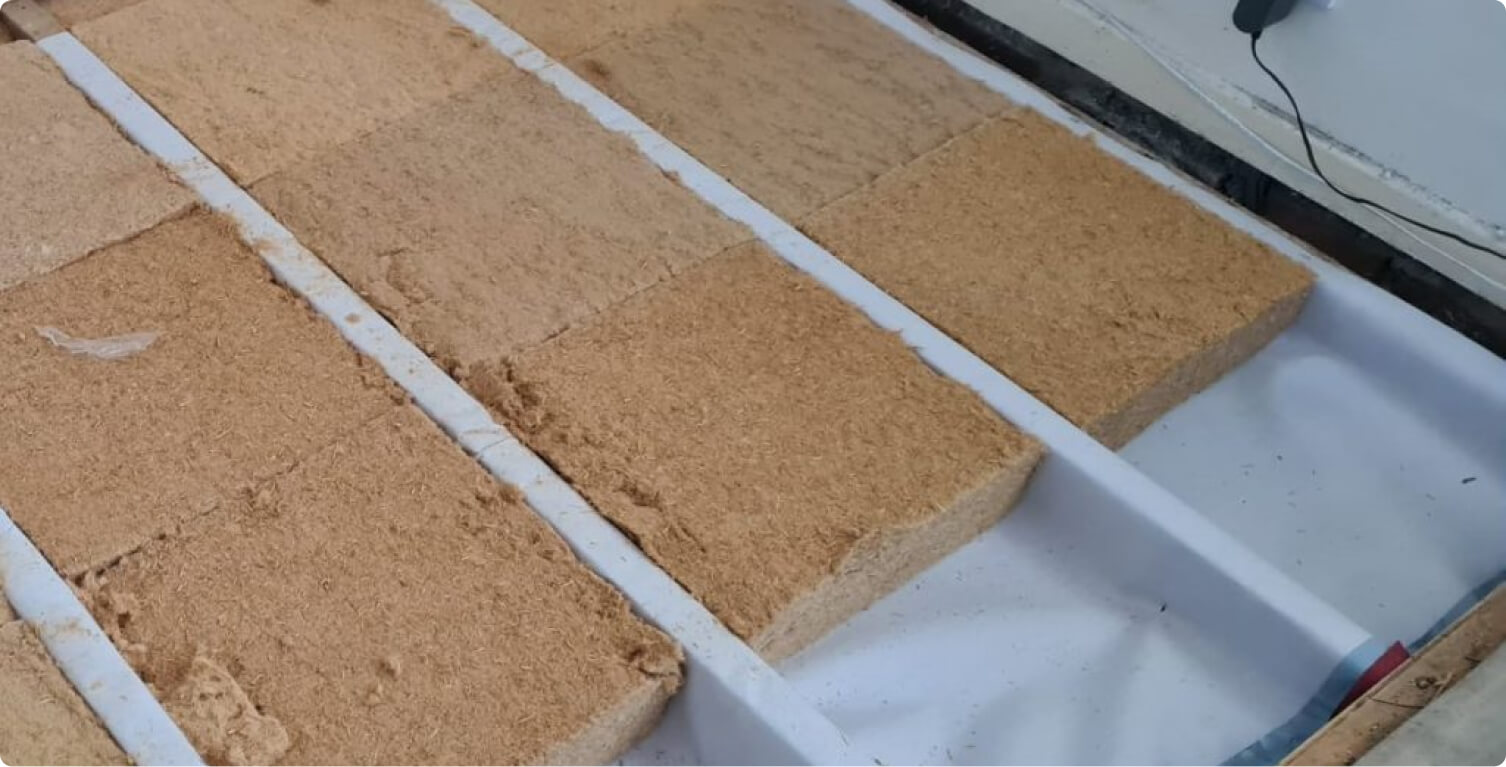
Fiberglass Insulation
| R-Value | Cost per Square Foot | Ideal Application |
|---|---|---|
| R-3 to R-4 per inch | $0.50 – $1.50 | Walls, attics, floors |
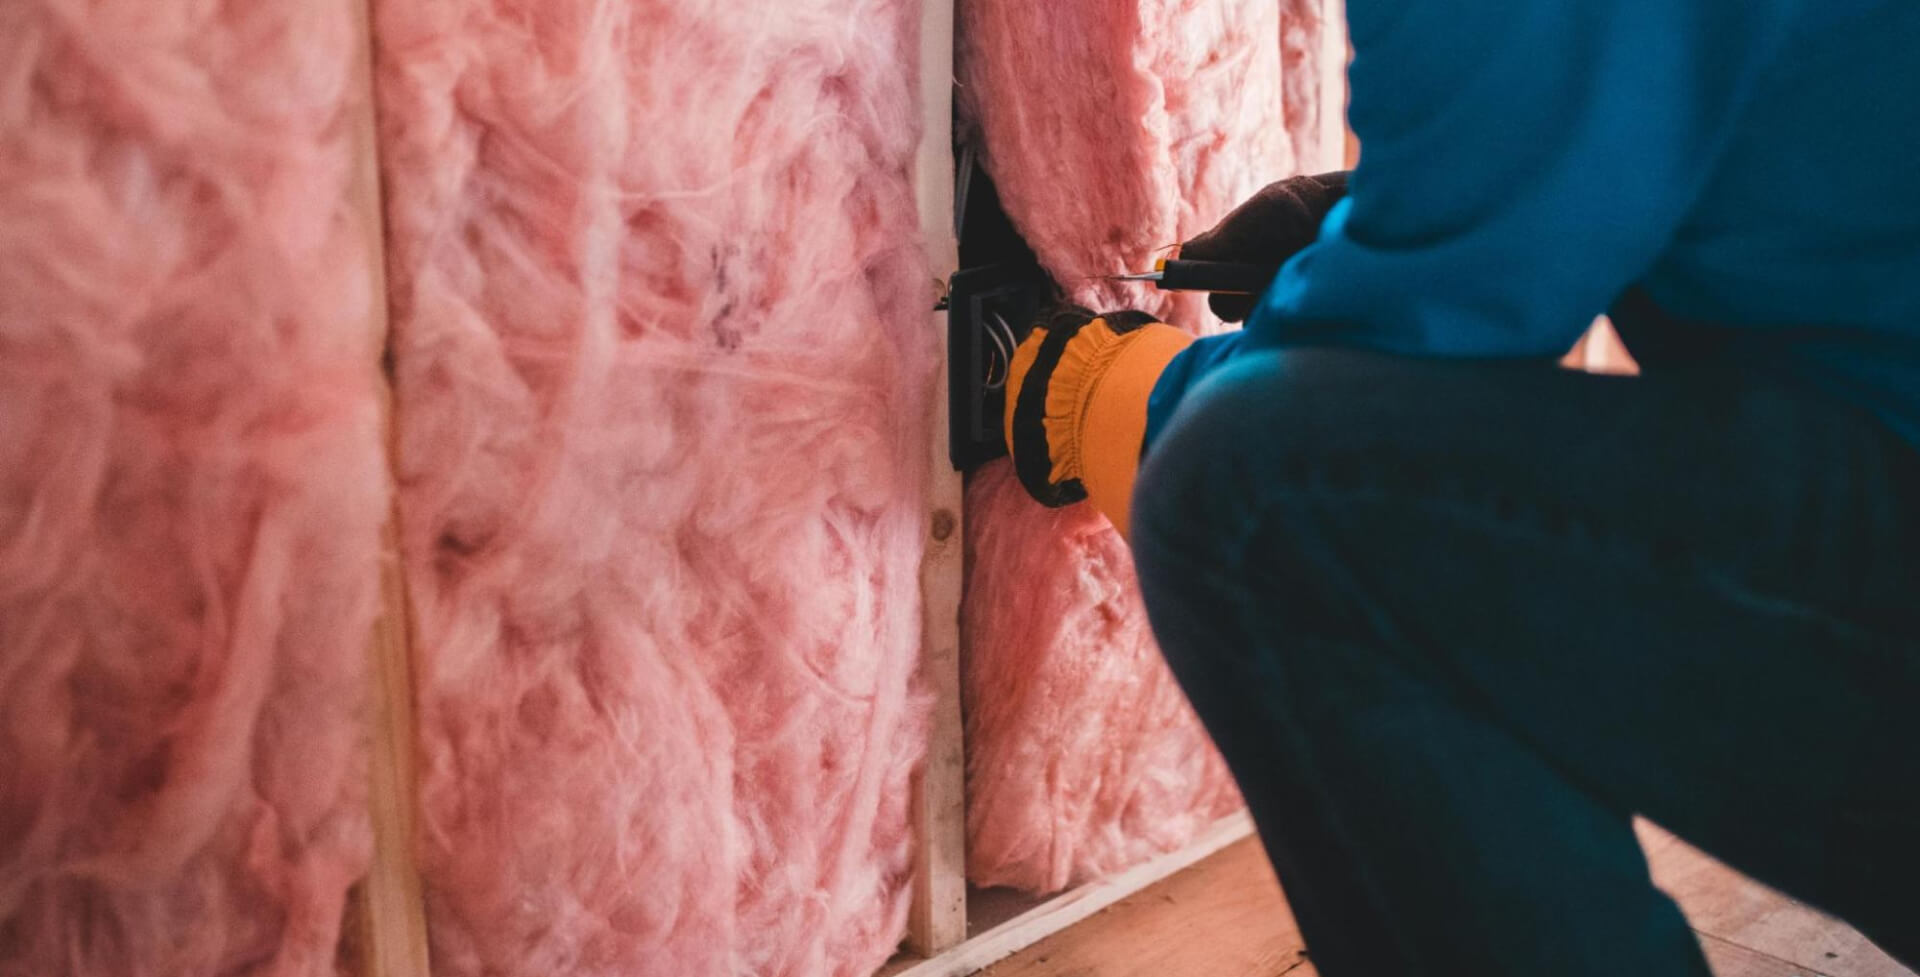
Fiberglass insulation is a popular choice for sheds because it’s cheap, and you can find it anywhere. It comes in rolls or batts and is made of fine glass fibers. Fiberglass is a good all-around option for most sheds, especially if you’re on a budget.
Pros
Cons
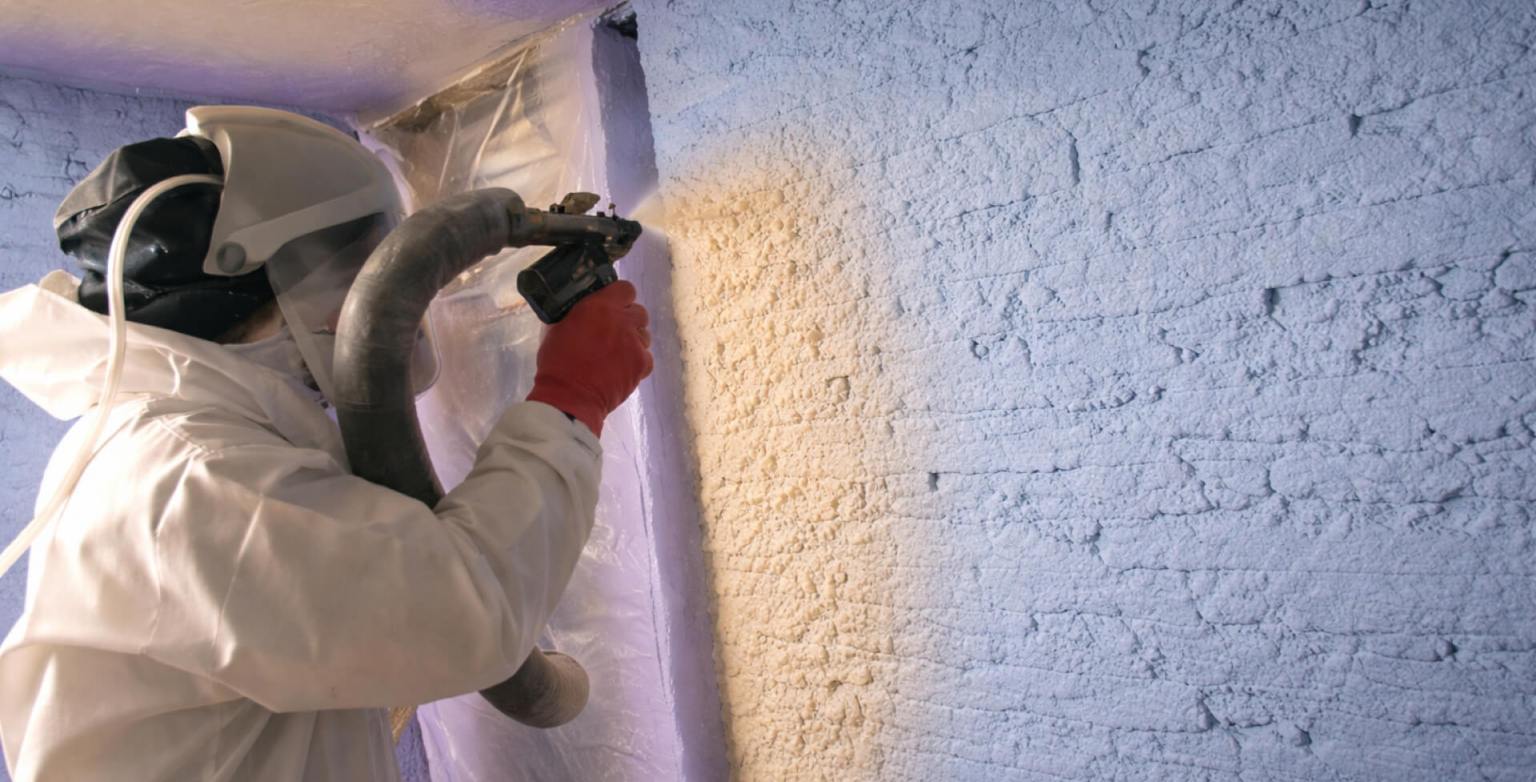
Spray Foam Insulation
| Type | R-Value | Cost per Square Foot | Ideal Application |
|---|---|---|---|
| Open Cell | R-3.7 per inch | Approx. $2.75 | Walls, ceilings |
| Closed Cell | R-6.5 per inch | Approx. $7.50 | Walls, ceilings, air sealing |
Spray foam insulation is ideal for sealing up gaps and cracks in your shed. It comes as open-cell and closed-cell spray foam.
Open-cell spray foam is cheaper and provides good thermal insulation, while closed-cell spray foam offers a higher R-value and acts as a vapor and air barrier.
Pros
Cons
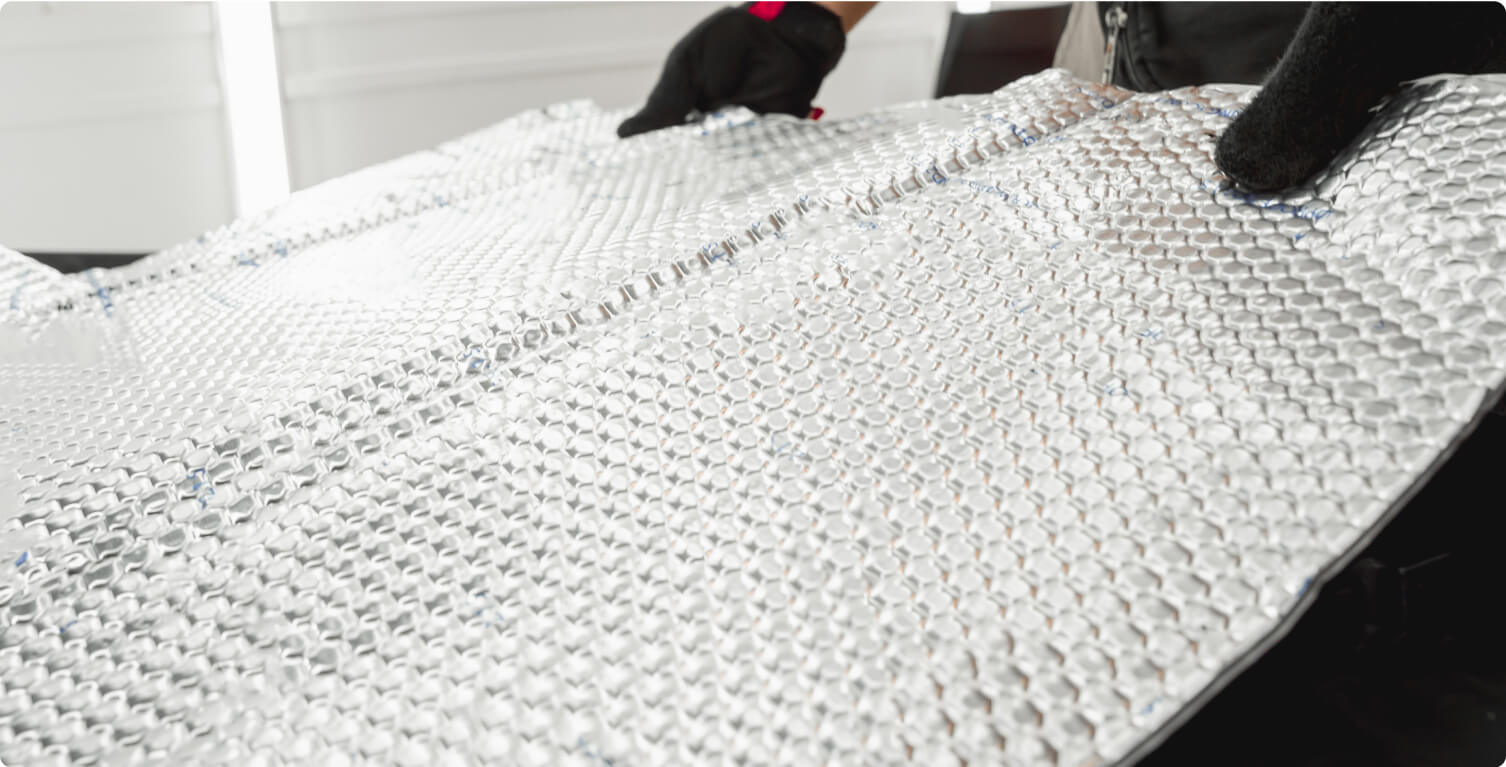
Double Bubble Insulation
| R-Value | Cost per Square Foot | Ideal Application |
|---|---|---|
| R-1 to R-2 | $0.50 – $1.50 | Walls, roofs, floors |
Double bubble insulation, also known as bubble wrap insulation and reflective insulation, is made of two layers of polyethylene bubbles with a reflective foil layer in between. It’s lightweight and easy to install, making it a good option for DIY projects.
Pros
Cons
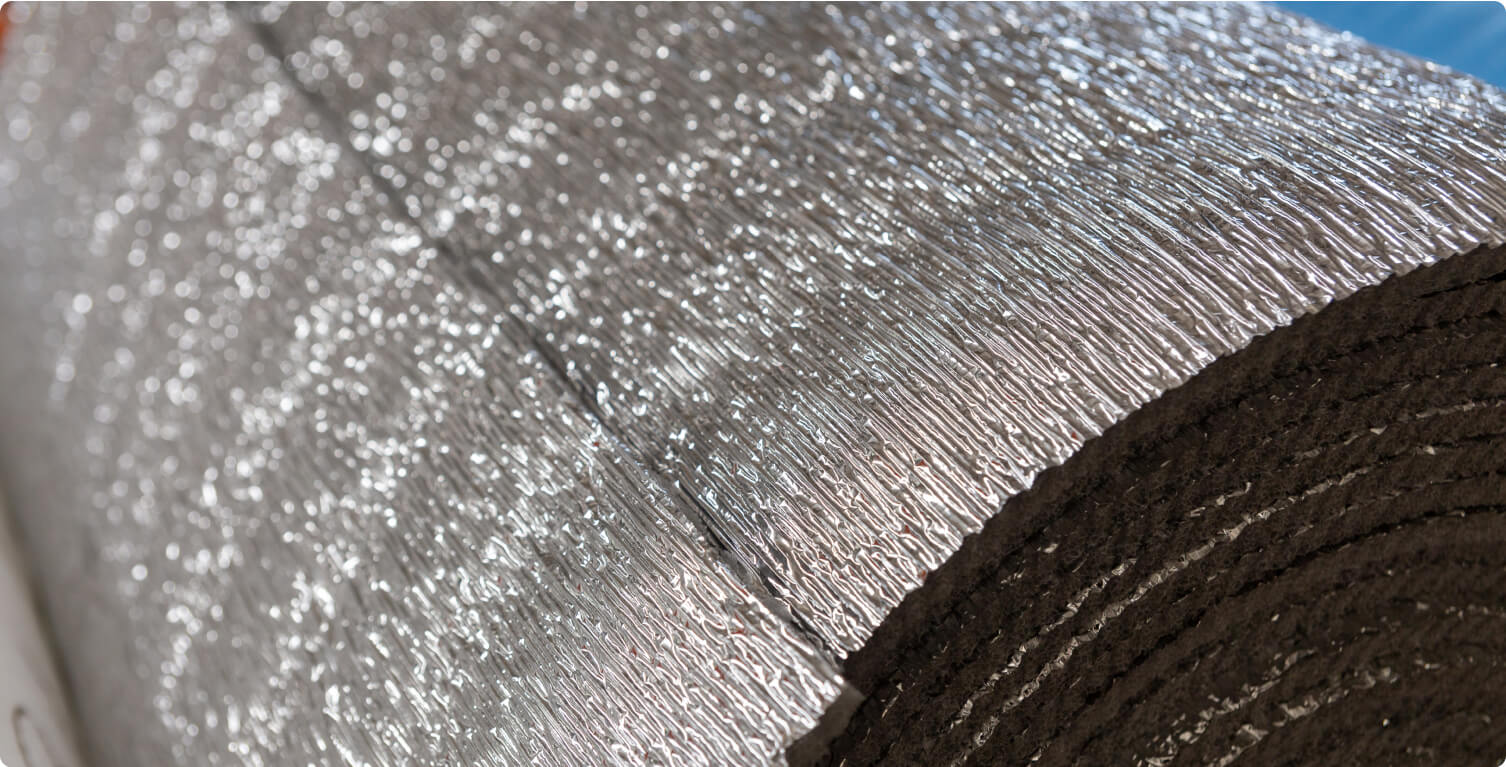
Woven R17 Insulation
| R-Value | Cost per Square Foot | Ideal Application |
|---|---|---|
| R-17 | $2.00 – $4.00 | Walls, attics, floors |
Woven R17 insulation is a newer material made from recycled cotton and textile fibers. It’s environmentally friendly and offers a high R-value for its thickness.
Pros
Cons
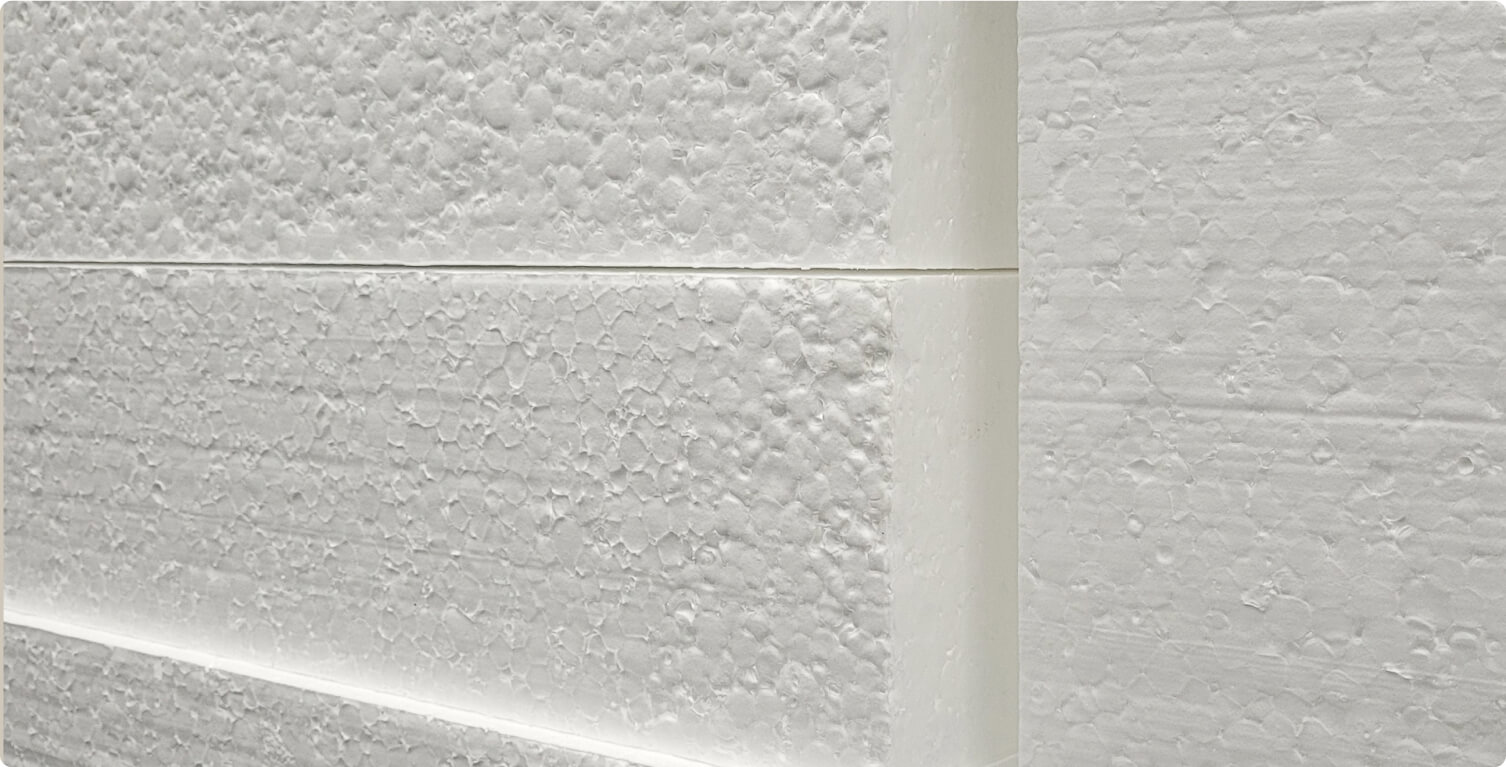
Foam Board Insulation
| R-Value | Cost per Square Foot | Ideal Application |
|---|---|---|
| R-3 to R-6.5 per inch | $0.75 – $2.00 | Walls, roofs, floors |
Foam board insulation, also known as rigid foam insulation, is made of polystyrene or polyisocyanurate. It comes in rigid panels that are easy to cut and install. Foam board insulation is a good choice for providing a continuous layer of insulation and can be used simultaneously with other insulation materials.
Pros
Cons
Other Forms of Insulation
While fiberglass insulation batts, spray foam, and foam board are the most common types of insulation for sheds, there are a few other options you might consider:
- Mineral Wool Insulation: Made from rock or slag wool, mineral wool offers good thermal and acoustic performance. It’s also fire- and moisture-resistant. The R-value ranges from R-2.8 to R-3.5 per inch, costing around $1.00– $2.00 per square foot.
- Loose-Fill Insulation: Loose-fill insulation is made of small particles of cellulose, fiberglass, or mineral wool blown into cavities. It’s a good option for floor insulation but is rarely used in other parts of a shed.
- Radiant Barrier Insulation: This type of insulation reflects radiant heat rather than absorbing it. It’s most effective in hot climates, and it’s typically installed on attics or roofs.
How to Insulate a Shed in Five Easy Steps
Now that you know what you’re working with, let’s move on to the installation process. Follow these five practical steps to insulate your shed like a pro.
Step #1: Prepare Your Shed for Insulation
The first step to insulating your shed is properly preparing it for the insulation. The following steps will ensure that the installation process is smooth and that the insulation is effective:
- Clean the shed: Remove any clutter, debris, or cobwebs.
- Repair any damage: Fix any holes, cracks, or gaps in the walls, ceiling, or floor.
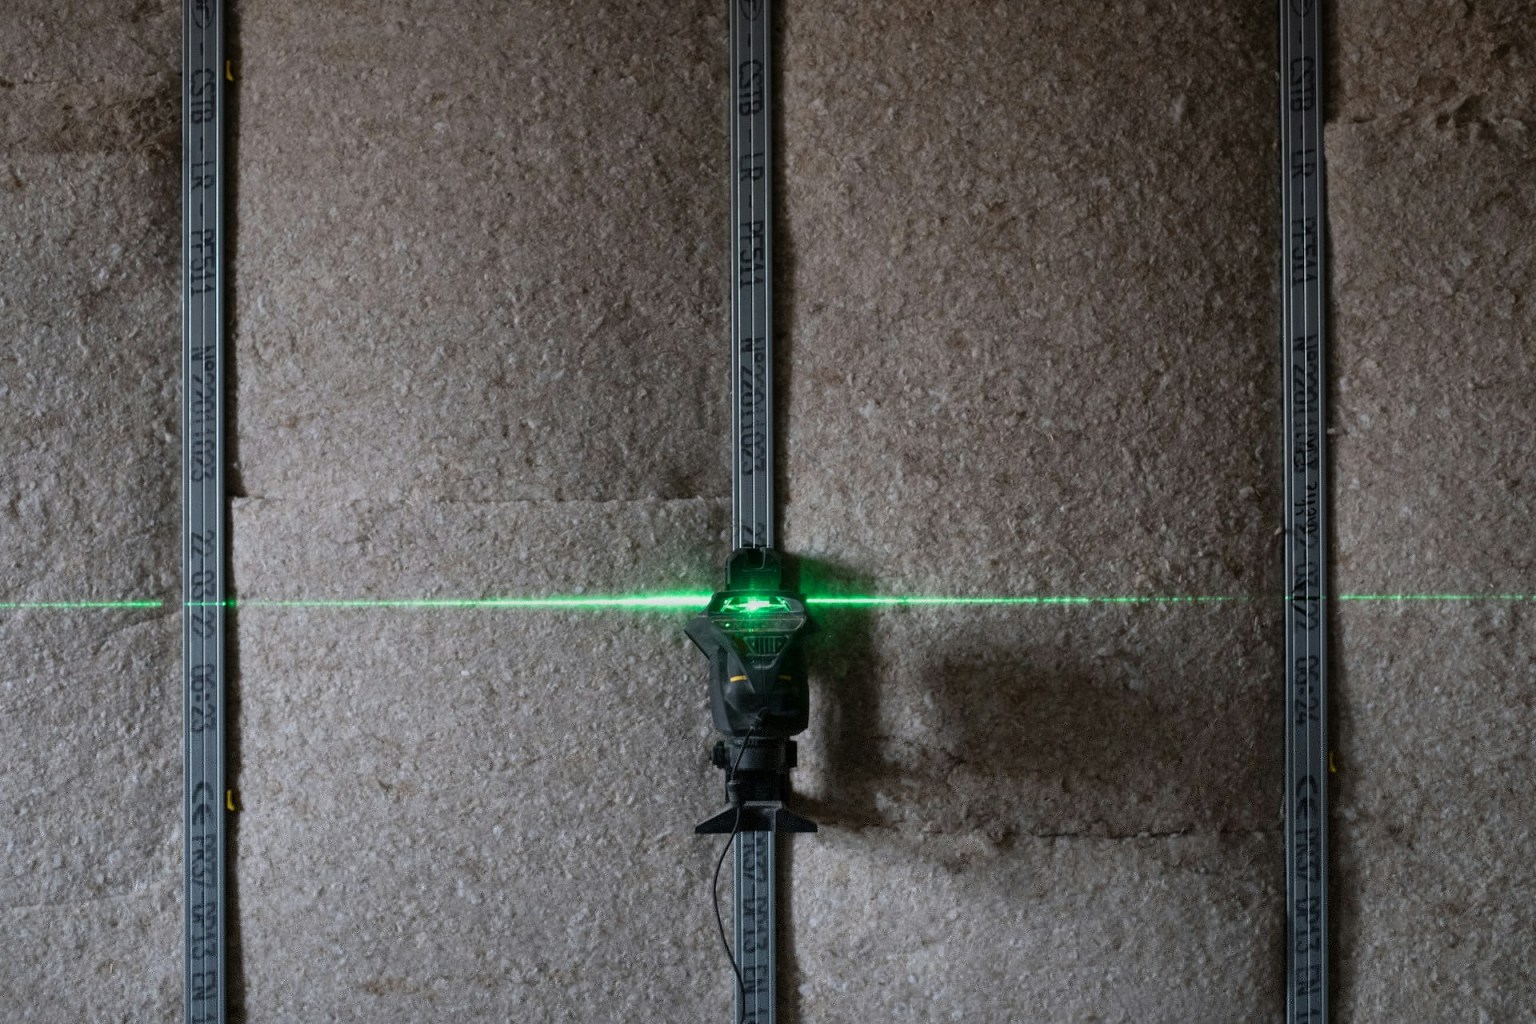
- Prepare all surfaces: Ensure your shed’s surfaces are clean and dry before installing insulation.
Step #2. Insulate the Shed’s Ceiling
The ceiling should be the first part of the shed you insulate. In fact, it’s the most important part to insulate.
Since heat rises, the ceiling is where you’ll lose the most heat during the winter. That’s why recommended R-values for roof insulation are usually higher (25 or more) than insulation for walls.
Regardless of the type of shed, you can use fiberglass batt insulation, spray foam, or rigid board insulation.
The roof is usually the hardest part to insulate, so it’s best to tackle it while you’re fresh. Insulating the ceiling first also helps prevent damage to the wall insulation you’ll install later.
Step #3. Insulate the Shed’s Walls
Once the ceiling is insulated, you can move on to the walls. The insulation you use for the walls will depend on the kind of shed you have and your personal preferences.
- You can use fiberglass batts, spray foam, or rigid insulation boards for wooden sheds.
- For metal sheds, you can use fiberglass batts or spray foam insulation. Be sure to use insulation with a facing that acts as a vapor barrier, preventing condensation and corrosion.
- For plastic or vinyl sheds, it’s best to avoid spray foam. Some foams don’t stick well to plastic, and they can cause problems with plastic’s expansion and contraction with heat and cold. Instead, opt for fiberglass batts with a facing or rigid foam board insulation.
Step #4. Install Floor Insulation
This step is optional. However, if you’re in a colder climate and your shed has an air gap underneath for proper ventilation, you may want to insulate your shed’s floor. Floor insulation can help reduce heat loss during winter and make the shed more energy-efficient.
Most people choose rigid foam insulation boards or loose-fill insulation for the floor.
Step #5. Seal Gaps to Maximize Insulation Efficiency
Once you’ve installed the insulation, the next step is to seal any gaps or cracks to prevent air leaks. Sealing gaps ensures that your insulation is more effective.
You can seal gaps around movable parts of your shed like windows, doors, and other openings using caulk, weatherstripping, or expanding foam. You can also use tape to seal seams between insulation batts or boards.
Step #6. Install a Vapor Barrier
Once all the insulation is in place, the next step is installing a vapor barrier to prevent moisture from entering the insulation and causing damage. Vapor barriers usually involve applying plastic sheeting over the insulation and sealing any seams with tape.
Step #7. Finishing Touches
The final step is to finish the interior with wall coverings like drywall, paneling, or floorboards. It all comes down to your desired finish.
Benefits of Insulating a Shed
Insulating your shed can make a world of difference. Here are some of the biggest benefits:
- Year-Round Comfort: Insulation helps regulate the temperature inside your shed, keeping it cooler in the summer and warmer in the winter.
- Protect Your Stuff: Extreme temperatures and moisture can damage garden equipment and supplies. Insulation helps create a more stable environment, protecting your tools and anything else you store in your shed.
- Energy Savings: Insulation can help you save money on your energy bills by keeping your heating and cooling costs down.
- Moisture Control: Insulation helps prevent condensation and moisture buildup, which can lead to mold and mildew.
- Sound Insulation: Insulation can help absorb sound, making your shed a peaceful, quiet space.
- Versatility: With proper insulation, your shed can become more than just a storage space. It can become a comfortable workshop, a home office, a hobby room, or even an extra living space.
The Cost of Insulating a Shed
The cost of insulating a shed can vary depending on several factors, including its size, the type of insulation you choose, and whether you hire a professional or install it yourself.
Average Cost of Shed Insulation
To give you a general idea, here’s a table showing the estimated cost of completely insulating a shed based on size, assuming an average insulation cost of $2.79 per square foot and a simple shed design with one door, one window, and a vertical roof.

| Shed Size | Wall Height (ft) | Insulated Area (sqft) | Insulation Cost |
|---|---|---|---|
| 8×10 | 10 | 520 | $1,450.00 |
| 10×16 | 10 | 850 | $2,370.00 |
| 12×20 | 10 | 1130 | $3,160.00 |
Labor Costs
Suppose you decide to hire a professional to insulate your shed. In that case, you can expect to pay an additional $1–$3 per square foot or more for labor, depending on your location and the job’s complexity.
At those rates, you can pay as little as $180 to insulate only the ceiling of a small shed and as much as $3,000+ for a large, fully wrapped shed.
Cheapest Insulation Options
There are ways to save on insulation costs for those on a budget.
Reclaimed or reused insulation materials can cost as little as $0.50 per square foot. You can also save on labor costs by installing the insulation yourself, but only if you have experience working with these materials and can do it safely.
Another way to save is to avoid insulating the floor and focus on the walls and roof. That’s where most of the heat is lost.
Here’s a table showing the cheapest option for DIY small, medium, and large shed insulation without insulating the floor:
| Shed Size | Wall Height (ft) | Insulated Area (sqft) | Insulation Cost |
|---|---|---|---|
| 8×10 | 10 | 440 | $220.00 |
| 10×16 | 10 | 690 | $350.00 |
| 12×20 | 10 | 890 | $450.00 |
Wrap-Up and Next Steps
By now, you should have a good grasp of how to insulate a shed. Remember these key takeaways:
- Choose the right insulation for your shed type and climate.
- Don’t forget about the R-value – the higher, the better.
Here’s a quick recap of the five steps to insulate your shed:
- Prepare your shed for insulation.
- Insulate the shed’s ceiling.
- Insulate the shed’s walls.
- Install floor insulation (optional).
- Seal gaps to maximize insulation efficiency.
With a little effort and investment, you can transform your shed into a comfortable and functional space you can enjoy year-round.
FAQs
Got questions about shed insulation? We’ve got answers.
What is the best insulation for a shed?
The best insulation for a shed depends on several factors, including your climate, the type of shed you have, and your budget. Closed-cell spray foam is the best option for metal and wooden sheds, while high-quality insulating boards are better for plastic and vinyl sheds.
Can I insulate an existing shed?
Yes, you can insulate an existing shed. However, it might require more work and preparation than insulating a new shed. For example, you may need to remove existing wall coverings or flooring to access the framing and install insulation.
Does insulating a shed prevent condensation?
Yes, insulating a shed can help prevent condensation. Insulation helps regulate the temperature and humidity inside the shed, reducing the likelihood of condensation forming on surfaces.
Should I install a ridge vent in my insulated shed?
Yes, installing a ridge vent in your insulated shed is highly recommended. It helps ensure proper ventilation, prevents moisture buildup, and increases the overall effectiveness of your insulation.