You see it in the sky. You can feel it in the air. And, of course, you notice it on the calendar. Winter is approaching! It’s time to winterize your shed.
Follow these tips before the snow falls to ensure your shed stays dry, warm, and pest-free:
1. Install Weather Stripping for Doors and Windows
This simple tip will keep your shed cozy and dry all winter long. Close the shed door and run your hand around the edges to feel for drafts. Do you feel air leaking through? If yes, measure the length of the door frame and cut weather stripping to fit.
Weather stripping is rubber, foam, or felt that seals gaps around doors and windows to keep out drafts and moisture.
Keeping out moisture can prevent mildew from forming and rusting your tools. Plus, with less of a draft, working in your shed is more pleasant.
Don’t forget the windows. Check for any drafts around the edges. Cut and apply the weather stripping just like you did for the door.
2. Insulate the Walls and Roof for Temperature Control
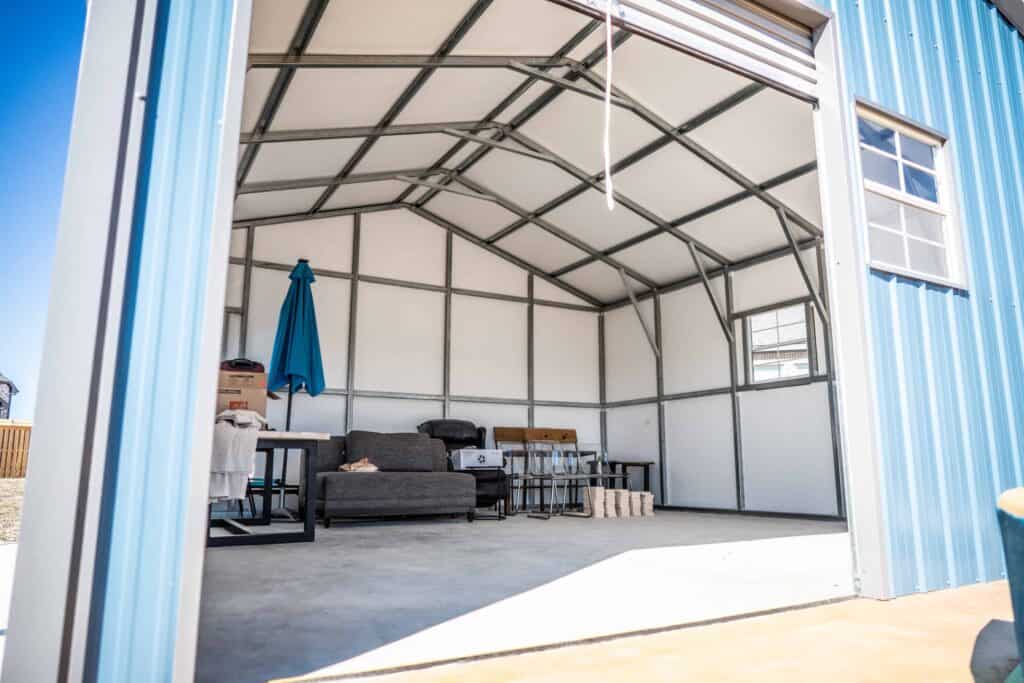
Adding insulation to your shed can keep your temperature higher in the winter. Foam board insulation is easy to install and provides excellent thermal resistance. Fiberglass batts are another good option, especially for larger sheds.
When someone who lives in strong winter conditions purchases a shed from us, we recommend adding Woven 17 insulation. This insulation is a combination of aluminum foil, bubble material, and woven material. It has an R-rating of 17, which means it’s effective at temperature control.
If you’re applying insulation DIY, measure the spaces between the wall studs and cut the insulation to fit snugly. For the walls, simply slide the insulation into place between the studs. Make sure it fits tightly without gaps. For the roof, you might need to use an adhesive or staples to keep the insulation in place.
Remember to insulate the door, too. You can buy door insulation kits that include everything you need. This helps keep the cold out and the warmth in.
3. Inspect and Replace Garage Door Bottom Seal
When inspecting your garage door seal, look for any cracks, gaps, or signs of wear. If you notice any damage, it’s time to replace it.
To replace, measure the length of the garage door to ensure you get the right size seal. You can find replacement seals at most hardware stores. Once you have the new seal, remove the old one by sliding it out of the track at the bottom of the door. If it’s stuck, you might need a screwdriver to help pry it loose.
Next, clean the garage track thoroughly. Remove any debris or old adhesive. Once clean, slide the new seal into the track, making sure it fits snugly and evenly across the entire bottom of the door. If needed, trim any excess length with a utility knife.
The new seal should sit flush against the floor, preventing cold air and moisture from getting in.
4. Remove Exterior Debris to Prevent Pest Access
Exterior debris around your shed can attract pests looking for winter shelter. Grab a rake and gloves, and start clearing away any debris you find.
Pay special attention to the corners and base of your shed, as these are prime spots for rodents and insects to hide. Once you’ve removed the debris, dispose of it far from the shed.
Also, look for any overgrown vegetation or branches that touch the shed. Trim these back to create a clear space around the structure. This not only deters pests but reduces moisture buildup near the walls.
5. Use Rodent Repellent to Keep Pests Away
To keep rodents out of your shed, place rodent repellent around and inside it. You can use commercial sprays found at your hardware store or more natural repellents, such as peppermint oil-soaked cotton balls.
To keep pests out of your shed, place these deterrents in corners, near entry points, and around areas where you store pet food, seeds, or soil.
For a more serious approach, consider using ultrasonic pest repellers. These devices emit high-frequency sounds that are annoying to rodents but inaudible to people. Place them around your shed so pests stay away.
Additionally, seal any potential entry points with steel wool or wire mesh. Remember, rodents can squeeze through surprisingly small gaps.
By using a combination of repellents and physical barriers, you’ll effectively keep your shed rodent-free.
6. Clear Out and Dispose of Unwanted Items

You should throw away old items such as dried-out paint cans, broken or rusted tools, empty containers, and empty seed packets.
Sort your unwanted items into three groups: trash, recycling, and donations. If you’re unsure about how to dispose of certain items, like old paint or chemicals, check with your local waste management service.
If you have tools or equipment in good condition that you don’t need, consider donating them to a local community garden or school.
7. Add a Vapor Barrier to Prevent Moisture Buildup
A vapor barrier is a thick plastic sheet installed on the walls and floor of the shed to prevent moisture from entering. Moisture in a shed can lead to mildew and wood rot.
We recommend your vapor barrier to have a minimum thickness of 6 mils or .006 inches.
When installing the vapor barrier, make sure the plastic is at least six inches above the edges. Secure it with heavy-duty adhesive tape or staples.
If your shed has a dirt floor, you might need to use stakes to keep it in the plastic barrier place.
Next, move on to the walls. Staple or nail the barrier to the studs, ensuring there are no gaps or overlaps where moisture could sneak in. If you have insulation in your walls, place the vapor barrier over it to keep the insulation dry and effective.
8. Clean and Organize Gardening Tools and Equipment

First, lay your gardening tools outside the shed. This tip is easier to tackle when every item is in front of you.
Start by giving your tools a good cleaning. Fill a bucket with warm water and a bit of mild soap. Use a sponge or scrub brush to clean off any dirt and sap. If you’ve got any rusty spots, use steel wool to remove the rust. After the cleaning, make sure everything is completely dry.
This next step is important. Take your garden hose and unhook it from the outdoor spigot. Drain out any remaining water to prevent it from freezing, causing cracks, and any damage. Coil the hose neatly and hang it on a wall hook inside your shed.
Now, organize the shed. If you haven’t already, invest in wall hooks and pegboards. Group similar items together—hang rakes and shovels in one area, smaller hand tools in another. Labeling spots on the pegboard will help you keep your items organized.
Before you lock the shed door, cover your cleaned and organized tools with a tarp or an old sheet. This prevents dust from settling on them over the winter and keeps everything in good condition for when you need them in the spring.
9. Properly Store Organic Materials and Pet Food
Gather all your soil, mulch, and seeds. If left open, these organic materials can attract moisture and pests. Transfer them into waterproof containers or heavy-duty plastic bags. Seal them tightly to keep everything dry and safe from critters.
Now, for the pet food. Whether it’s dog food, horse grain, or bird seed, store it in metal garbage cans with secure lids. This prevents rodents from chewing through and making a mess. Place these cans on pallets or shelves to keep them off the damp ground.
10. Thoroughly Sweep Out Shed Debris
Start by removing everything from your shed, which will give you full access. Grab a sturdy broom and sweep from back to front.
Look for dead insects, leaves, dirt, and twigs. Also, keep an eye out for signs of pests such as droppings or nests. This indicates you may want to use pest repellent, a tip later in our list.
Sweeping debris out of your shed removes the material mice, squirrels, and other rodents may use to build a winter home in your structure.
Look for cobwebs hanging from the rafters. Use a long-handled duster or broom to knock those down.
For stubborn dirt or grease spots, mix some mild soap with water and scrub them with a stiff brush. Once everything is spotless, give the floor one final sweep before putting your items back in place.
Final Takeaway
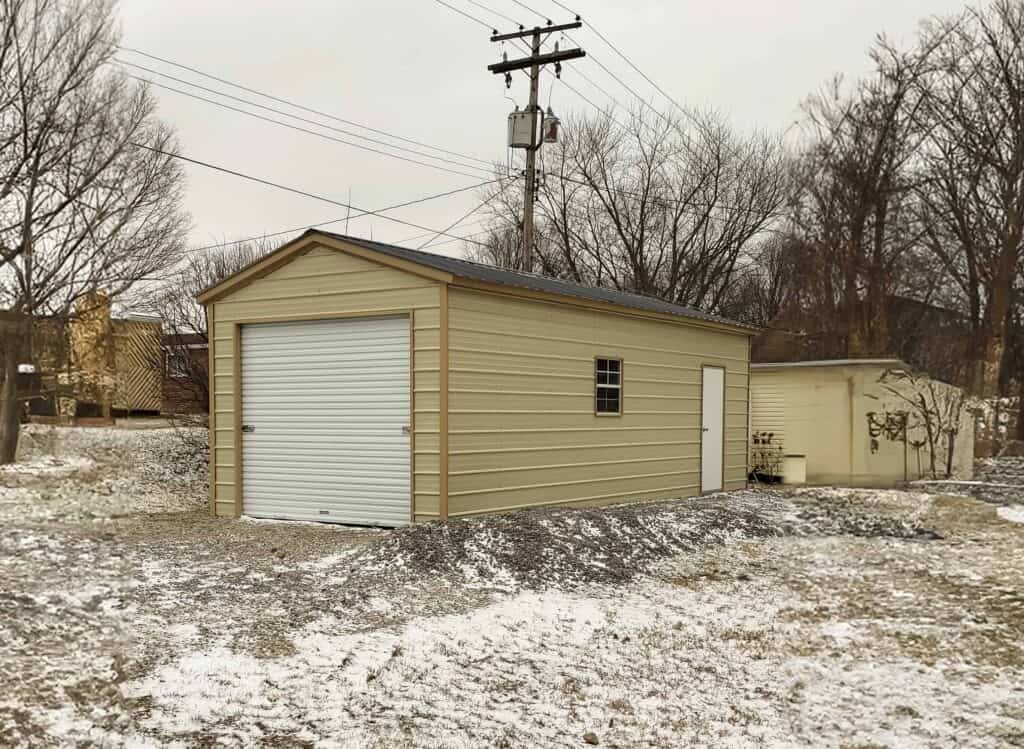
Have you tried winterizing your shed and realized it’s time to buy a new one? Are you considering upgrading from a wood to a metal shed? Consider a shed from Alan’s Factory Outlet.
Our sheds are fully customizable, including with Woven 17 insulation, which will keep your shed warmer during the winter. Customize your dream shed today with our easy-to-use 3D Builder.