
Concrete slabs are one of the most common and versatile structural elements used in construction. They can be used to hold patio furniture or function as a foundation for sheds, garages, and other types of metal buildings. Learning how to pour a concrete slab yourself, however, can get complicated.
To help you through the process, we’ve outlined the materials you’ll need along with a step-by-step guide below.
What You’ll Need to Start
Before you start, it’s important to gather all of the necessary building materials and safety gear.
| Safety Gear | Tools and Equipment | Materials |
| • Safety goggles • Tall rubber boots • Respirator mask • Concrete kneeler boards | • Electric drill • Level • Tape measure • Reciprocating saw with a metal-cutting blade • Pliers • Hammer • Wheelbarrow • Shovel • Heavy-duty waterproof gloves • Hand tamper or plate compactor • Bull float | • 1/2 inch rebar • Concrete • Gravel • Forming lumber • Tie wire • Deck screws • 4 wood stakes |
Double-check to make sure you have your materials readily available before you pour your slab. Once the concrete is mixed, certain steps need to be done in a timely manner, otherwise it could compromise the structural integrity of your slab.
Pour a Concrete Slab in 13 Steps
Pouring a concrete slab takes patience and planning. We’ll take you through the process step-by-step to make things as easy as possible.
Step 1. Check Local Regulations
Unless you’re building a patio or small shed, you’ll need to follow local zoning and building rules. Call your local building code enforcement department. They’ll tell you local requirements for the size, thickness, and design of a concrete slab for a garage, shed, or larger storage building.
If you are pouring a foundation for a building or if you live in an area that is prone to frost, you may need to include a footer at the edges of your slab. This means you will have to dig a deeper trench at the edges of the foundation that will be filled with concrete. These footers provide extra strength to support your building and keep the slab from heaving and breaking during cold weather. In warm climates your footing might be twelve inches wide and just twelve inches deep. But in cold climates your footing may need to extend below the frost line.
Step 2. Prioritize Safety Precautions

Wet concrete can be hazardous when it touches your skin. While it may only cause mild irritation, other times it can cause severe burns.
Here are some tips to keep yourself safe:
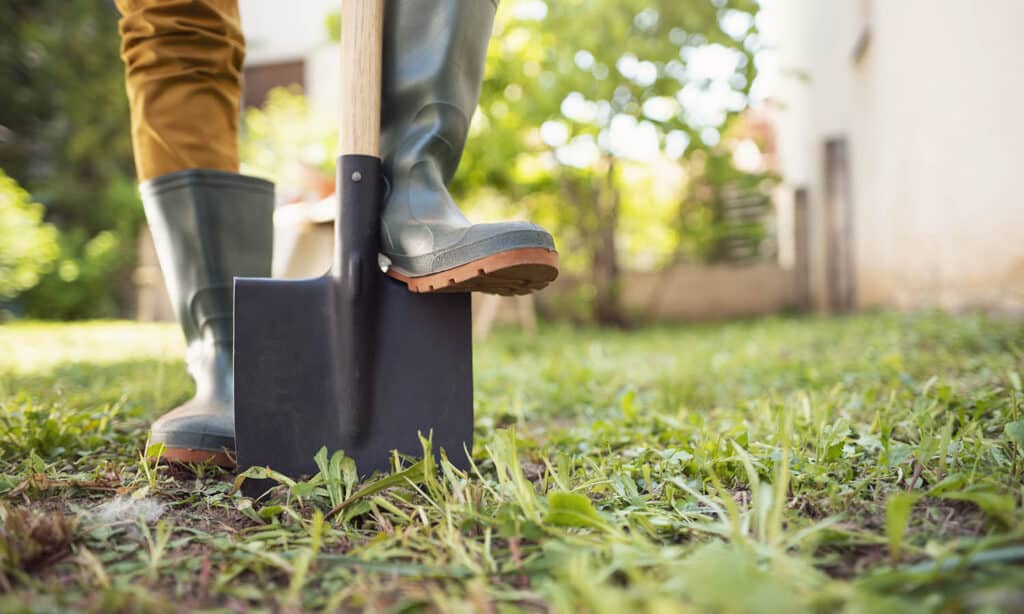
- Wear pants, waterproof gloves, a long-sleeved shirt, and tall rubber boots
- Wear safety goggles
- Use waterproof knee kneeler boards when kneeling on wet concrete
- If your skin touches wet concrete, wash it off with clean water and replace wet clothing and safety gear
Step 3. Stake and Outline Your Slab Location
Use a tape measure and yellow striping spray paint to create a rough outline of where your slab will sit. If you don’t have spray paint, you can use rope or string instead.
Next, drive stakes into each corner of where your structure will be. To make sure your outline is properly squared, measure the distance from two opposite corners, and make sure it matches the distance of the other two opposite corners. If any other structures are near your slab, also make sure your outline is parallel to them or your slab could look awkward when it’s finished.
You will want to choose a spot that is fairly level and that is a little higher than the surrounding ground so that you won’t have any issues with water pooling on or around your concrete slab. If you don’t have an area that meets these requirements, you will need to grade the soil around the area you have outlined so that it slopes away from your slab site for about ten feet on every side.
Remember to call your local 811 service before you dig to make sure there aren’t any underground utilities that will interfere with your plans.
Step 4. Excavate the Site
Before you can pour your concrete, you’ll need to dig a wide, shallow hole to pour gravel and concrete into.
Dig six to eight inches beneath the soil, following along the outline you made earlier. Your hole needs to be deep enough for you to pour in at least three inches of gravel, with four to six inches of concrete on top of that. It is fine for your foundation to rise a few inches above the surrounding ground if you want.
If building codes call for a footer, you will dig an even deeper trench on the outside edges of the foundation area.
Consider digging several inches beyond your outline on all sides to give yourself some wiggle room when it comes time to pour.
Step 5. Lay a Gravel Sub-Base
Have a load of gravel delivered to your site. If the truck can’t dump the gravel into your outline, you’ll need to use your wheelbarrow to haul the gravel to your pit. After you have flattened out the gravel, use a builder’s level to see if the surface of your gravel base is sloping. If so, add and remove gravel where necessary to level your surface out. Then rake your surface to smooth it out.
To ensure your surface is level, tie a string between each corner stake, making a rectangle, and use a level to level the strings. Then use a tape measure to compare the depth of your soil with the height of the string at different places along the edges. Make sure the depth is consistent across your surface. It doesn’t have to be perfect, but it should be close.
Step 6. Pack the Fill
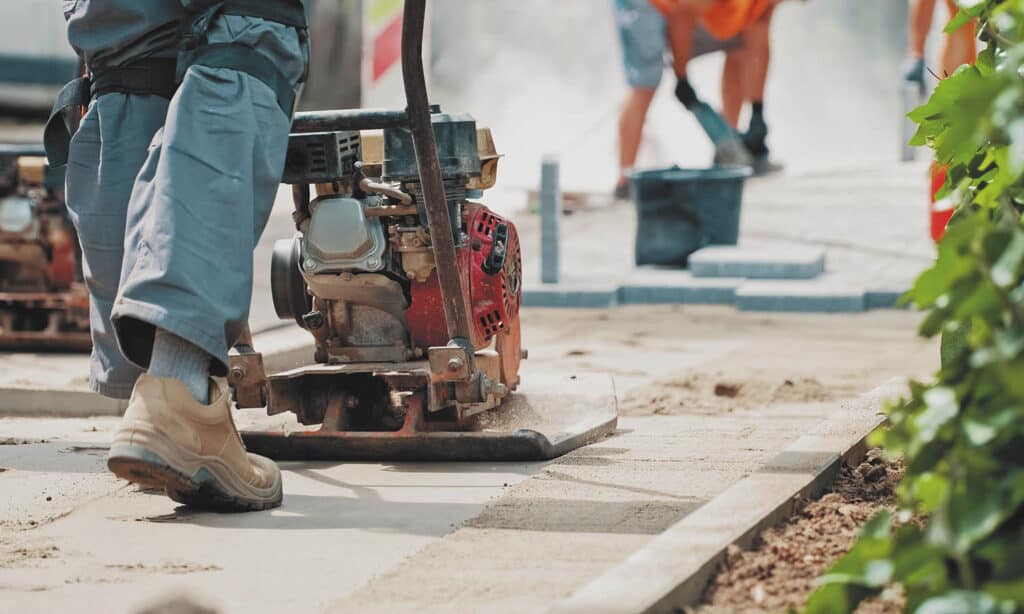
Once your base is at a consistent level, use a hose to wet the gravel, preparing it for compaction. Then use a hand tamper or a plate compactor to pack the gravel. After compaction, your base might look uneven in certain areas. If so, rake across the area, evening out your gravel once more.
Step 7. Prepare Your Form
A wooden perimeter, or form, is needed before you pour the concrete. Depending on your location, you may be able to rent a form. If not, you can make your own form with 2x4s for a four-inch slab or 2x6s for a six-inch slab.
A 2×4 is actually only three-and-a-half inches tall, so you may need to raise your boards off the ground a little to make the form for a four-inch slab. You can just fill a little dirt under the boards when you are done building the form.
If your boards aren’t long enough, screw two or three boards together to make one long board for each side. If your boards are too long, you don’t need to cut them to the exact length. Just start each side where you want it, and let the other side overhang.
Measure your first side, and then screw it onto the end of your second side. Measure the length for the second side, and then screw the second board into the end of the third side of the frame. Continue around until the frame is complete. Then measure the distance from opposite corners to make sure it matches the distance from the other set of opposite corners.
From there, use stakes to secure the form. Hammer down one stake on each corner about a half inch below the top edge of your wooden planks. Double check to make sure the distance from the top of the form to the gravel base matches the depth you want for your slab.
Then make sure the top of your frame boards are all level. After that, use a drill to screw your stakes into the form. If there are any gaps at the bottom of your form, backfill them with some dirt.
Step 8. Strengthen the Slab with Rebar
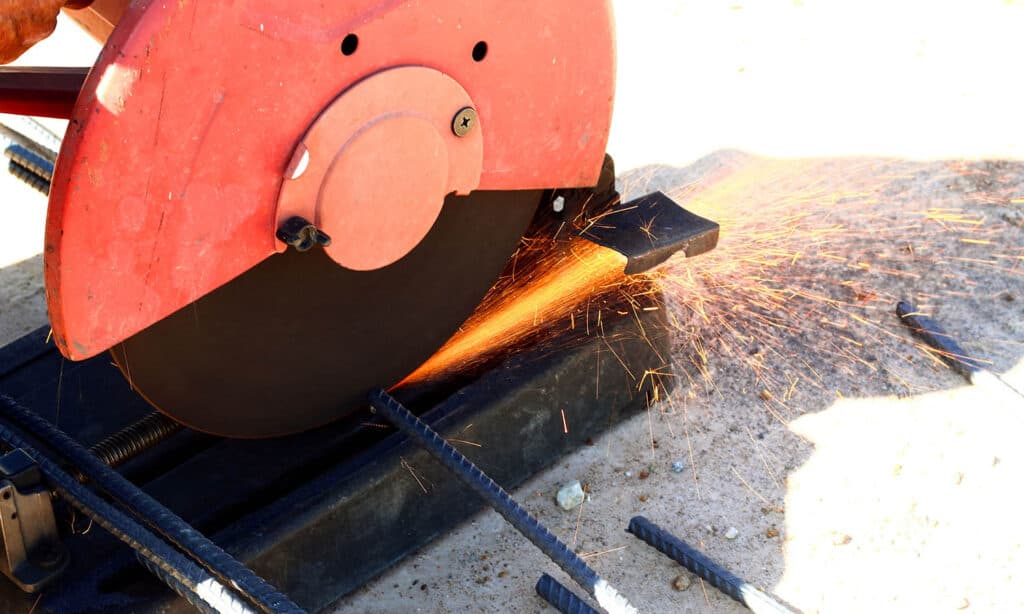
Use one half-inch rebar to strengthen the structural integrity of your slab. Cut the rebar to an appropriate length with a reciprocating saw or a similar tool. Be sure to use safety goggles, clamp your rebar in place, and use an appropriate saw blade and speed setting.
Place rebar rods inside the length of your form, spaced about twelve to eighteen inches apart. Then do so once more in the opposite direction, resulting in a grid-like formation.
Finally, use wrapping tie wire to bind your rods wherever they overlap, and use spacers to elevate the rebar mesh to the appropriate height.
Step 9. Mix and Pour the Concrete
Before you pour your slab, you will want to wait for a time when temperatures will be above 50 degrees for a week. Concrete isn’t able to cure properly when temperatures are below 40 degrees. Concrete also needs water to cure, so if you plan to pour on a week that will be hot and dry, you will have to put in extra effort to keep your slab moist.
Call your concrete delivery company and ask for recommendations on the best mix for your project.
To know how many cubic feet of concrete you’ll need, multiply the width, length, and depth of your form. Then divide this total by twenty-seven, and add five percent to find the approximate number of yards of concrete you’ll need for your project.
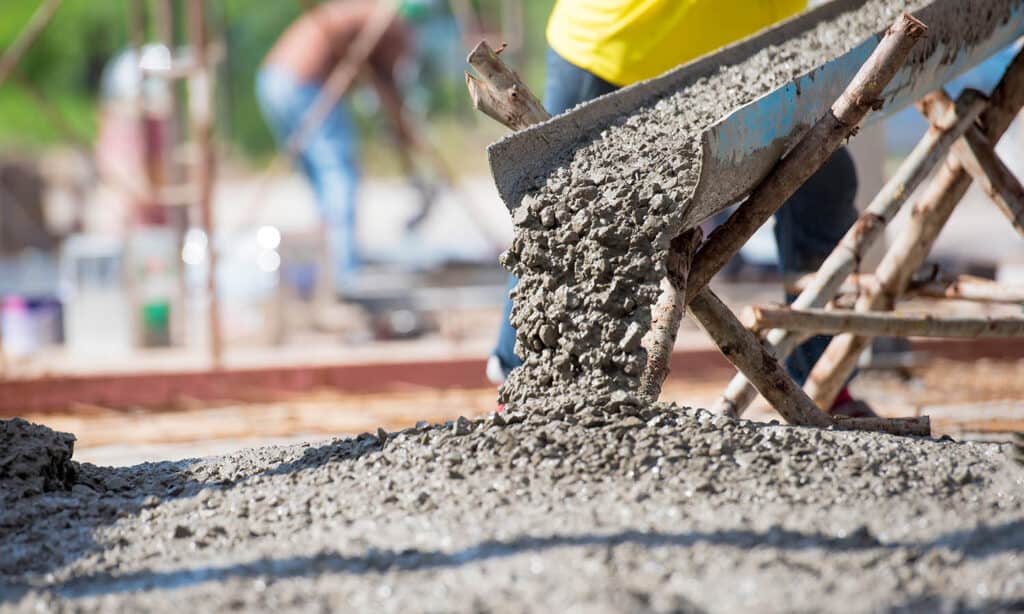
Hopefully the concrete truck will be able to pour concrete directly into your form. If this isn’t possible, then you’ll need wheelbarrows to transport your concrete.
Use helpers to spread the concrete across your form with shovels and rakes. If the concrete is too thick to work with, some people add a little water. This will make it easier to spread, but too much water can reduce the strength of your slab, so it is not recommended.
Spread the concrete evenly along the perimeter until it is level.
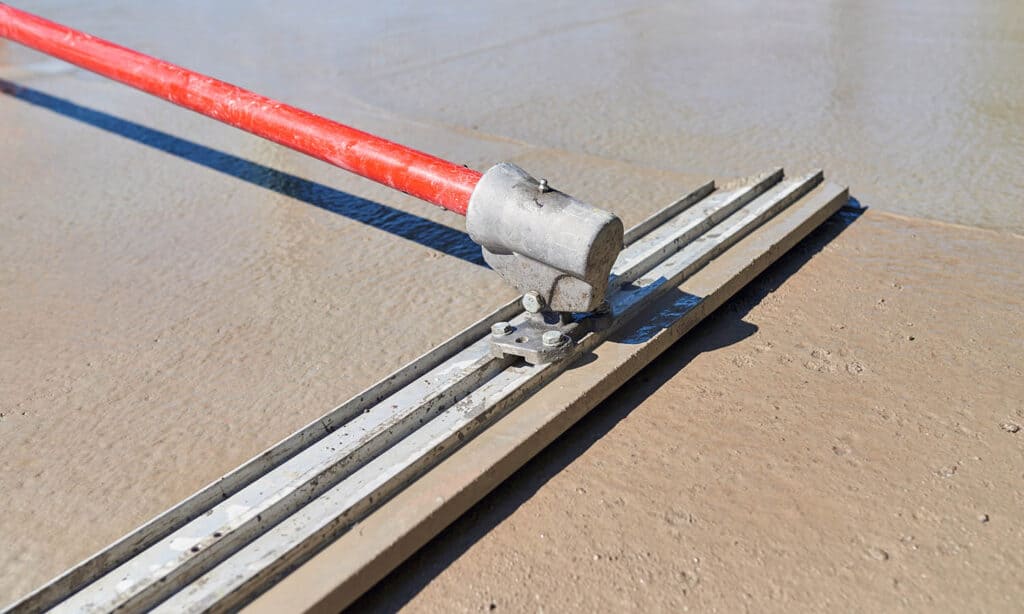
Step 10. Screed the Wet Concrete
Use a piece of scrap lumber to screed the top of your wet concrete. Move your screeding tool back and forth like a saw to flatten and level your surface. Screed the surface multiple times if necessary until it’s even all around.
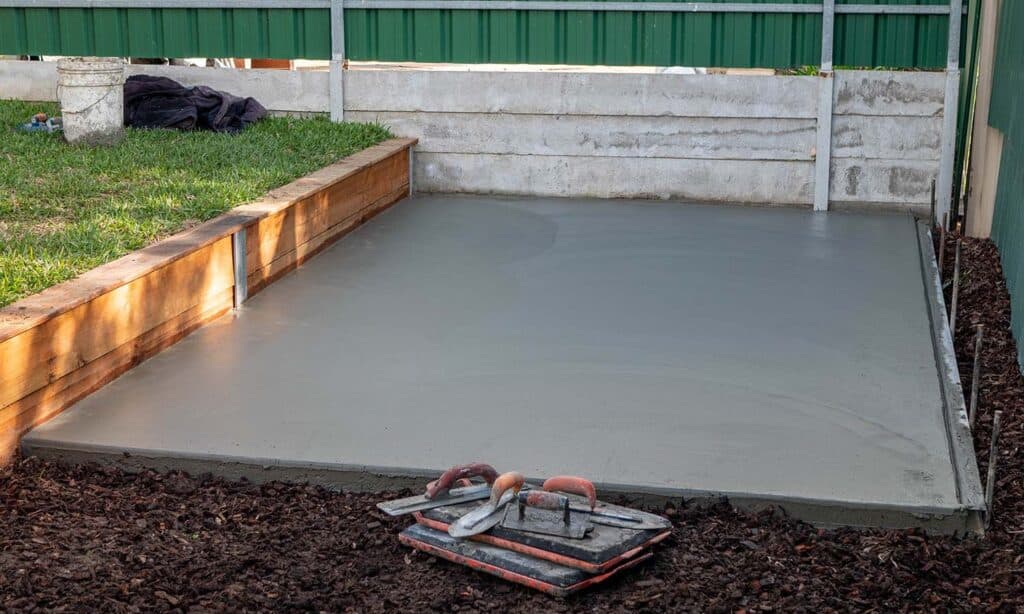
Step 11. Float the Concrete
Next, use a bull float to smooth the surface of the concrete and to remove high and low spots. First, move the bull float forward, keeping the leading side of your float tilted slightly up. Then pull the bull float toward you with the back side tilted slightly upward. Repeat this motion across the entirety of your surface.
Typically, you’ll want to pass over your perimeter three to five times. Then use a hand float to smooth any sections your bull float couldn’t reach properly.
Once done, there will be water on the surface of your perimeter. Wait fifteen to twenty minutes for it to evaporate and the concrete to slightly harden. Use a concrete trowel to round and smooth the edges of your slab.
Step 12. Create Texture
Sweep across the surface of your slab with a push broom to create a texture with traction. If clusters of concrete build up on your broom, it means you need to wait for the concrete to harden a bit more. Use your floater to smooth the surface you just broomed and try again later.
Step 13. Let the Concrete Cure
Give your concrete a couple of hours to sit before you mist it lightly with your hose. This allows the concrete to cure slowly and reduces its odds of cracking. For the first two to three days, repeat the misting process about five times per day.
You don’t need to worry about getting the concrete too wet, as long as you don’t flood the area around your slab. You just need to keep the slab moist so that it can continue to cure and strengthen.
After twenty-four hours, pry out your stakes with pliers and remove your wooden forms. From there, wait about ten days before placing furniture or anything else that is heavy on the surface.
Calculating Concrete Slab Cost
Concrete slabs will vary depending on the size of your project, but typically cost anywhere from around $3 per square foot.
Using the $3 price point, we’ve estimated average prices you can expect for common sizes of concrete slabs.
Average Cost by Size
| Size | Estimated Price |
| 100 sq. ft. (10×10) | $300 |
| 200 sq. ft (10×20) | $600 |
| 400 sq. ft (20×20) | $1,200 |
| 900 sq. ft (30×30) | $2,700 |
| 1600 sq. ft (40×40) | $4,800 |
Keep in mind that this chart just shows the estimated cost of a concrete slab by itself. Labor costs will add to the price of your project if you need professional help.
If you’re going to use a concrete slab as a garage floor, use our garage building cost guide to inform your budget.
FAQs
Can you pour concrete straight on dirt?
While you can technically pour concrete straight on soil, it can cause cracking and shifting in your structure long term. It’s best practice to compact your soil and add a gravel sub-base before pouring a concrete slab.
Gravel is cheap, so it doesn’t add much to the cost of the project. If you plan to skip the gravel, consider putting down a vapor barrier to prevent moisture under the slab from seeping up through the concrete and into your building.
How thick should a concrete slab be?
It’s typically recommended that concrete slabs be four to six inches thick. While four inches will be fine for a slab holding light loads, you may want to consider going for a six-inch slab if it’s going to be the foundation for heavy loads like a motorhome.
Final Considerations
Learning how to pour a concrete slab on your own is a great way to save money. You just need to plan and prep ahead of time using the steps above to ensure your end product stands the test of time.
To put your slab to good use, consider using it as a foundation for one of our custom sheds or garages. They’re affordable, sustainable, and a great way to add value to your property.
Get an instant price for your new carport or metal garage.
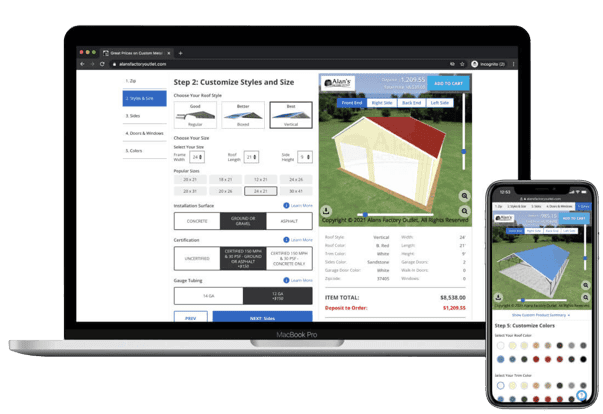
Price and Buy Online with Our 3D Builder Plus Free Shipping and Installation!
- Select a size to meet your needs
- Choose roof, side, and trim colors
- Add garage doors, windows, and walk-in doors
- Customize additional options